$ sudo apt-get install apache2

$ sudo apt-get install mysql-server

$ sudo apt-get install mysql-client

$ sudo apt-get install php7.0

$ sudo apt-get install php-gd

$ sudo apt install php-mbstring

$ sudo apt install php-dom

# 如果使用了WP-Statistics统计插件,需要安装依赖
$ sudo apt-get install php7.0-curl

$ sudo apt-get install php7.0-bcmath

# PHP Zip支持,提高网络以及内存压缩工具,提升性能
$ sudo apt-get install php-zip

# PHP图像处理支持,imagick替代默认的GD图像处理,提升图像处理性能
$ sudo apt install php-imagick

# 默认imagick是不启用的,需要手工开启
$ sudo phpenmod imagick

$ sudo a2dismod mpm_prefork

$ sudo a2enmod mpm_event

$ sudo apt-get install libapache2-mod-fastcgi php7.0-fpm

$ sudo service php7.0-fpm restart

$ sudo a2enmod actions fastcgi alias proxy_fcgi

$ sudo apt-get install php-mysql

# 启用 Rewrite 模块,我们后续的WP Super Cache需要这个模块的支持
$ sudo a2enmod rewrite

$ sudo service apache2 restart

# 我们以root连接数据库,我们需要手工创建数据库,否则会出现如下错误:
# “我们能够连接到数据库服务器(这意味着您的用户名和密码正确),但未能选择wordpress数据库。”
$ mysql -u root -p -e "create database wordpress;"

$ cd /var/www

$ sudo chown -R www-data:www-data wordpress
WordPress配置文件
<VirtualHost *:80>
	# The ServerName directive sets the request scheme, hostname and port that
	# the server uses to identify itself. This is used when creating
	# redirection URLs. In the context of virtual hosts, the ServerName
	# specifies what hostname must appear in the request's Host: header to
	# match this virtual host. For the default virtual host (this file) this
	# value is not decisive as it is used as a last resort host regardless.
	# However, you must set it for any further virtual host explicitly.
	#ServerName www.example.com

	ServerAdmin webmaster@localhost
	#DocumentRoot /var/www/html
	DocumentRoot /var/www/wordpress
	<Directory /var/www/wordpress>
		#Options Indexes FollowSymLinks MultiViews
		Options FollowSymLinks MultiViews
		AllowOverride All
#		Apache 2.2
#		FCGIWrapper /usr/bin/php5-cgi .php
#		AddHandler fcgid-script .php
#               Options ExecCGI SymLinksIfOwnerMatch
#		Apache 2.4.10
		<FilesMatch \.php$>
			SetHandler "proxy:unix:/run/php/php7.0-fpm.sock|fcgi://localhost"
		</FilesMatch>
		Order allow,deny
		allow from all
	</Directory>

	# Available loglevels: trace8, ..., trace1, debug, info, notice, warn,
	# error, crit, alert, emerg.
	# It is also possible to configure the loglevel for particular
	# modules, e.g.
	#LogLevel info ssl:warn

	ErrorLog ${APACHE_LOG_DIR}/error.log
	CustomLog ${APACHE_LOG_DIR}/access.log combined

	# For most configuration files from conf-available/, which are
	# enabled or disabled at a global level, it is possible to
	# include a line for only one particular virtual host. For example the
	# following line enables the CGI configuration for this host only
	# after it has been globally disabled with "a2disconf".
	#Include conf-available/serve-cgi-bin.conf
</VirtualHost>

# vim: syntax=apache ts=4 sw=4 sts=4 sr noet
建立PHP调试环境:
$ sudo apt-get install php-xdebug

# 一定要手工创建调试日志文件,默认情况下PHP不能创建成功,导致调试器启动异常
$ sudo touch /tmp/xdebug_remote.log

$ sudo chmod 777 /tmp/xdebug_remote.log

$ sudo vim /etc/php/7.0/mods-available/xdebug.ini
尾部增加如下内容:
xdebug.remote_autostart = 1
xdebug.remote_enable = 1
xdebug.remote_handler = dbgp
;xdebug.remote_host = 127.0.0.1
xdebug.remote_connect_back = 1
xdebug.remote_log = /tmp/xdebug_remote.log
xdebug.remote_mode = req
;if you want to change the port you can change
xdebug.remote_port = 9005
- `xdebug.remote_enable` 必须设置为1
- `xdebug.remote_host` 需要配置成调试器的 `IP` 地址,本机则填写 `127.0.0.1`或者 `localhost` 注意:连接是由被调试的PHP程序发起的,而不是通常理解的由调试器发起,一定要查看`xdebug.remote_log` 日志 。这个模式刚刚开始不是非常好理解,这个其实是对于多进程模式的一个妥协,PHP可能运行在多进程中,脚本可能被不同进程执行,导致只能使用PHP反向连接调试器才能解决问题
- `xdebug.remote_port` 配置成一个不冲突的端口
- `xdebug.remote_handler`只能填`dbpg`
- `xdebug.remote_connect_back` 如果开启,将会忽视 remote_host 的配置,以请求来源的 IP 作为 xdebug 响应的 IP 这个参数可以帮助理解 `xdebug.remote_host`
重启相关服务:
# 禁用
$ sudo phpdismod xdebug

#启用
$ sudo phpenmod xdebug

$ sudo systemctl restart php7.0-fpm

$ sudo systemctl restart nginx //If you are using nginx server

$ sudo systemctl restart apache2 //If you are using apache server
推荐使用 `Visual Studio Code` 调试代码:
$ curl https://packages.microsoft.com/keys/microsoft.asc | gpg --dearmor > packages.microsoft.gpg

$ sudo install -o root -g root -m 644 packages.microsoft.gpg /usr/share/keyrings/

$ sudo sh -c 'echo "deb [arch=amd64 signed-by=/usr/share/keyrings/packages.microsoft.gpg] https://packages.microsoft.com/repos/vscode stable main" > /etc/apt/sources.list.d/vscode.list'

$ sudo apt-get install apt-transport-https

$ sudo apt-get update

$ sudo apt-get install code
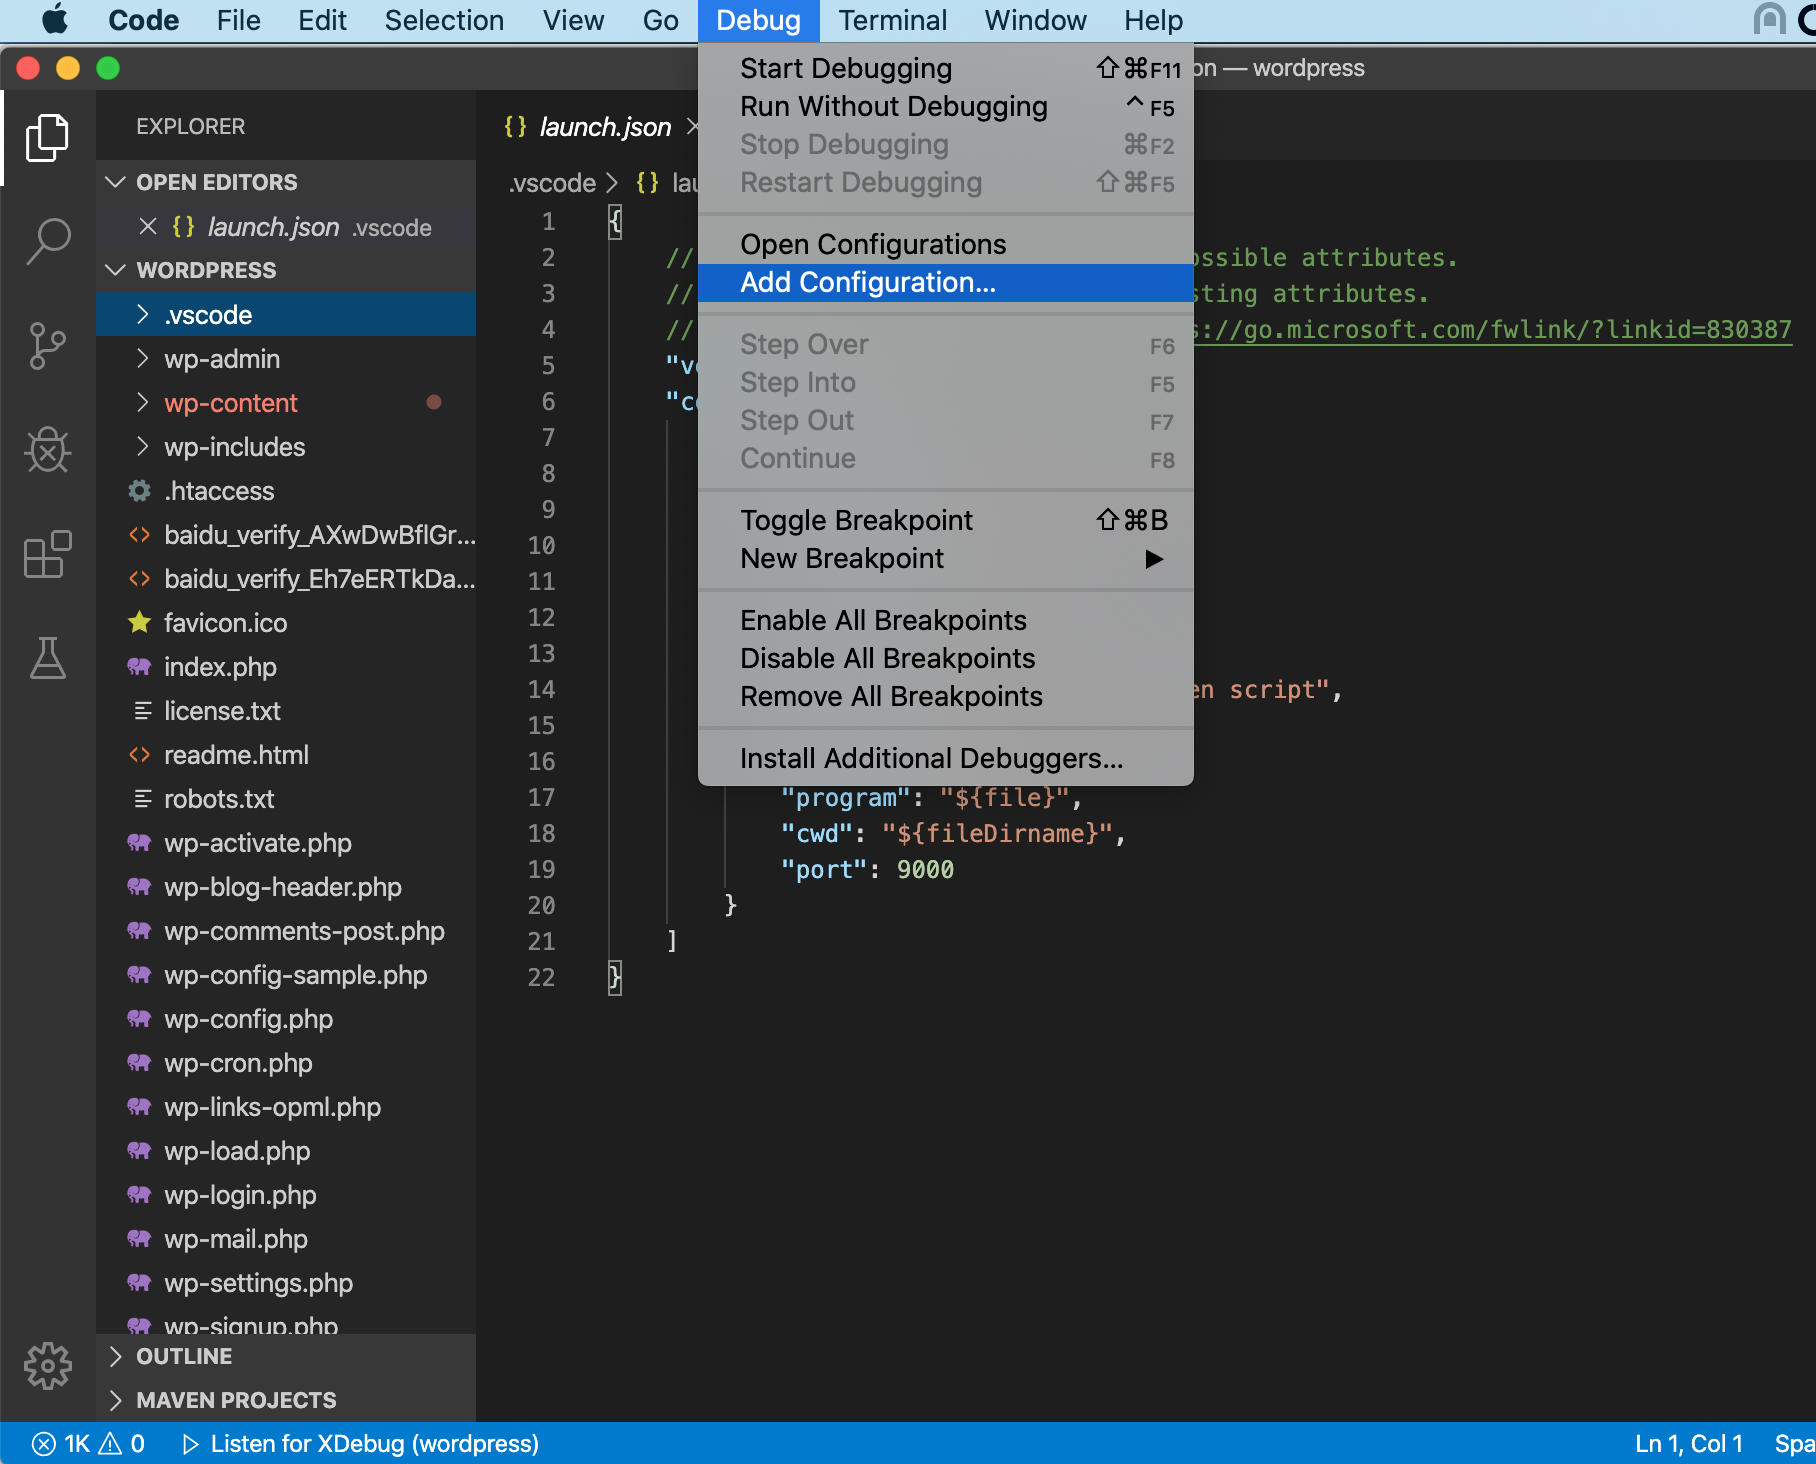
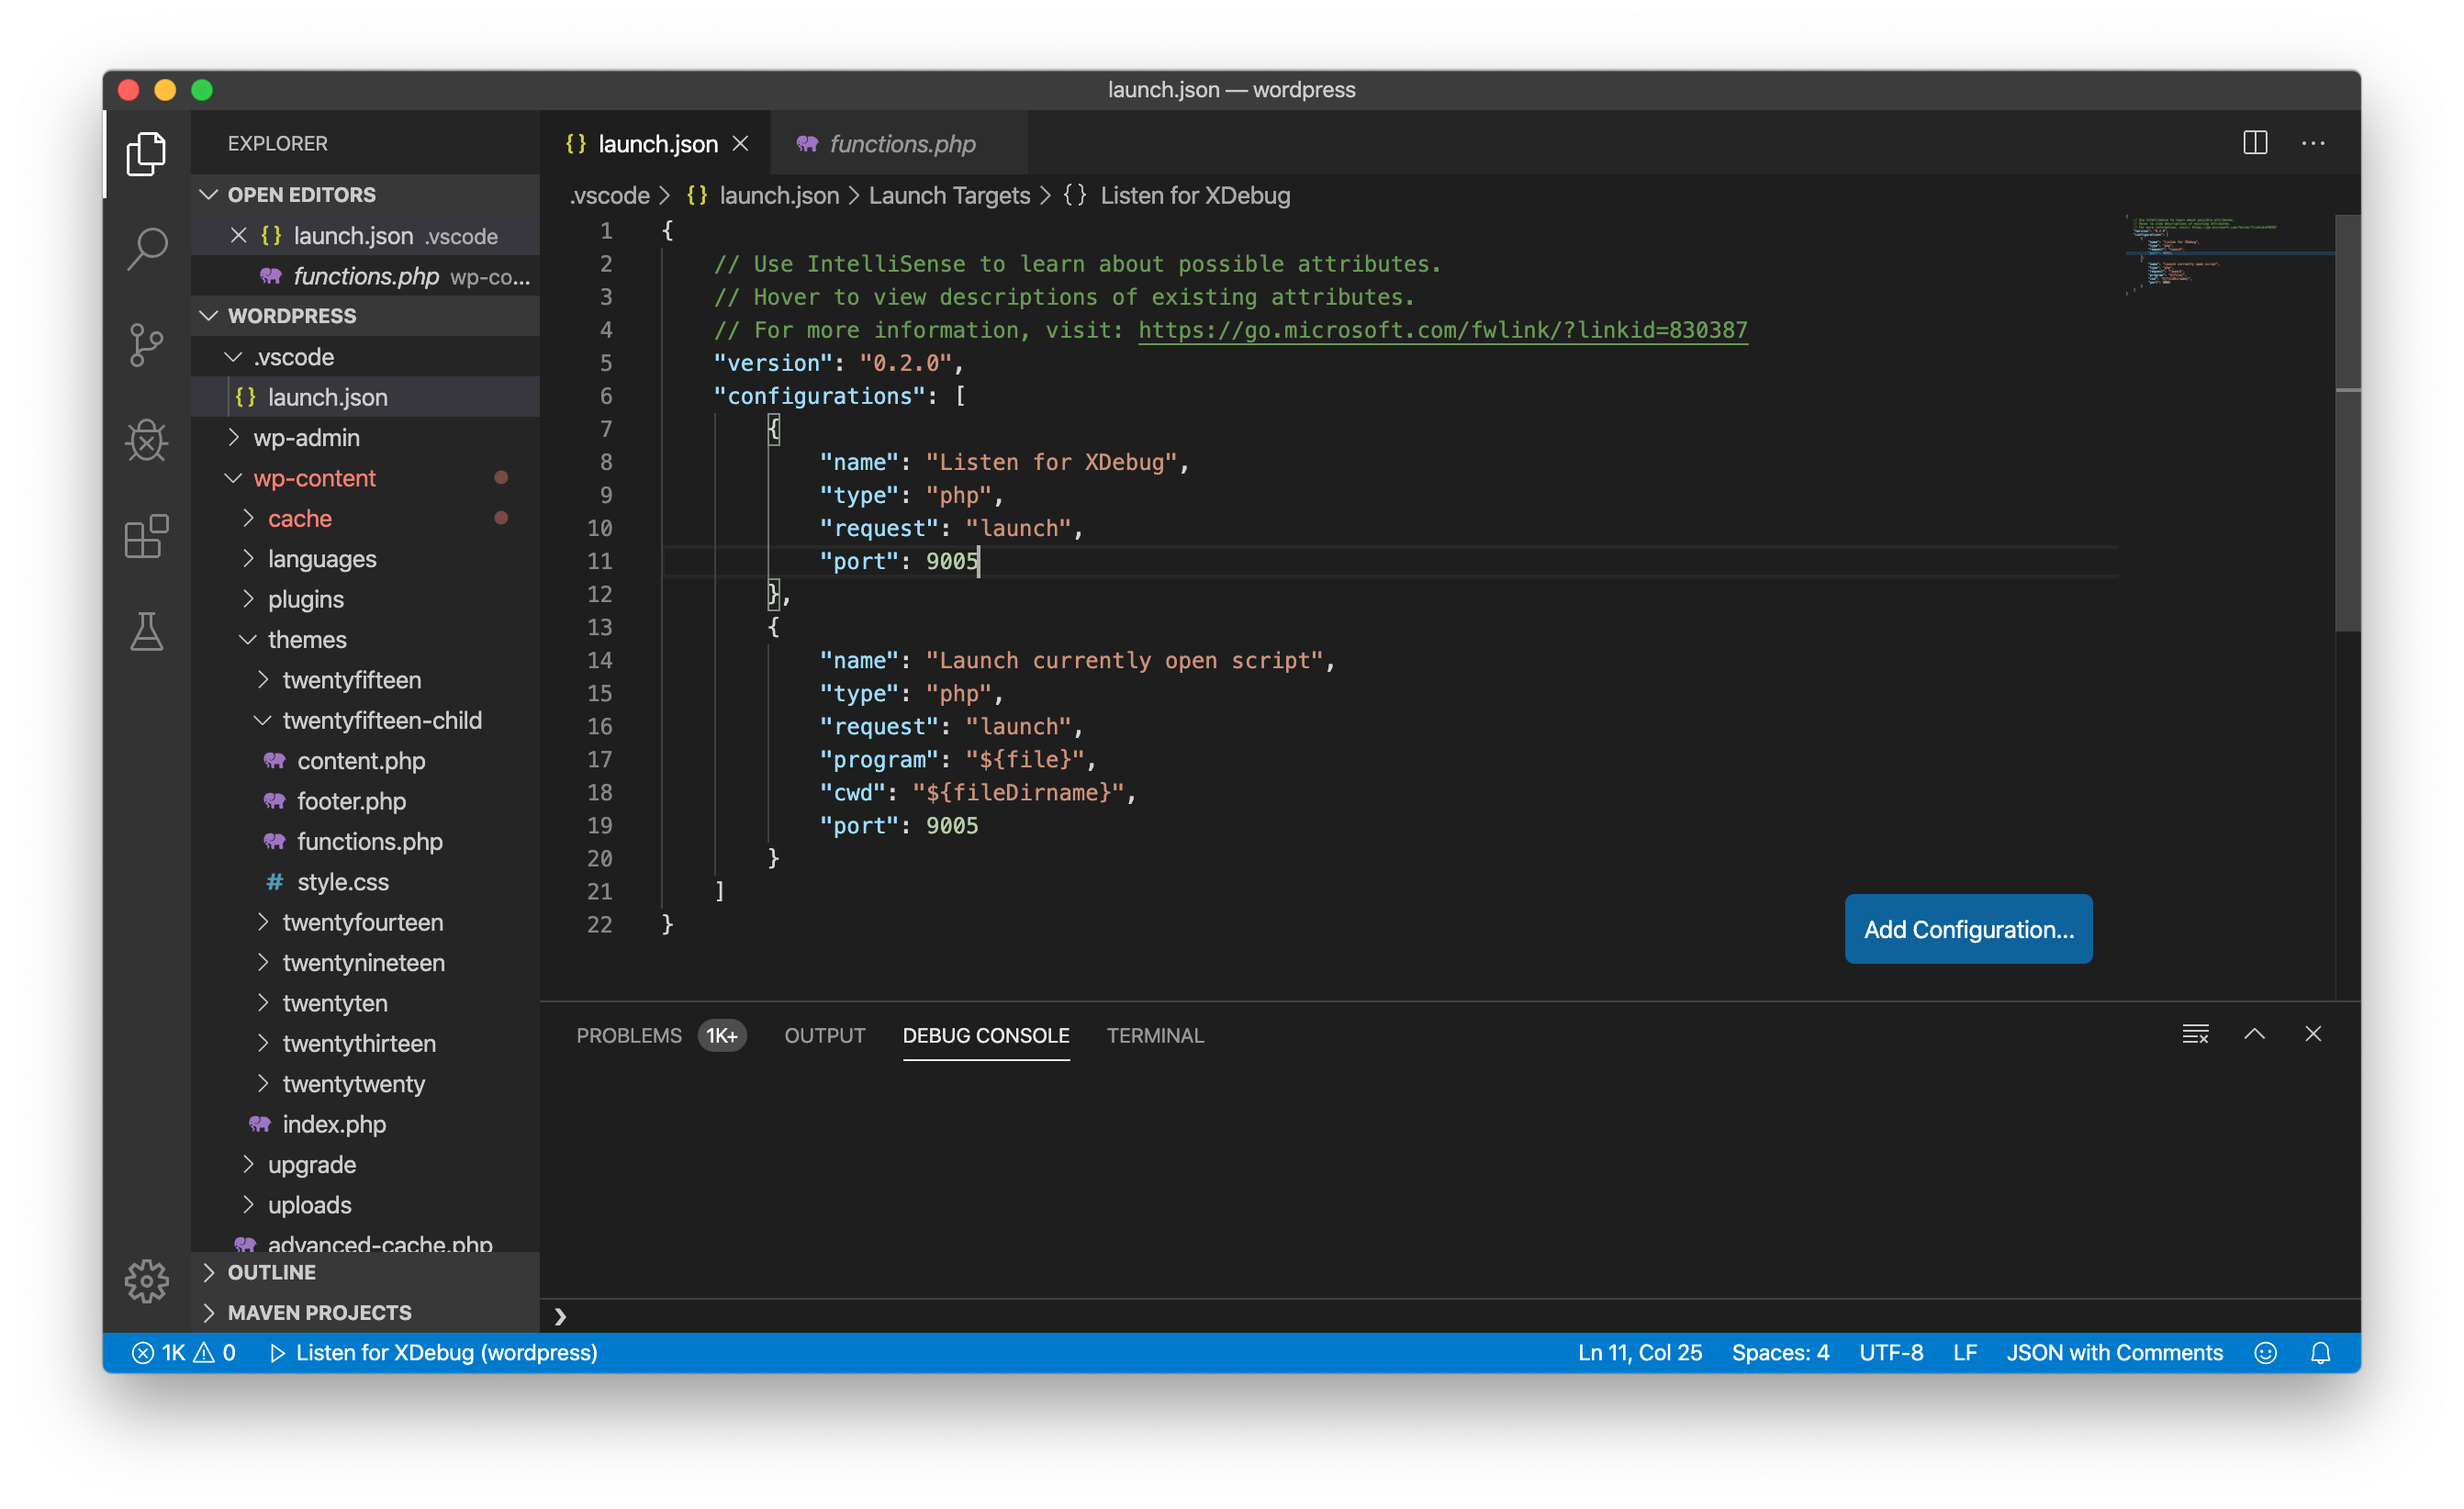
安装完成之后,需要安装几个PHP插件,PHP IntelliSense, PHP Debug,如下图: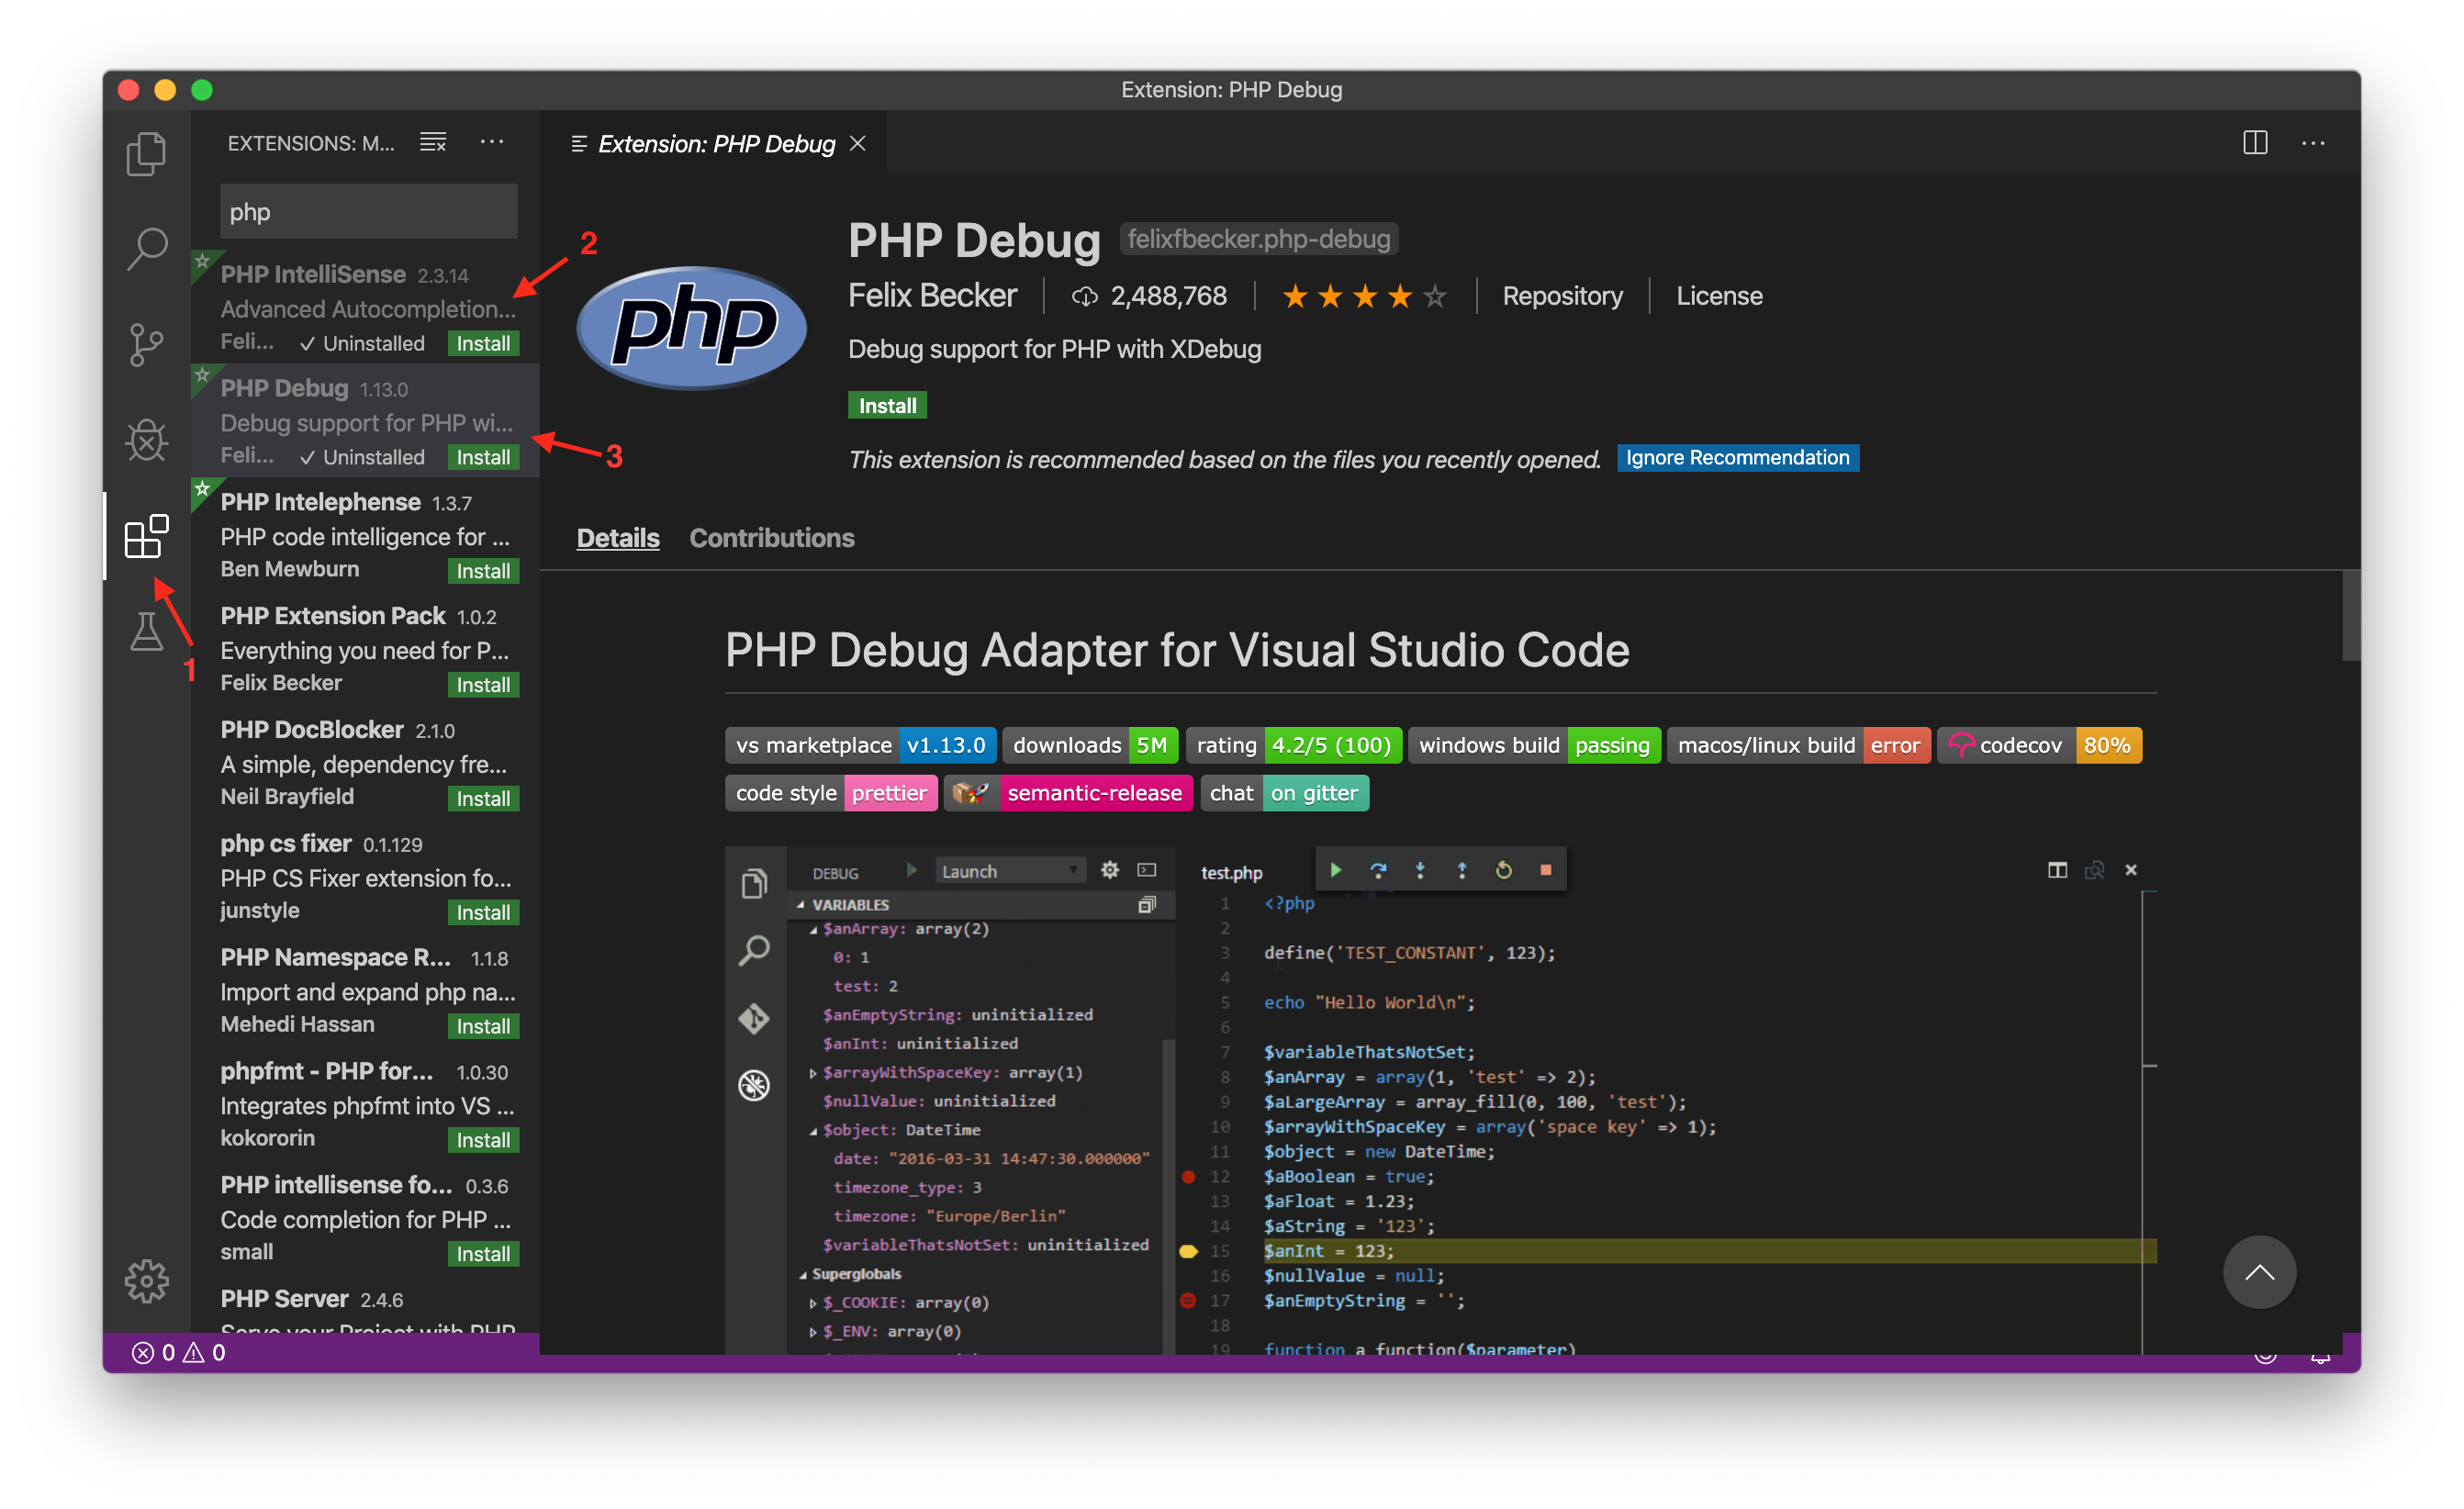 接下来,打开WordPress的代码目录 ,并增加调试配置项:
 下拉选项中选择PHP
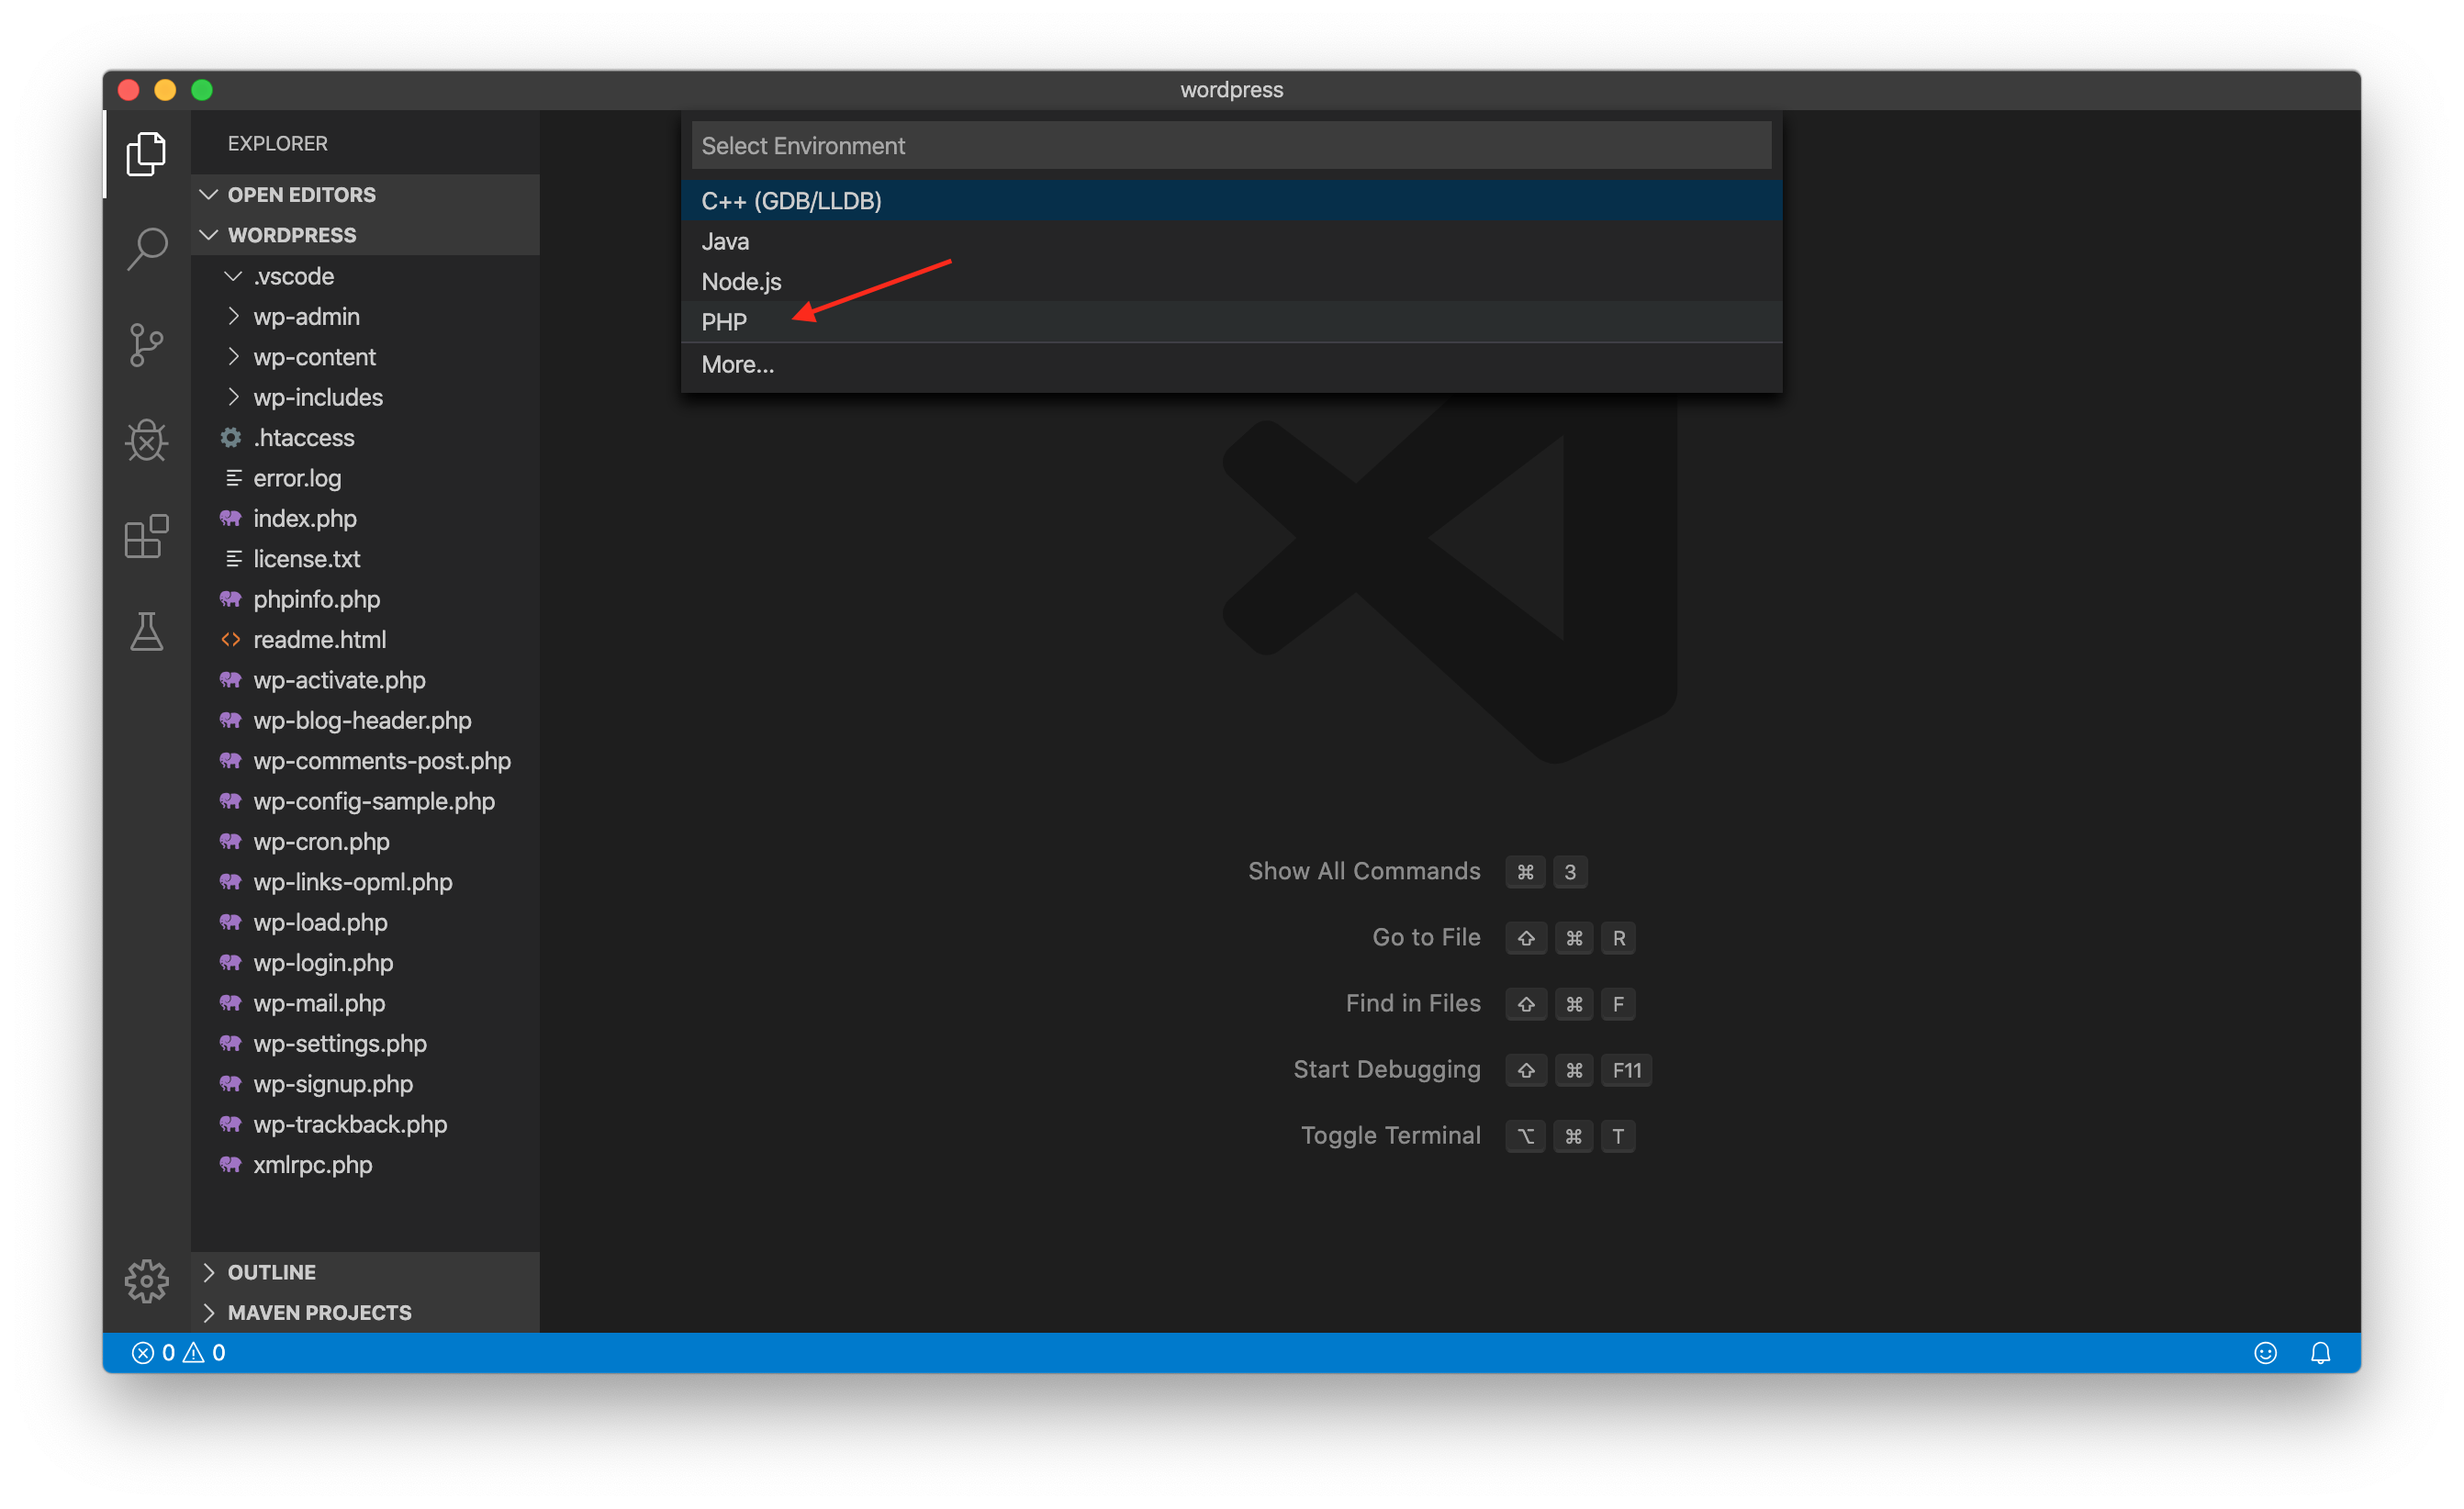
具体配置项目内容如下: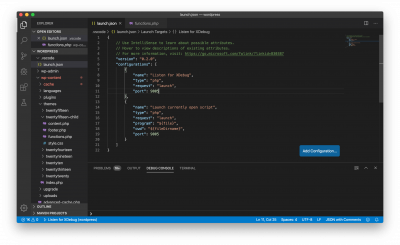 多机调试的情况下,如果被调试设备上的代码路径跟本机调试路径存在差异,可能需要使用 `pathMappings` 进行修正,如下:
 多机调试的情况下,如果被调试设备上的代码路径跟本机调试路径存在差异,可能需要使用 `pathMappings` 进行修正,如下:
{
    // Use IntelliSense to learn about possible attributes.
    // Hover to view descriptions of existing attributes.
    // For more information, visit: https://go.microsoft.com/fwlink/?linkid=830387
    "version": "0.2.0",
    "configurations": [
        {
            "name": "Listen for XDebug",
            "type": "php",
            "request": "launch",
            "port": 9005,
            "pathMappings": {
                // 此处按实际映射路径填写
                // 前面是被调试代码在其他机器上的的路径,
                // 后面是调试器所在的本机代码路径
                "/var/www/wordpress": "/Users/xxx/wordpress"
            },
        },
        {
            "name": "Launch currently open script",
            "type": "php",
            "request": "launch",
            "program": "${file}",
            "cwd": "${fileDirname}",
            "port": 9005,
            "pathMappings": {
                // 此处按实际映射路径填写
                // 前面是被调试代码在其他机器上的的路径,
                // 后面是调试器所在的本机代码路径
                "/var/www/wordpress": "/Users/xxx/wordpress"
            },
        }
    ]
}
配置完成后,点击调试,调试器(`Visual Studio Code` )会创建一个指定的端口(9005),监听来自被调试程序的连接请求。