早期版本参考 Flutter 1.22最新的多国语支持配置和使用 ,整个的配置过程比较麻烦。
Flutter 2.8.1/Android Studio Bumblebee 2021.1.1 可以通过 Flutter Intl进行简化处理,完成多语言的配置。
插件安装(Android Studio Bumblebee 2021.1.1)
Flutter Intl插件安装:
依次点击:Android Studio—>Preference—>Plugins—>Marketplace,搜索Flutter Intl
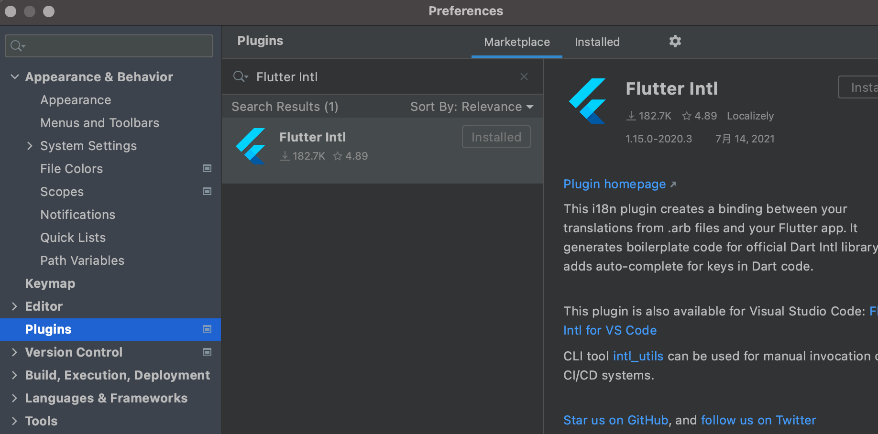
安装后重启 Android Studio 。
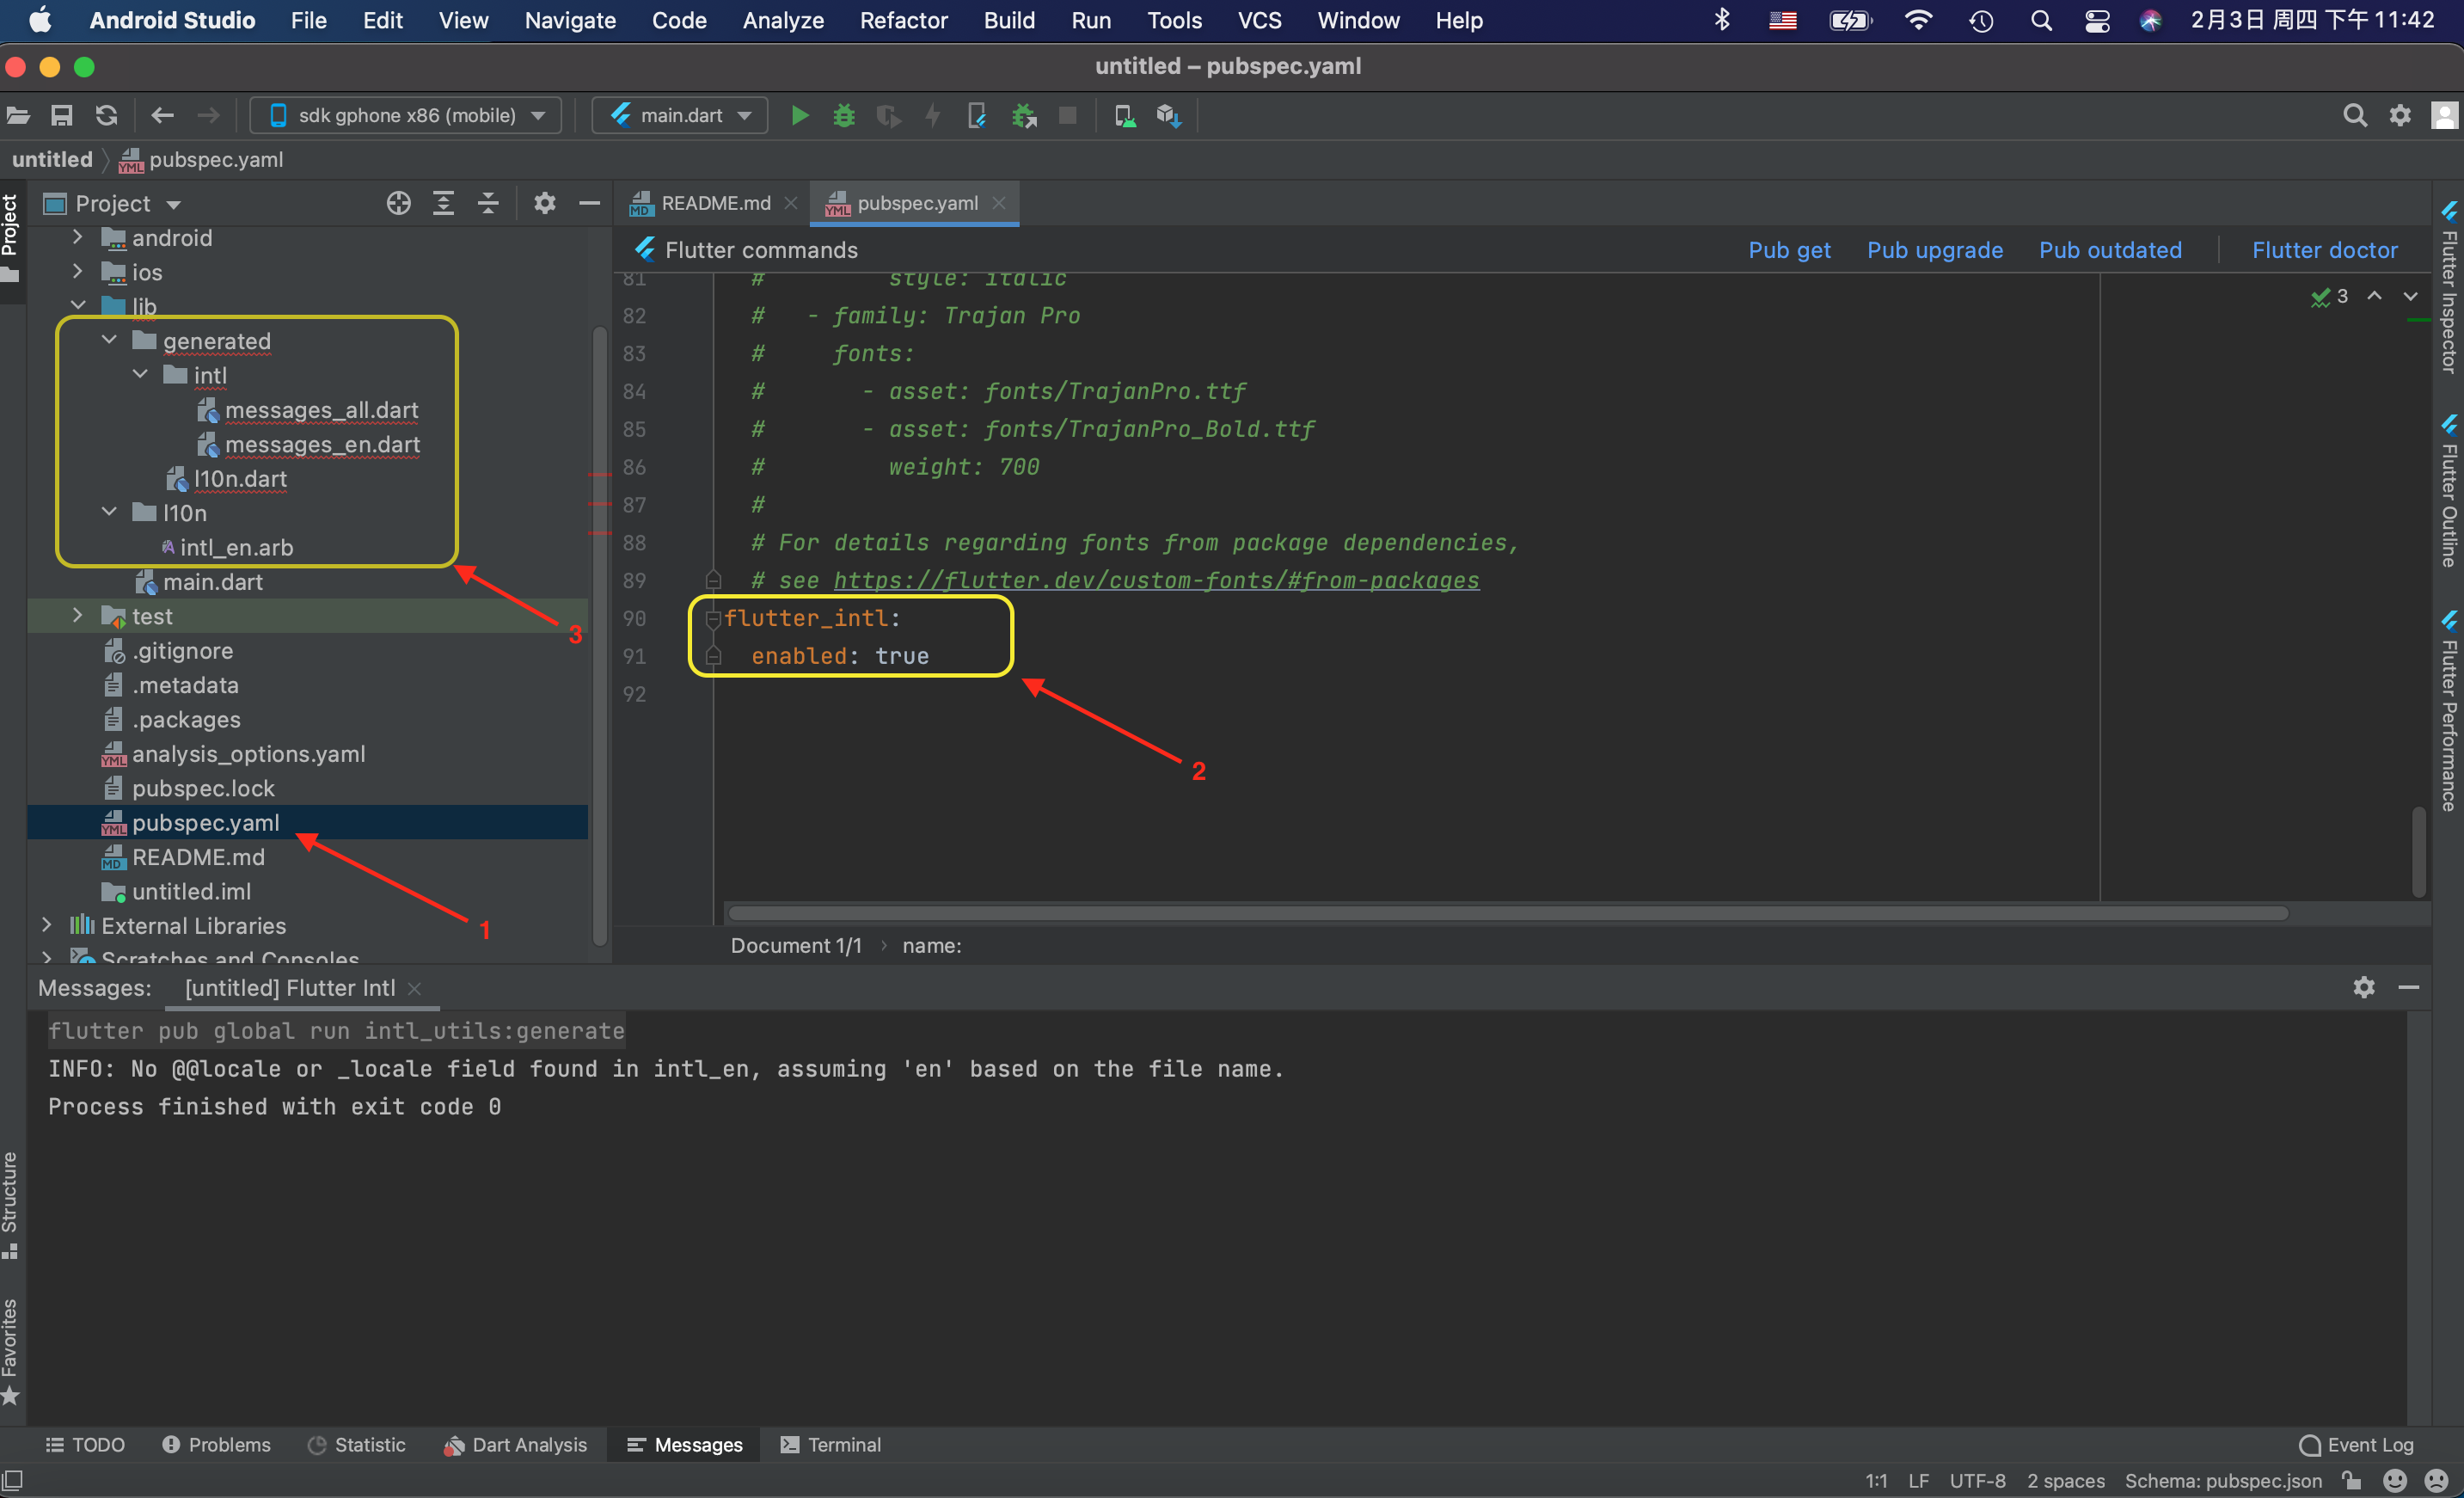
配置多语言的操作过程如下图:

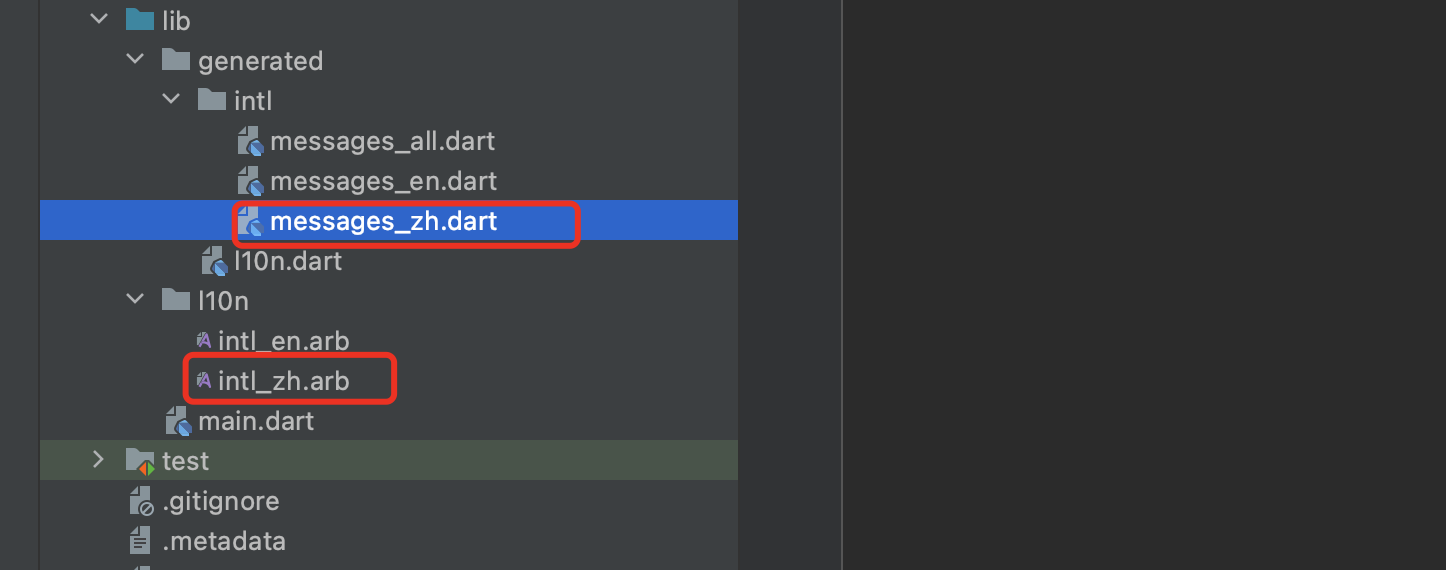
默认生成的文件如下图:
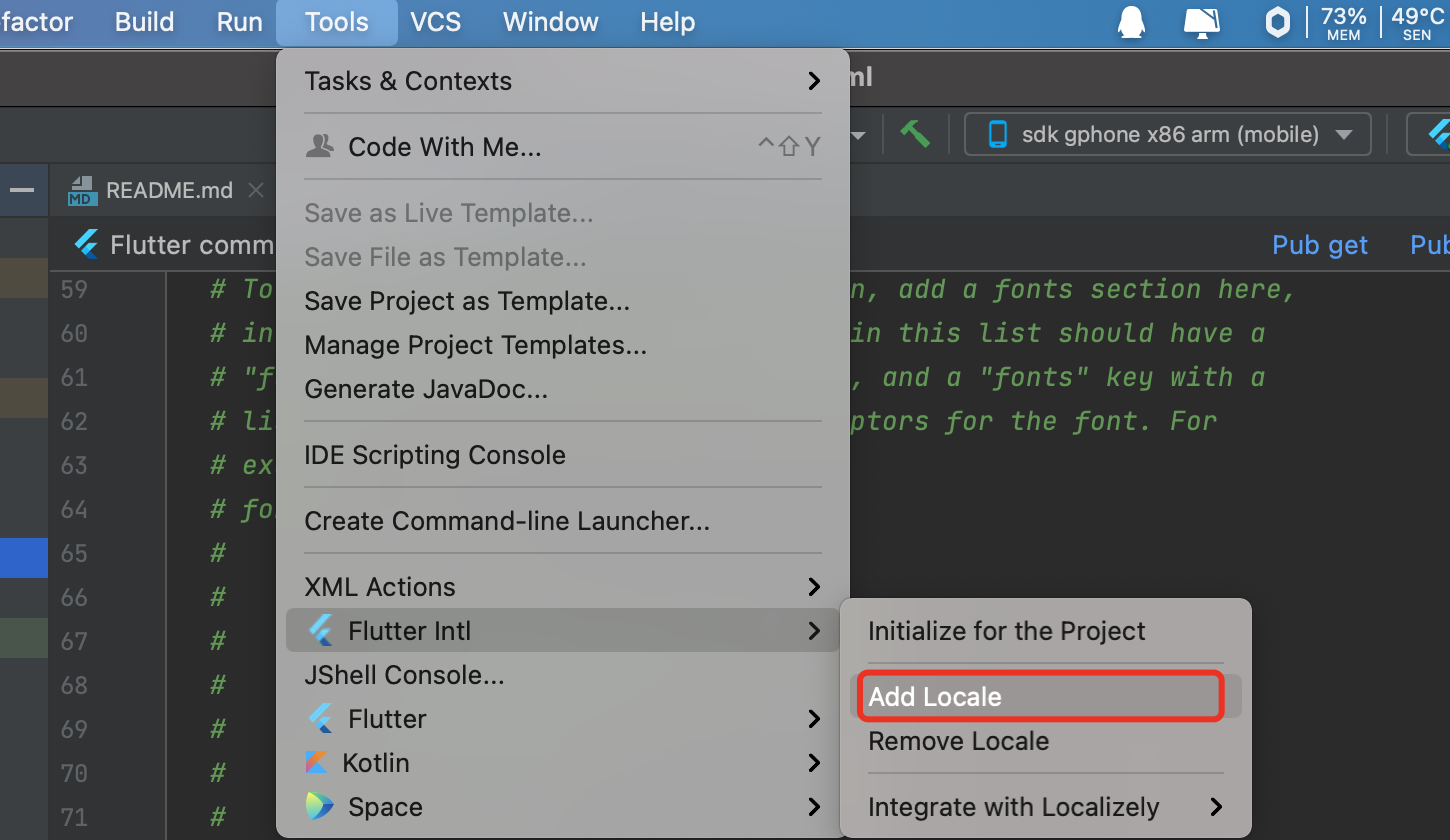
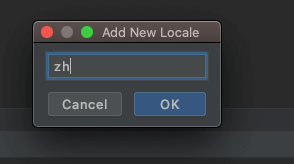
添加语言(中文-zh)
Tool->Flutter Intl -> Add Locale,添加语言
添加中文支持
自动生成相关文件
添加系统国际化支持
pubspec.yaml 文件中添加包依赖
|
1 2 3 4 5 |
dependencies: flutter: sdk: flutter flutter_localizations: sdk: flutter |
MaterialApp 修改
|
1 2 3 4 5 6 7 8 9 10 11 |
MaterialApp( ... localizationsDelegates: [ S.delegate, GlobalMaterialLocalizations.delegate, GlobalWidgetsLocalizations.delegate, GlobalCupertinoLocalizations.delegate, ], supportedLocales: S.delegate.supportedLocales, ... ) |
在 intl_en.arb 和 intl_zh.arb下添加文案,如下:
|
1 2 3 4 5 6 |
{ "@@locale": "en", "title": "Flutter Demo", "homeTitle": "Flutter Demo Home Page", "pushTimes": "You have pushed the button this many times:" } |
intl_zh.arb:
|
1 2 3 4 5 6 |
{ "@@locale": "zh", "title": "Flutter 例子", "homeTitle": "Flutter 例子首页", "pushTimes": "你已经点击按钮的次数:" } |
按 command + s 保存,generated 目录下相关文件将会重新生成。
注意: 需要通过 "@@locale",明确指明文件对应的语言,否则在编译的时候会出现警告:No @@locale or _locale field found in intl_en。
默认模版生成的例子中的源代码如下:
|
1 2 3 4 5 6 7 8 9 10 11 12 13 14 15 16 17 18 19 20 21 22 23 24 25 26 27 28 29 30 31 32 33 34 35 36 37 38 39 40 41 42 43 44 45 46 47 48 49 50 51 52 53 54 55 56 57 58 59 60 61 62 63 64 65 66 67 68 69 70 71 72 73 74 75 76 77 78 79 80 81 82 83 84 85 86 87 88 89 90 91 92 93 94 95 96 97 98 99 100 101 102 103 104 105 106 107 108 109 110 111 112 113 114 115 |
import 'package:flutter/material.dart'; void main() { runApp(const MyApp()); } class MyApp extends StatelessWidget { const MyApp({Key? key}) : super(key: key); // This widget is the root of your application. @override Widget build(BuildContext context) { return MaterialApp( title: 'Flutter Demo', theme: ThemeData( // This is the theme of your application. // // Try running your application with "flutter run". You'll see the // application has a blue toolbar. Then, without quitting the app, try // changing the primarySwatch below to Colors.green and then invoke // "hot reload" (press "r" in the console where you ran "flutter run", // or simply save your changes to "hot reload" in a Flutter IDE). // Notice that the counter didn't reset back to zero; the application // is not restarted. primarySwatch: Colors.blue, ), home: const MyHomePage(title: 'Flutter Demo Home Page'), ); } } class MyHomePage extends StatefulWidget { const MyHomePage({Key? key, required this.title}) : super(key: key); // This widget is the home page of your application. It is stateful, meaning // that it has a State object (defined below) that contains fields that affect // how it looks. // This class is the configuration for the state. It holds the values (in this // case the title) provided by the parent (in this case the App widget) and // used by the build method of the State. Fields in a Widget subclass are // always marked "final". final String title; @override State<MyHomePage> createState() => _MyHomePageState(); } class _MyHomePageState extends State<MyHomePage> { int _counter = 0; void _incrementCounter() { setState(() { // This call to setState tells the Flutter framework that something has // changed in this State, which causes it to rerun the build method below // so that the display can reflect the updated values. If we changed // _counter without calling setState(), then the build method would not be // called again, and so nothing would appear to happen. _counter++; }); } @override Widget build(BuildContext context) { // This method is rerun every time setState is called, for instance as done // by the _incrementCounter method above. // // The Flutter framework has been optimized to make rerunning build methods // fast, so that you can just rebuild anything that needs updating rather // than having to individually change instances of widgets. return Scaffold( appBar: AppBar( // Here we take the value from the MyHomePage object that was created by // the App.build method, and use it to set our appbar title. title: Text(widget.title), ), body: Center( // Center is a layout widget. It takes a single child and positions it // in the middle of the parent. child: Column( // Column is also a layout widget. It takes a list of children and // arranges them vertically. By default, it sizes itself to fit its // children horizontally, and tries to be as tall as its parent. // // Invoke "debug painting" (press "p" in the console, choose the // "Toggle Debug Paint" action from the Flutter Inspector in Android // Studio, or the "Toggle Debug Paint" command in Visual Studio Code) // to see the wireframe for each widget. // // Column has various properties to control how it sizes itself and // how it positions its children. Here we use mainAxisAlignment to // center the children vertically; the main axis here is the vertical // axis because Columns are vertical (the cross axis would be // horizontal). mainAxisAlignment: MainAxisAlignment.center, children: <Widget>[ const Text( 'You have pushed the button this many times:', ), Text( '$_counter', style: Theme.of(context).textTheme.headline4, ), ], ), ), floatingActionButton: FloatingActionButton( onPressed: _incrementCounter, tooltip: 'Increment', child: const Icon(Icons.add), ), // This trailing comma makes auto-formatting nicer for build methods. ); } } |
修改之后的 i18n 调用的代码如下:
|
1 2 3 4 5 6 7 8 9 10 11 12 13 14 15 16 17 18 19 20 21 22 23 24 25 26 27 28 29 30 31 32 33 34 35 36 37 38 39 40 41 42 43 44 45 46 47 48 49 50 51 52 53 54 55 56 57 58 59 60 61 62 63 64 65 66 67 68 69 70 71 72 73 74 75 76 77 78 79 80 81 82 83 84 85 86 87 88 89 90 91 92 93 94 95 96 97 98 99 100 101 102 103 104 105 106 107 108 109 110 111 112 113 114 115 116 117 118 119 120 121 122 123 124 125 |
import 'package:flutter/material.dart'; import 'package:flutter_localizations/flutter_localizations.dart'; import 'generated/l10n.dart'; void main() { runApp(const MyApp()); } class MyApp extends StatelessWidget { const MyApp({Key? key}) : super(key: key); // This widget is the root of your application. @override Widget build(BuildContext context) { return MaterialApp( //引用多国语标识 onGenerateTitle: (context) => S.of(context).title, theme: ThemeData( // This is the theme of your application. // // Try running your application with "flutter run". You'll see the // application has a blue toolbar. Then, without quitting the app, try // changing the primarySwatch below to Colors.green and then invoke // "hot reload" (press "r" in the console where you ran "flutter run", // or simply save your changes to "hot reload" in a Flutter IDE). // Notice that the counter didn't reset back to zero; the application // is not restarted. primarySwatch: Colors.blue, ), home: const MyHomePage(), //本地化代理 localizationsDelegates: const [ S.delegate, GlobalMaterialLocalizations.delegate, GlobalWidgetsLocalizations.delegate, GlobalCupertinoLocalizations.delegate, ], //支持的语言 supportedLocales: S.delegate.supportedLocales, ); } } class MyHomePage extends StatefulWidget { const MyHomePage({Key? key}) : super(key: key); // This widget is the home page of your application. It is stateful, meaning // that it has a State object (defined below) that contains fields that affect // how it looks. // This class is the configuration for the state. It holds the values (in this // case the title) provided by the parent (in this case the App widget) and // used by the build method of the State. Fields in a Widget subclass are // always marked "final". @override State<MyHomePage> createState() => _MyHomePageState(); } class _MyHomePageState extends State<MyHomePage> { int _counter = 0; void _incrementCounter() { setState(() { // This call to setState tells the Flutter framework that something has // changed in this State, which causes it to rerun the build method below // so that the display can reflect the updated values. If we changed // _counter without calling setState(), then the build method would not be // called again, and so nothing would appear to happen. _counter++; }); } @override Widget build(BuildContext context) { // This method is rerun every time setState is called, for instance as done // by the _incrementCounter method above. // // The Flutter framework has been optimized to make rerunning build methods // fast, so that you can just rebuild anything that needs updating rather // than having to individually change instances of widgets. return Scaffold( appBar: AppBar( // Here we take the value from the MyHomePage object that was created by // the App.build method, and use it to set our appbar title. title: Text(S.of(context).homeTitle), ), body: Center( // Center is a layout widget. It takes a single child and positions it // in the middle of the parent. child: Column( // Column is also a layout widget. It takes a list of children and // arranges them vertically. By default, it sizes itself to fit its // children horizontally, and tries to be as tall as its parent. // // Invoke "debug painting" (press "p" in the console, choose the // "Toggle Debug Paint" action from the Flutter Inspector in Android // Studio, or the "Toggle Debug Paint" command in Visual Studio Code) // to see the wireframe for each widget. // // Column has various properties to control how it sizes itself and // how it positions its children. Here we use mainAxisAlignment to // center the children vertically; the main axis here is the vertical // axis because Columns are vertical (the cross axis would be // horizontal). mainAxisAlignment: MainAxisAlignment.center, children: <Widget>[ Text( S.of(context).pushTimes, ), Text( '$_counter', style: Theme.of(context).textTheme.headline4, ), ], ), ), floatingActionButton: FloatingActionButton( onPressed: _incrementCounter, tooltip: 'Increment', child: const Icon(Icons.add), ), // This trailing comma makes auto-formatting nicer for build methods. ); } } |
上述操作在 Android Studio 里面修改文件,保存的时候会自动把 .arb 文件更新为对应的多语言 .dart 文件。
但是在自动化集成的时候,就需要手工执行命令生成这些代码文件。
在工程根目录下,执行如下命令:
|
1 |
$ flutter --no-color pub global run intl_utils:generate |