Ubuntu版本:16.04.3
Oracle VirtualBox版本:5.0.40
问题:
|
1 |
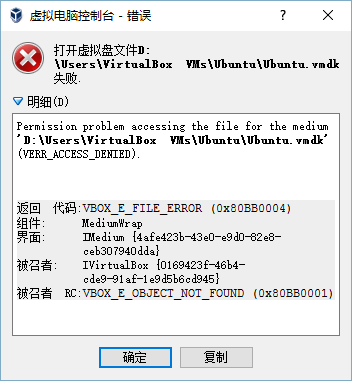
USB 2.0 is currently enabled for this virtual machine. However, this requires the Oracle VM VirtualBox Extension Pack to be installed.Please install the Extension Pack from the VirtualBox download site. After this you will be able to re- enable USB 2.0. It will be disabled in the meantime unless you cancel the current settings changes. |
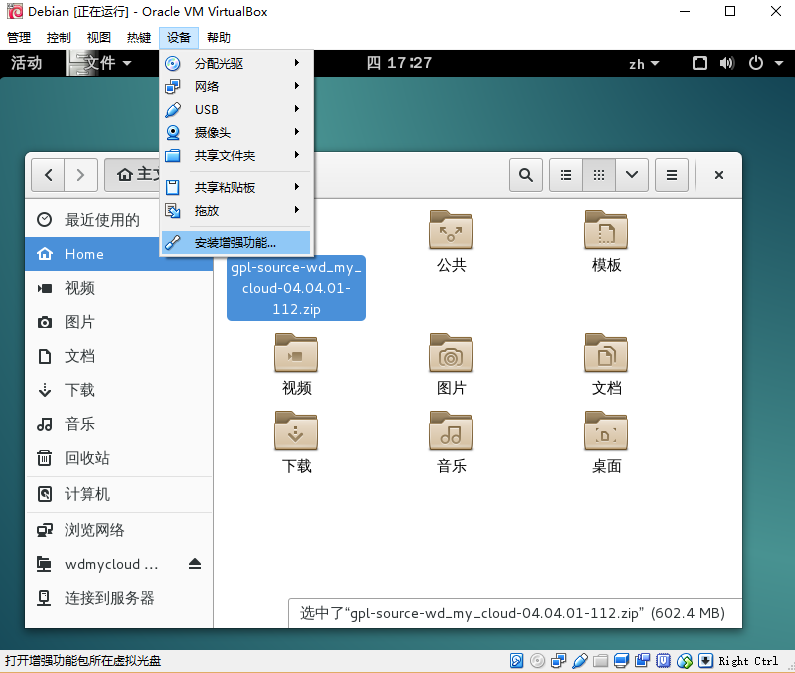
这是在设置启用USB时提示的错误。关于如何启用Ubuntu下Oracle VM VirtualBox的USB功能 (Oracle VM VirtualBox-设置-USB-启用USB控制器-启用USB 2.0 ECHI控制器)--如果你没有安 装Oracle VM VirtualBox Extension Pack的话,那么这时就会弹出一个提示框,提示上面给出的那段英文提示。