在使用 Espresso 进行单元测试的时候,我们需要等待被测试界面上某个元素显示出来,这个时候需要进行等待,等待的时间需要我们自行控制。
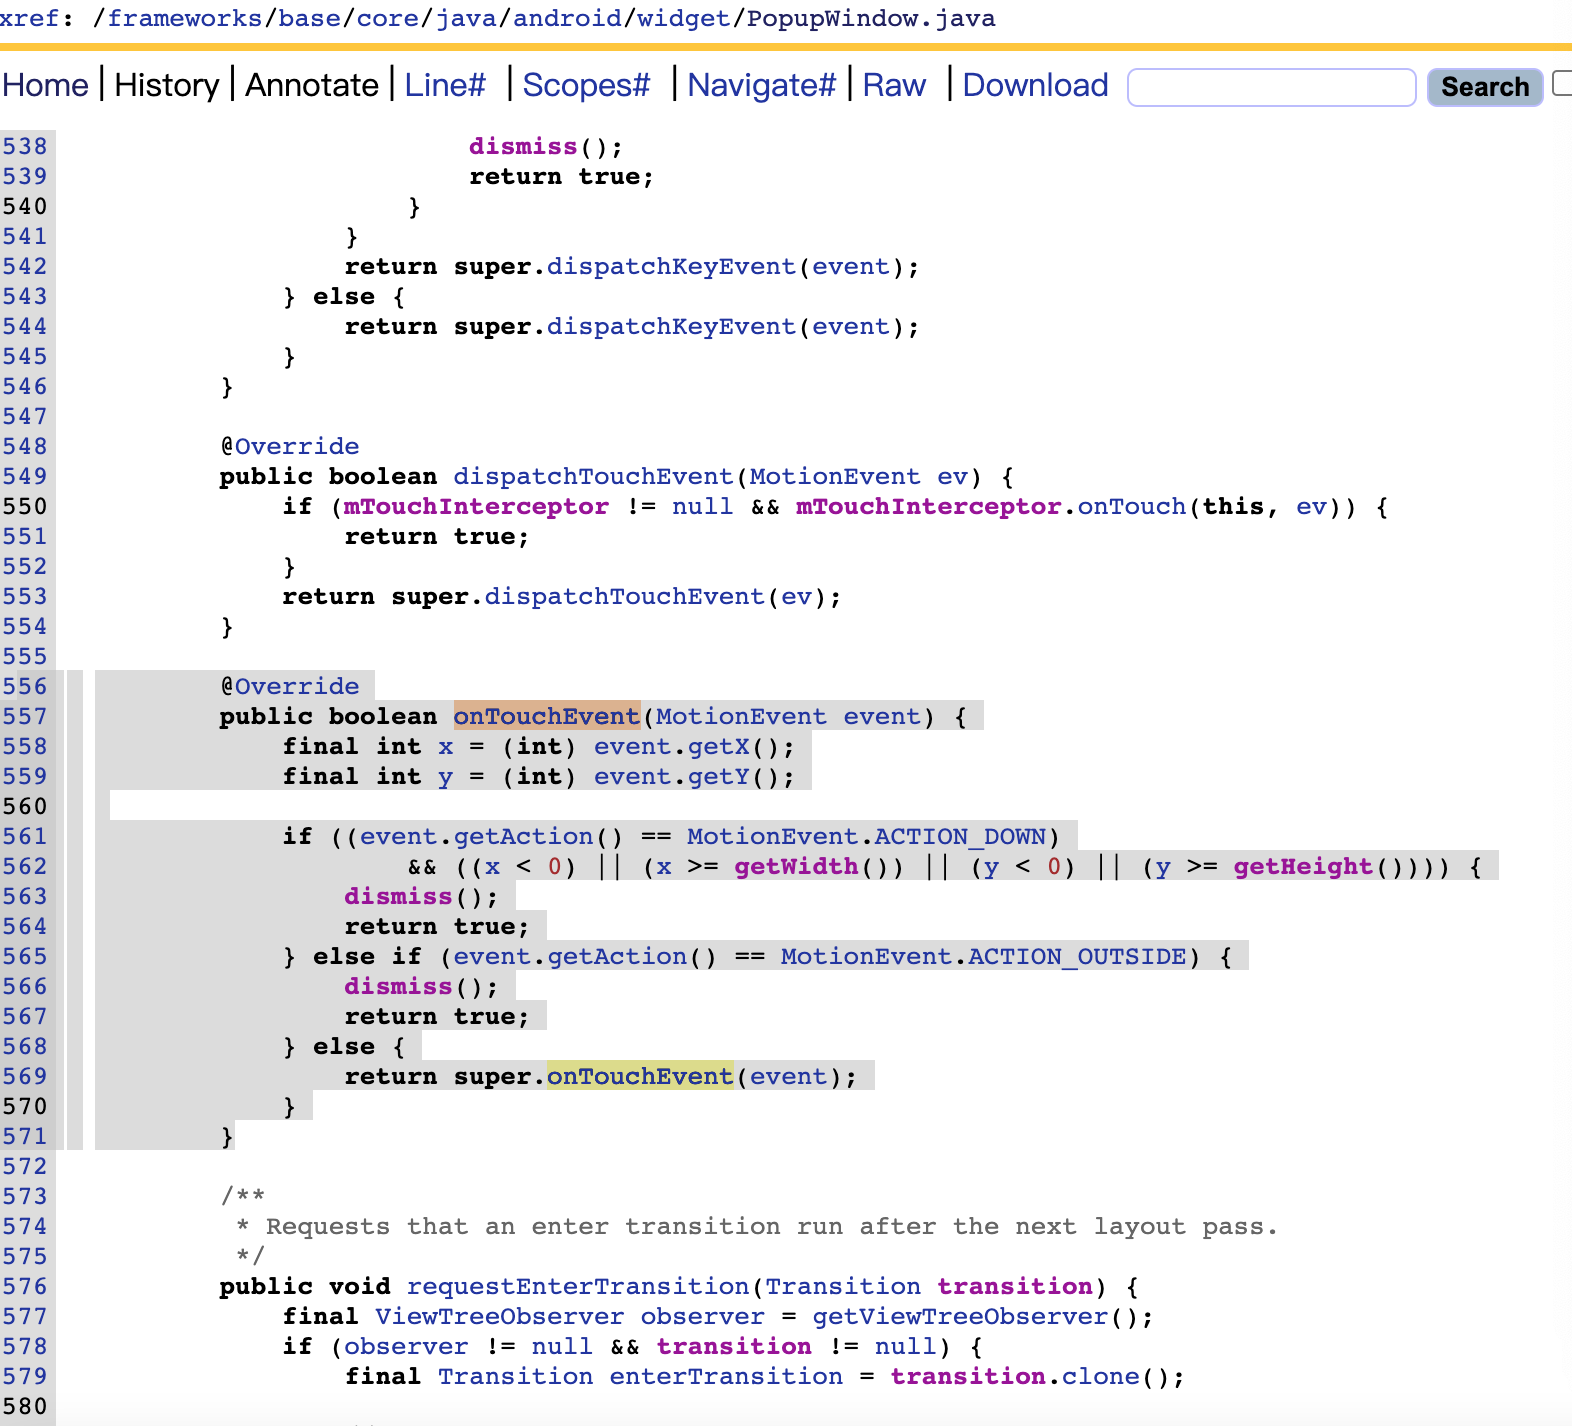
WindowManager中removeView(View v)与removeViewImmediate(View v)的区别
问题及原因:
我们在做UI相关的代码时有时候会碰到WindowLeak,也就是所谓的窗体泄露,泄露的原因是因为Android UI操作在主线程中操作,但是我们会需要在一些线程或者异步任务中操作UI界面元素的需求,那么这个时候可能会出现类似问题。我在做浮动窗口的时候碰到了这个问题,浮动窗口需要用到WindowManager, WindowManger又是一个Activity的一个变量,它依存于Activity,当横竖屏切换或者Activity销毁的时候这个变量会销毁。销毁的时候导致WindowManager通过AddView()方法添加的View没有依存,导致窗体泄露。那么问题来了,为什么这里会泄露了?
2.解决方法:我在onDestroy()里面调用了removeView方法,想要避免窗体泄露,但是这个方法并不管用,后来换成removeViewImmediate()就解决了这个问题,原因就是两个方法设计到线程同步问题,removeViewImmediate()是通知View立刻调用View.onDetachWindow(),这说明这个方法是通过一个监听或者观察者来实现的,因为线程的同步跟异步问题导致Activity销毁了,但View还没有被remove完,于是就产生了所谓的窗体泄露。说到这里,我想大家也能明白这两个方法的区别了。
参考链接
android WindowManager中removeView(View v)与removeViewImmediate(View v)的区别
NDK is missing a "platforms" directory.unset the NDK variable from ANDROID_NDK_HOME o...
1 2 3 |
NDK is missing a "platforms" directory. If you are using NDK, verify the ndk.dir is set to a valid NDK directory. It is currently set to D:\Android\Sdk\ndk-bundle. If you are not using NDK, unset the NDK variable from ANDROID_NDK_HOME or local.properties to remove this warning. |
首先这个错误之前没有的,可能是NDK升级到最新导致的编译失败。
尝试按照网上搜索的解决方法解决:
- 1 删除NDK重新下载,最后删除重新下载后还下载失败,让我自己去看看错误的log (Android Studio - Help - Show Log In Explorer打开查看log)
- 2 自己去官网下载NDK解压设置路径,都无济于事
- 3 想到之前看到一篇类似错误的文章说过错误提示缺少哪个文件如果没有就新建一个空文件放在目录下,于是我看了解压后的android-ndk-r22,确实没有错误里提到的platforms,就新建了一个空的platforms文件夹,修改了项目的新NDK路径,再执行编译,奇迹发生了,编译成功!!!app按钮终于是绿色不带叉的了。
继续阅读NDK is missing a "platforms" directory.unset the NDK variable from ANDROID_NDK_HOME o...
ubuntu编译weex_js_engine
weex早期在Android上使用的是V8,但经过测试,JavaScriptCore的性能比V8的性能更好,所以便用JavaScriptCore全面替代了V8
主分支默认使用由 UC 提供的 V8 引擎,默认只提供 armeabi-v7a, x86 两个版本的引擎。
系统只能是ubuntu 16.04,因为编译的时候需要gcc-4.7的头文件。
vue中router-view与父组件之间的通信
在项目当中,遇到一个问题。当父页面的某个属性变化时,需要router-view中的页面根据不同的值进行不同的操作。
仔细想一下,其实类似父子组件之间的传值。
实现过程如下:
- 父组件绑定属性和事件
1 2 3 4 5 6 7 8 9 10 11 12 13 14 15 16 17 18 19 20 21 |
<template> <router-view v-on:test="testP" v-bind:msg="msg"></router-view> </template> <script type="text/javascript"> export default { data() { return { msg: "把我带给router-view吧!" } }, methods: { testP: function (data) { // 从router-view返回来的数据 console.log(data) // 打印出来就是 // 把我带给父组件吧!第一次! // 把我带给父组件吧!第二次! } } } </script> |
- router-view关联的属性和监听动作
1 2 3 4 5 6 7 8 9 10 11 12 13 14 15 16 17 18 19 20 21 22 23 24 25 26 27 28 29 |
<template> <div>{{msg}}</div> </template> <script type="text/javascript"> export default { props:['msg'], data() { return {} }, watch: { // 监听父组件的msg的变化 msg: function() { console.log(this.msg) // 打印出来就是 // 把我带给router-view吧! } }, mounted() { // this.init() }, methods: { init() { // 第一次向父组件传值 this.$emit("test", "把我带给父组件吧!第一次!") // 第二次向父组件传值 this.$emit("test", "把我带给父组件吧!第二次!") } } } |
注意:
1 |
<router-view v-on:test="testP" v-bind:msg="msg"></router-view> |
v-on 绑定的函数名 test
,尽量不要出现大写字母(驼峰命名)(比如 v-on:Aplus_clicked="testP"),否则在某些特殊使用方式的情况下,可能会出现无法触发的问题。
驼峰命名,可能会发生如下报错:
1 |
[Vue tip]: Event "aplus_clicked" is emitted in component <Anonymous> but the handler is registered for "Aplus_clicked". Note that HTML attributes are case-insensitive and you cannot use v-on to listen to camelCase events when using in-DOM templates. You should probably use "aplus_clicked" instead of "Aplus_clicked". |
参考链接
Evaluating JavaScript code via import()
The import()
operator lets us dynamically load ECMAScript modules. But they can also be used to evaluate JavaScript code (as Andrea Giammarchi recently pointed out to me), as an alternative to eval()
. This blog post explains how that works.
eval()
does not support export
and import
A significant limitation of eval()
is that it doesn’t support module syntax such as export
and import
.
If we use import()
instead of eval()
, we can actually evaluate module code, as we will see later in this blog post.
In the future, we may get Realms which are, roughly, a more powerful eval()
with support for modules.
Evaluating simple code via import()
Let’s start by evaluating a console.log()
via import()
:
1 2 3 4 5 6 7 8 |
const js = `console.log('Hello everyone!');`; const encodedJs = encodeURIComponent(js); const dataUri = 'data:text/javascript;charset=utf-8,' + encodedJs; import(dataUri); // Output: // 'Hello everyone!' |
What is going on here?
- First we create a so-called data URI. The protocol of this kind of URI is
data:
. The remainder of the URI encodes the full resource instead pointing to it. In this case, the data URI contains a complete ECMAScript module – whose content type istext/javascript
. - Then we dynamically import this module and therefore execute it.
Warning: This code only works in web browsers. On Node.js, import()
does not support data URIs.
Accessing an export of an evaluated module
The fulfillment value of the Promise returned by import()
is a module namespace object. That gives us access to the default export and the named exports of the module. In the following example, we access the default export:
1 2 3 4 5 6 7 8 9 10 11 |
const js = `export default 'Returned value'`; const dataUri = 'data:text/javascript;charset=utf-8,' + encodeURIComponent(js); import(dataUri) .then((namespaceObject) => { assert.equal(namespaceObject.default, 'Returned value'); }) .catch((err) => { console.log(err.message); // "Importing a module script failed." // apply some logic, e.g. show a feedback for the user }); |
Creating data URIs via tagged templates
With an appropriate function esm
(whose implementation we’ll see later), we can rewrite the previous example and create the data URI via a tagged template:
1 2 3 4 5 6 7 8 9 |
const dataUri = esm`export default 'Returned value'`; import(dataUri) .then((namespaceObject) => { assert.equal(namespaceObject.default, 'Returned value'); }) .catch((err) => { console.log(err.message); // "Importing a module script failed." // apply some logic, e.g. show a feedback for the user }); |
The implementation of esm
looks as follows:
1 2 3 4 5 6 |
function esm(templateStrings, ...substitutions) { let js = templateStrings.raw[0]; for (let i=0; i<substitutions.length; i++) { js += substitutions[i] + templateStrings.raw[i+1]; } return 'da |
For the encoding, we have switched from charset=utf-8
to base64
. Compare:
- Source code:
'a' < 'b'
- Data URI 1:
data:text/javascript;charset=utf-8,'a'%20%3C%20'b'
- Data URI 2:
data:text/javascript;base64,J2EnIDwgJ2In
Each of the two ways of encoding has different pros and cons:
- Benefits of
charset=utf-8
(percent-encoding):- Much of the source code is still readable.
- Benefits of
base64
:- The URIs are usually shorter.
- Easier to nest because it doesn’t contain special characters such as apostrophes. We’ll see an example of nesting in the next section.
btoa()
is a global utility function that encodes a string via base 64. Caveats:
- It is not available on Node.js.
- It should only be used for characters whose Unicode code points range from 0 to 255.
Evaluating a module that imports another module
With tagged templates, we can nest data URIs and encode a module m2
that imports another module m1
:
1 2 3 4 5 6 7 8 |
const m1 = esm`export function f() { return 'Hello!' }`; const m2 = esm`import {f} from '${m1}'; export default f()+f();`; import(m2) .then(ns => assert.equal(ns.default, 'Hello!Hello!')) .catch((err) => { console.log(err.message); // "Importing a module script failed." // apply some logic, e.g. show a feedback for the user }); |
Further reading
- Wikipedia on Data URIs
- Section on
import()
in “JavaScript for impatient programmers” - Section on tagged templates in “JavaScript for impatient programmers”
参考链接
增加VBox显存到256M
Virtual Box supports up to 256 MB of video RAM. This can not be set using the slider of the Virtual Box Manager.
To make full use of all supported memory we can issue the following command in a terminal:
1 |
$ VBoxManage modifyvm "Name of VM" --vram 256 |
Before we change settings such as the video RAM a pre-existing virtual machine has to be shut down.
Note that for 3D video hardware acceleration from the guest addition’s video driver the physical RAM of the host graphics card will be passed through. The video RAM settings of the virtual machine will not affect this.
参考链接
判断网页是通过PC端还是移动终端打开的
1 2 3 4 5 |
if((navigator.userAgent.match(/(phone|pad|pod|iPhone|iPod|ios|iPad|Android|Mobile|BlackBerry|IEMobile|MQQBrowser|JUC|Fennec|wOSBrowser|BrowserNG|WebOS|Symbian|Windows Phone)/i))) { window.location.href = ""; //手机 } else { window.location.href = ""; //电脑 } |
也可以执行其他操作:
1 2 3 4 5 |
if((navigator.userAgent.match(/(phone|pad|pod|iPhone|iPod|ios|iPad|Android|Mobile|BlackBerry|IEMobile|MQQBrowser|JUC|Fennec|wOSBrowser|BrowserNG|WebOS|Symbian|Windows Phone)/i))) { alert('您正在通过手机访问'); } else { alert("您在PC端访问"); } |
JS判断客户端是否是iOS或者Android手机移动端:
通过判断浏览器的 userAgent,用正则来判断手机是否是ios和Android客户端。代码如下:
1 2 3 4 5 6 7 |
<script type="text/javascript"> var u = navigator.userAgent; var isAndroid = u.indexOf('Android') > -1 || u.indexOf('Adr') > -1; //android终端 var isiOS = !!u.match(/\(i[^;]+;( U;)? CPU.+Mac OS X/); //ios终端 alert('是否是Android:'+isAndroid); alert('是否是iOS:'+isiOS); </script> |
下面一个比较全面的浏览器检查函数,提供更多的检查内容,你可以检查是否是移动端(Mobile)、ipad、iphone、微信、QQ等。
第一种:
1 2 3 4 5 6 7 8 9 10 11 12 13 14 15 16 17 18 19 20 21 22 23 24 25 26 27 28 29 30 31 32 |
<script type="text/javascript"> //判断访问终端 var browser={ versions:function(){ var u = navigator.userAgent, app = navigator.appVersion; return { trident: u.indexOf('Trident') > -1, //IE内核 presto: u.indexOf('Presto') > -1, //opera内核 webKit: u.indexOf('AppleWebKit') > -1, //苹果、谷歌内核 gecko: u.indexOf('Gecko') > -1 && u.indexOf('KHTML') == -1,//火狐内核 mobile: !!u.match(/AppleWebKit.*Mobile.*/), //是否为移动终端 ios: !!u.match(/\(i[^;]+;( U;)? CPU.+Mac OS X/), //ios终端 android: u.indexOf('Android') > -1 || u.indexOf('Adr') > -1, //android终端 iPhone: u.indexOf('iPhone') > -1 , //是否为iPhone或者QQHD浏览器 iPad: u.indexOf('iPad') > -1, //是否iPad webApp: u.indexOf('Safari') == -1, //是否web应该程序,没有头部与底部 weixin: u.indexOf('MicroMessenger') > -1, //是否微信 (2015-01-22新增) qq: u.match(/\sQQ/i) == " qq" //是否QQ }; }(), language:(navigator.browserLanguage || navigator.language).toLowerCase() } //使用方法: //判断是否IE内核 if(browser.versions.trident){ alert("is IE"); } //判断是否webKit内核 if(browser.versions.webKit){ alert("is webKit"); } //判断是否移动端 if(browser.versions.mobile||browser.versions.android||browser.versions.ios){ alert("移动端"); } </script> |
检测浏览器语言
1 2 3 4 5 |
currentLang = navigator.language; //判断除IE外其他浏览器使用语言 if(!currentLang){//判断IE浏览器使用语言 currentLang = navigator.browserLanguage; } alert(currentLang); |
第二种:
1 2 3 4 5 6 7 8 9 |
if (/(iPhone|iPad|iPod|iOS)/i.test(navigator.userAgent)) { //alert(navigator.userAgent); window.location.href ="iPhone.html"; } else if (/(Android)/i.test(navigator.userAgent)) { //alert(navigator.userAgent); window.location.href ="Android.html"; } else { window.location.href ="pc.html"; }; |
也可以通过这样来适配,然后直接转跳到移动端页面:
1 2 3 4 5 6 7 8 9 10 11 12 13 14 15 16 17 18 |
function mobile_device_detect(url){ var thisOS=navigator.platform; var os=new Array("iPhone","iPod","iPad","android","Nokia","SymbianOS","Symbian","Windows Phone","Phone","Linux armv71","MAUI","UNTRUSTED/1.0","Windows CE","BlackBerry","IEMobile"); for(var i=0;i<os.length;i++){ if(thisOS.match(os[i])){ window.location.href=url; } } if(navigator.platform.indexOf('iPad') != -1){ window.location.href=url; } var check = navigator.appVersion; if( check.match(/linux/i) ){ if(check.match(/mobile/i) || check.match(/X11/i)){ window.location.href=url; } } } |
参考链接
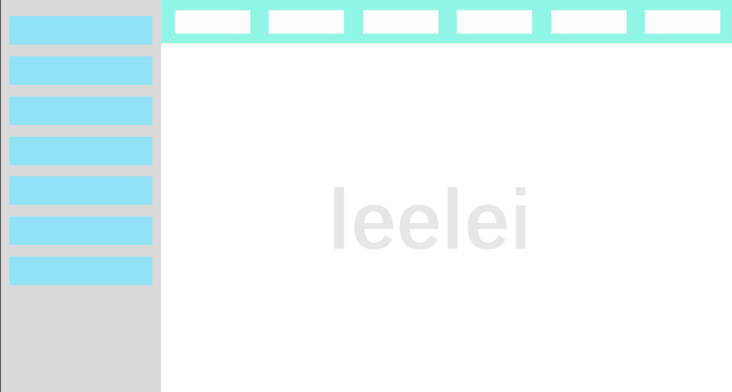
CSS高度自适应铺满全屏
HTML:
1 2 3 4 5 6 7 8 9 10 11 12 13 14 15 16 17 18 |
<!DOCTYPE html> <html> <head> <meta charset="utf-8" /> <title>dddd</title> <link rel="stylesheet" type="text/css" href="test.css" /> </head> <body class="HolyGrail"> <header>...</header> <div class="HolyGrail-body "> <main class="HolyGrail-content">...</main> <nav class="HolyGrail-nav">...</nav> <aside class="HolyGrail-ads">...</aside> </div> <footer>...</footer> </body> |
CSS:
1 2 3 4 5 6 7 8 9 10 11 12 13 14 15 16 17 18 19 20 21 22 |
.HolyGrail { display: flex; flex-direction: column; background-color: blueviolet; } header, footer { height: 100px; background-color: aquamarine; } body { padding: 0; margin: 0; min-height: 100vh; } .HolyGrail-body { flex: 1; background-color: brown; } |
这里需要注意的是设置body的min-height: 100vh;以及margin: 0;
vw和vh
vm、vh、vmin、vmax是一种视窗单位,也是相对单位。它相对的不是父节点或者页面的根节点。而是由视窗(Viewport)大小来决定的,单位 1,代表类似于 1%。 视窗(Viewport)是你的浏览器实际显示内容的区域—,换句话说是你的不包括工具栏和按钮的网页浏览器。
具体描述如下:
- vw:视窗宽度的百分比(1vw 代表视窗的宽度为 1%)
- vh:视窗高度的百分比
- vmin:取当前Vw和Vh中较小的那一个值
- vmax:取当前Vw和Vh中较大的那一个值
vh和vw相对于视口的高度和宽度, 1vh 等于1/100的视口高度,1vw 等于1/100的视口宽度 比如:浏览器高度900px,宽度为750px, 1 vh = 900px/100 = 9 px,1vw = 750px/100 = 7.5 px, 很容易实现与同屏幕等高的框。
参考链接
spring boot设置favicon,favicon不生效,不成功,不起作用
Favicon配置
默认的Favicon图标
关闭默认图标
在application.properties中添加:
1 |
spring.mvc.favicon.enabled=false |
或者(我这个有效果):
1 |
spring.favicon.enabled = false |
效果 具体原因:https://jira.spring.io/browse/SPR-12851
spring boot设置favicon,favicon不生效,不成功,不起作用
springboot显示的是一片叶子,我们如何使用自己的favicon呢?
1.将favicon.icon放到resources目录下 例如:/public,/static等等
2.完成上面的步骤还不能显示,还需在你的页面的head标签添加代码
1 2 3 4 5 6 7 |
<head> <meta charset="UTF-8"> <title>登录</title> <link rel="shortcut icon" th:href="@{/favicon.ico}" type="image/x-icon"/> <link rel="icon" th:href="@{/favicon.ico}" type="image/x-icon"/> <link rel="bookmark" th:href="@{/favicon.ico}" type="image/x-icon"/> </head> |
3.注意我使用的thymeleaf所以是以上代码片段如果你不是请这样添加
1 2 3 4 5 6 7 |
<head> <meta charset="UTF-8"> <title>登录</title> <link href="/favicon.ico" rel="shortcut icon" type="image/x-icon"/> <link href="/favicon.ico" rel="icon" type="image/x-icon"/> <link href="/favicon.ico" rel="bookmark" type="image/x-icon"/> </head> |