1. 配置 Socks5 编译环境
|
1 |
yum -y install gcc automake autoconf libtool make |
2. 安装 Socks5 必要的包
|
1 |
yum -y install pam-devel openldap-devel cyrus-sasl-devel |
3.下载,编译安装 Socks5
到此下载 http://sourceforge.net/projects/ss5/files/
http://ss5.sourceforge.net/
官方实例
http://ss5.sourceforge.net/examples.htm
|
1 2 3 4 5 6 |
wget -c http://downloads.sourceforge.net/project/ss5/ss5/3.6.4-3/ss5-3.6.4-3.tar.gz tar zxvf ss5-3.6.4-3.tar.gz cd ss5-3.6.4 ./configure //notes:(默认是1080端口,如果想改端口的话,./configure –with-defaultport=10800 make make install |
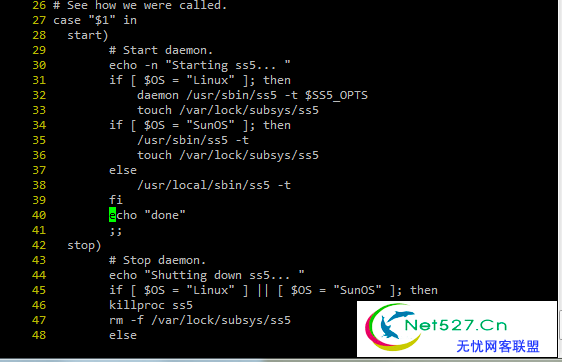
有点 BUG 需要我们手工修正一下
# vi /etc/rc.d/init.d/ss5 找到38行
|
1 |
/usr/local/sbin/ss5 |
改为
|
1 |
/usr/sbin/ss5 |
# vi /etc/rc.d/init.d/ss5 找到40行
|
1 2 |
echo "done" ;; |
改成
|
1 2 3 |
echo "done" fi ;; |
看下我修改后的对比
4. 启动ss5服务
|
1 |
/etc/init.d/ss5 start |
5. 添加 ss5 到服务中,并随机启动
|
1 2 |
chkconfig --add ss5 chkconfig ss5 on |
6. 删除Socks V4模块
改名为 mod_socks4.so.bk
|
1 |
mv /usr/lib/ss5/mod_socks4.so /usr/lib/ss5/mod_socks4.so.bk |
7. 添加 SS5 用户
ss5 默认使用1080端口,并允许任何人使用。
我们可以修改 /etc/opt/ss5/ss5.conf 中的
|
1 2 3 |
# SHost SPort Authentication # auth 0.0.0.0/0 - - |
为
|
1 2 3 |
# SHost SPort Authentication # auth 0.0.0.0/0 - u |
在 /etc/opt/ss5/ss5.passwd 中添加 用户名和密码如:
|
1 |
test test |
8. 设置允许范围

使用用户验证,重启ss5服务
|
1 |
/etc/init.d/ss5 restart |
8. 查看日志
|
1 |
more /var/log/ss5/ss5.log |
ss5正常启动后,如果你使用的是10800(非默认端口),这时会发现1080和10800都开的了,
这时你需要去环境变量里手工指定端口:
|
1 |
export SS5_SOCKS_PORT=10800 |
为什么我搭建之后,浏览器用s5不能上网呢
抓包分析一下,看看哪里被拒绝了