最近入手了 ESP32 WROOM 32E 模组,记录一下刷入 MicroPython 固件的过程。
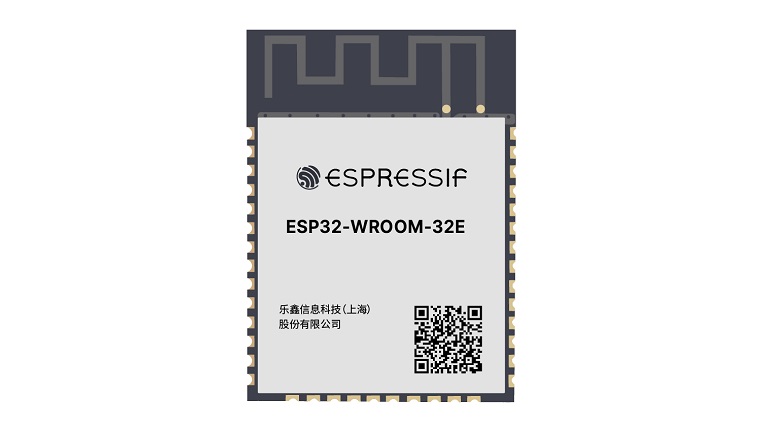
模组的样式如下图:
网上可以买到相应的开发模组,如下图:
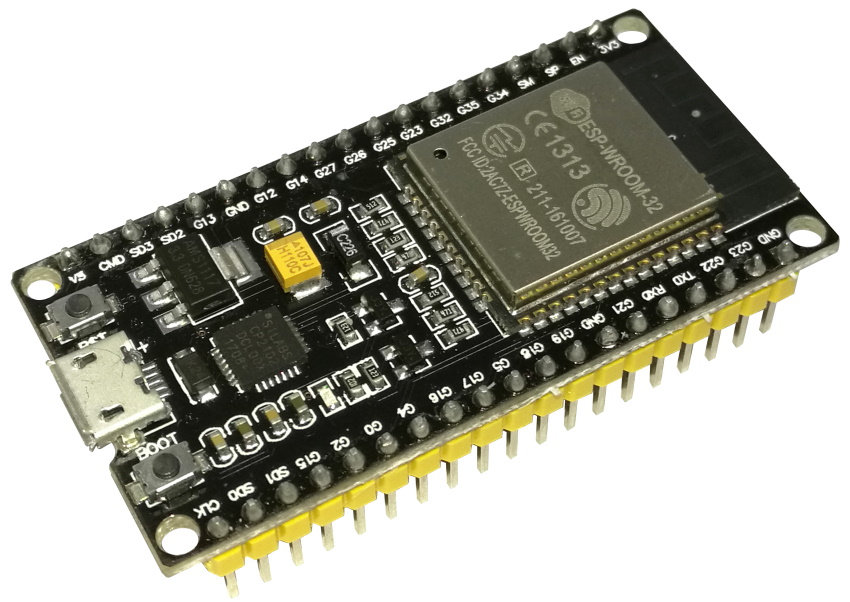
可以看到,模组上自带刷机按键,如果使用模组的话,可以简单的按下刷机按键,并且按下复位按键即可进入刷机模式,也就是开发板上的两个按键同时按下。
固件烧写文档参考 在 ESP32 上开始使用 MicroPython
固件下载 Quick reference for the ESP32,也可本站下载 esp32-20220618-v1.19.1.bin、esp32-20230426-v1.20.0.bin
Windows下固件烧写大致可以通过如下流程:
|
1 |
pip install esptool |
|
1 2 3 |
python -m esptool --chip esp32 --port COM3 erase_flash python -m esptool --chip esp32 --port COM3 --baud 460800 write_flash -z 0x1000 esp32-20220618-v1.19.1.bin |
如果刷机的时候报错如下,可以简单的按下刷机按键,并且按下复位按键(也就是开发板上的两个按键同时按下)即可进入刷机模式。
|
1 2 3 4 5 6 7 |
python -m esptool --chip esp32 --port COM3 erase_flash esptool.py v4.4 Serial port COM3 Connecting...................................... A fatal error occurred: Failed to connect to ESP32: Wrong boot mode detected (0x13)! The chip needs to be in download mode. For troubleshooting steps visit: https://docs.espressif.com/projects/esptool/en/latest/troubleshooting.html |
可以简单的按下刷机按键,并且按下复位按键即可解决此问题。
完整的刷机日志参考如下:
|
1 2 3 4 5 6 7 8 9 10 11 12 13 14 15 16 17 18 19 20 21 22 23 24 25 26 27 28 29 30 31 32 33 34 35 36 |
$ python -m esptool --chip esp32 --port COM3 erase_flash esptool.py v4.4 Serial port COM3 Connecting......... Chip is ESP32-D0WD-V3 (revision v3.0) Features: WiFi, BT, Dual Core, 240MHz, VRef calibration in efuse, Coding Scheme None Crystal is 40MHz MAC: 34:94:54:03:2a:40 Uploading stub... Running stub... Stub running... Erasing flash (this may take a while)... Chip erase completed successfully in 50.8s Hard resetting via RTS pin... $ python -m esptool --chip esp32 --port COM3 --baud 460800 write_flash -z 0x1000 esp32-20220618-v1.19.1.bin esptool.py v4.4 Serial port COM3 Connecting.......... Chip is ESP32-D0WD-V3 (revision v3.0) Features: WiFi, BT, Dual Core, 240MHz, VRef calibration in efuse, Coding Scheme None Crystal is 40MHz MAC: 34:94:54:03:2a:40 Uploading stub... Running stub... Stub running... Changing baud rate to 460800 Changed. Configuring flash size... Flash will be erased from 0x00001000 to 0x0017efff... Compressed 1560976 bytes to 1029132... Wrote 1560976 bytes (1029132 compressed) at 0x00001000 in 24.5 seconds (effective 509.7 kbit/s)... Hash of data verified. Leaving... Hard resetting via RTS pin... |
对于没有开发板的情况下,可以简单的焊接引线出来,直接把 IO0 与 地线 短接,然后在通电的情况下,把 EN 管脚与 地线 短接并保持一两秒,再与 3.3V 短接并保持几秒再断开,设备即可复位并进入刷机模式。
注意刷机完成后,要断开 IO0 与 地线 的接线,否则设备不能正常从 Flash 中启动。
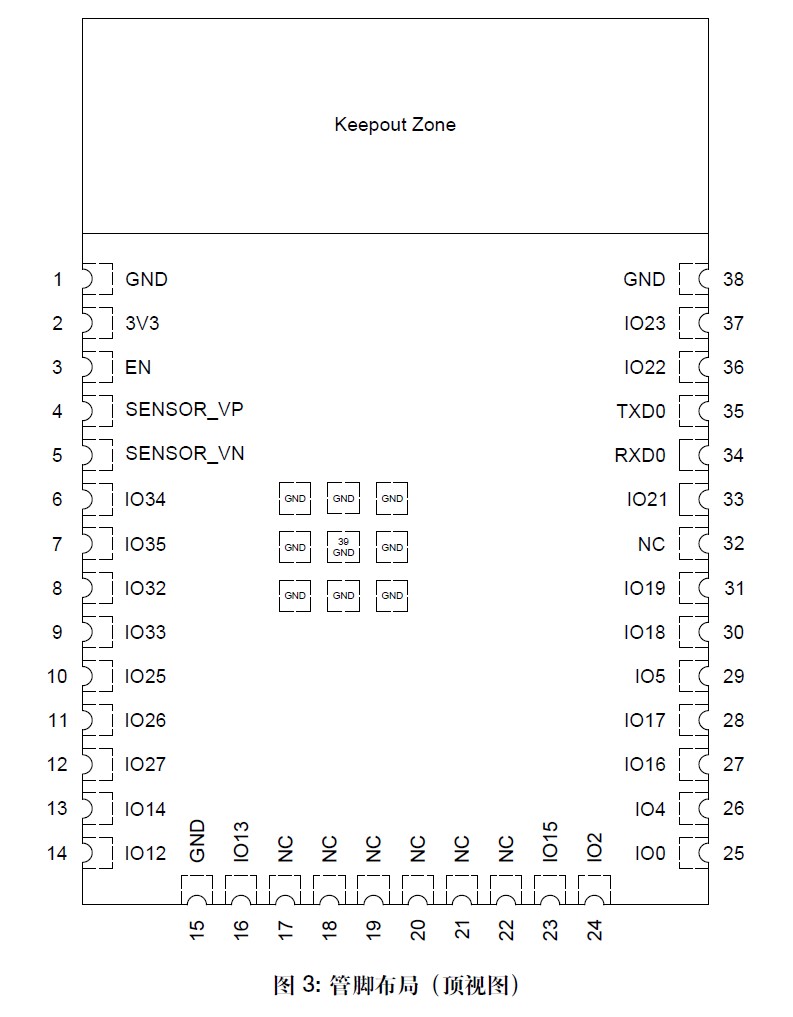
刷机管脚的说明如下:
官方文档如下:
Skip to PDF content内部文件系统
如果您的设备有 1Mbyte 或更多的存储空间,那么它将被设置(在第一次启动时)包含一个文件系统。该文件系统采用 FAT 格式,存储在 MicroPython 固件之后的 flash 中。
创建和读取文件
ESP8266 上的 MicroPython 支持使用内置open() 函数在 Python 中访问文件的标准方式。
要创建文件,请通过串口(波特率 115200)访问开发版,然后尝试输入:
|
1 2 3 4 |
>>> f = open('data.txt', 'w') >>> f.write('some data') 9 >>> f.close() |
“9”是使用该write()方法写入的字节数。然后你可以使用以下命令读回这个新文件的内容:
|
1 2 3 4 |
>>> f = open('data.txt') >>> f.read() 'some data' >>> f.close() |
请注意,打开文件时的默认模式是以只读模式和文本文件打开它。指定'wb' 作为第二个参数以 open()二进制模式打开以进行写入,并'rb'以二进制模式打开以进行读取。
列表文件等
os 模块可用于进一步控制文件系统。首先导入模块:
|
1 |
>>> import os |
然后尝试列出文件系统的内容:
|
1 2 |
>>> os.listdir() ['boot.py', 'port_config.py', 'data.txt'] |
您可以创建目录:
|
1 |
>>> os.mkdir('dir') |
并删除条目:
|
1 |
>>> os.remove('data.txt') |
启动脚本
ESP8266 启动时会特别处理两个文件:boot.py 和 main.py。boot.py 脚本首先被执行(如果它存在),然后一旦它完成 main.py 脚本就会被执行。您可以自己创建这些文件,并使用您希望在设备启动时运行的代码填充它们。
通过 WebREPL 访问文件系统
您可以使用浏览器中的 Web 客户端或通过命令行工具通过 WebREPL 访问文件系统。有关 WebREPL 的更多信息,请参阅快速参考和教程部分。
MAC
|
1 2 3 4 |
import network import ubinascii mac = ubinascii.hexlify(network.WLAN().config('mac'),':').decode() print(mac) |
OTA
ota到底是个啥功能,其实我也不一定理解的很准确,我认为就是网络升级功能,连上wifi升级程序,就这样。
传统的嵌入式想升级确实比较费劲,因为没有文件管理系统,所以就得考虑专门给ota的分区,直接整个bin都重新烧录引导,这部分比较复杂,我也只是看个皮毛,说的不一定准,当然也不是今天的主题。
所以我就在想,咱大MPY需要这种OTA么,好像并不需要,就是更新个py的事儿嘛,哪有这么复杂呢?结合uruquests库弄就完了!也省得搭服务器,直接建立个库多好啊。
现在比较新的固件,我印象1.17以后都是了,官方固件自带urequests库,不过这个库也就一个文件,光杆司令,你完全可以直接拷贝到开发板上。
然后github找了个类似的项目, senko。好家伙两年没更新了,也没啥大问题,可能关注度也不高。
总体步骤跟我来一遍:
1 改boot.py这个是板子启动的第一个东西,我们把设置弄进去:
|
1 2 3 4 5 6 7 8 9 10 11 12 13 14 15 16 17 18 19 20 21 22 23 24 25 26 27 28 29 30 31 32 33 34 35 36 37 38 39 40 41 42 43 44 45 |
import gc import machine import network def connect_wlan(ssid, password): sta_if = network.WLAN(network.STA_IF) ap_if = network.WLAN(network.AP_IF) sta_if.active(True) ap_if.active(False) if not sta_if.isconnected(): print("Connecting to WLAN ({})...".format(ssid)) sta_if.active(True) sta_if.connect(ssid, password) while not sta_if.isconnected(): pass return True def main(): gc.collect() # Wi-Fi credentials SSID = "jd_work" PASSWORD = "800080008000" connect_wlan(SSID, PASSWORD) # Install Senko from PyPi #upip.install("micropython-senko") import senko OTA = senko.Senko(user="jd3096", repo="micropython-ota-test", working_dir="app", files=["main.py"]) print('ota init') if OTA.update(): print("Updated to the latest version!") machine.reset() if __name__ == "__main__": main() |
其实就是运行main.py之前,联网,并尝试用senko库更新
核心就一句话:
|
1 |
OTA = senko.Senko(user="jd3096", repo="micropython-ota-test", working_dir="app", files=["main.py"]) |
更加详细的参数可以自己看库,不大也不难
2 官方用的是upip的方法安装senko库,但是网络是爹,何必求爸爸呢,所以直接放进去一个senko.py也一样,我做了一些适配csdn库的修改。
|
1 2 3 4 5 6 7 8 9 10 11 12 13 14 15 16 17 18 19 20 21 22 23 24 25 26 27 28 29 30 31 32 33 34 35 36 37 38 39 40 41 42 43 44 45 46 47 48 49 50 51 52 53 54 55 56 57 58 59 60 61 62 63 64 65 66 67 68 69 70 71 72 73 74 75 76 77 78 79 80 81 82 83 84 85 86 87 88 89 90 91 92 93 94 95 96 97 98 |
import urequests import uhashlib import gc gc.collect() class Senko: #https://gitcode.net/jd3096/micropython-ota-test.git raw = "https://gitcode.net" #github = "https://gitcode.net" def __init__(self, user, repo, url=None, branch="-/raw/master", working_dir="app", files=["boot.py", "main.py"], headers={}): """Senko OTA agent class. Args: user (str): GitHub user. repo (str): GitHub repo to fetch. branch (str): GitHub repo branch. (master) working_dir (str): Directory inside GitHub repo where the micropython app is. url (str): URL to root directory. files (list): Files included in OTA update. headers (list, optional): Headers for urequests. """ self.base_url = "{}/{}/{}".format(self.raw, user, repo) if user else url.replace(self.github, self.raw) self.url = url if url is not None else "{}/{}/{}".format(self.base_url, branch, working_dir) self.headers = headers self.files = files print(self.base_url,self.url,self.headers,self.files) def _check_hash(self, x, y): x_hash = uhashlib.sha1(x.encode()) y_hash = uhashlib.sha1(y.encode()) x = x_hash.digest() y = y_hash.digest() if str(x) == str(y): return True else: return False def _get_file(self, url): gc.collect() print(url) payload = urequests.get(url) code = payload.status_code if code == 200: return payload.text else: return None def _check_all(self): changes = [] for file in self.files: latest_version = self._get_file(self.url + "/" + file) if latest_version is None: continue try: with open(file, "r") as local_file: local_version = local_file.read() except: local_version = "" if not self._check_hash(latest_version, local_version): changes.append(file) return changes def fetch(self): """Check if newer version is available. Returns: True - if is, False - if not. """ if not self._check_all(): return False else: return True def update(self): """Replace all changed files with newer one. Returns: True - if changes were made, False - if not. """ changes = self._check_all() for file in changes: with open(file, "w") as local_file: local_file.write(self._get_file(self.url + "/" + file)) if changes: return True else: return False |
3 板子的工作完事儿了,剩下的就是改变仓库的内容。真心方便,优雅!!!
做这玩意有啥用呢?
以前写程序的方式:
板子连接电脑——打开thonny——修改代码——保存
现在的方式:
首次设置后
电脑端改好代码——push到仓库——板子上按一下重启
再也不用线了,只要板子有网就行,多优雅。
还有很重要的一点,如果部署一个板子,插线连接ok,如果要同时更新几十个几百个板子,而且板子分散在各种,这种ota的优势就凸显出来了。
评论区提到的配网问题,也是一个方向,目前我所了解的配网就是esp32建立服务器热点,其他设备连接,打开指定ip的浏览器,输入配网信息,还不够优雅,有个叫强制门户的技术,类似机场的wifi,连接自动弹出网页填写信息,这个能更好些,当然除了mpy,esp32可以微信小程序配网之类的,关于配网,有时间我专门开一期。
参考链接
- GitHub ESP32-MicroPython
- MicroPython ESP32
- 测试在MicroPython中对于main.py进行修改
- ESP-WROOM-32模组入坑指南
- ESP32 WROOM 32 won't enter serial bootloader mode
- ESP32 模组
- ESP32WROOM32E ESP32WROOM32UE 技术规格书
- Quick reference for the ESP32
- 在 ESP32 上开始使用 MicroPython
- ESP32 对影响开机的引脚进行实际测试
- ESP32-S2无法正确进入BOOT模式
- 解决MicroPython执行SD卡中的main.py文件中的死循环出不来的问题
- MicroPython 内部文件系统
- ESP32 MicroPython教程:读取、写入文件
- micropython实现mpy的ota(有用,推荐)
- MicroPython OTA Updater
- ESP8266折腾之路(三)使用WebREPL远程更新
- ESP8266(micropython)通过web直连(REPL)
- ESP32从零开始(6)—— 模组 ESP32-WROOM-32
- esp8266 萌新三连:刷机(MicroPython)、亮灯、联网