系统环境:Windows 7
软件环境:Visual Studio 2015 Udpate 2
本次目的:在模态或非模态对话框中使用Tab Control控件,及引申在单/多文档中使用
查阅MSDN文档,对于创建Tab Control控件,MSDN上说明如下:
To use CTabCtrl directly in a dialog box
1. In the dialog editor, add a Tab Control to your dialog template resource. Specify its control ID.
2. Use the Add Member Variable Wizard to add a member variable of type CTabCtrl with the Control property. You can use this member to call CTabCtrl member functions.
3. Map handler functions in the dialog class for any tab control notification messages you need to handle. For more information, see Mapping Messages to Functions.
4. In OnInitDialog, set the styles for the CTabCtrl .
To use CTabCtrl in a nondialog window
1. Define the control in the view or window class.
2. Call the control's Create member function, possibly in OnInitialUpdate, possibly as early as the parent window's OnCreate handler function (if you're subclassing the control). Set the styles for the control.
对话框内使用CTabCtrl
1. 在对话框编辑区内,添加一个Tab Control控件到资源模板里面,设置它的控制ID
2. 使用添加成员变量向导,为控件添加一个CTabCtrl类型的成员变量,你可以使用这个变量调用CTabCtrl的成员函数
3. 对话框类的映射处理功能可以处理任何你需要处理的标签控件消息。有关更多信息,请参阅消息映射函数。
4. 在OnInitDialog()函数里面,设置CTabCtrl的风格。
非对话框窗口使用CTabCtrl
1. 定义在视图或窗口类的控件。
2. 调用控件的创建成员函数,可能在OnInitialUpdate中,可能在父窗口的OnCreate处理函数早期(如果你是子类的控件)。设置控件的风格。
下面介绍在对话框中添加Tab Control控件,工程不一定是要MFC基于对话框形式,单文档视图类派生自 CFormView的工程也行,或是任何工程弹出的对话框 ( 如登录界面等等 ) 都行 ( 个人没有都去实验,但理论上应该可以,看了下面就知道。 )
1. 首先在对话框资源上添加一个Tab Control控件ID为IDC_LOGIN_TAB,根据需要修改其属性,然后为其添加成员变量m_tab,类型为CTabCtrl
2. 需要几个选项卡,则在对话框资源添加几个对话框,在这里我添加两个选项卡,则要添加两个对话框,其ID分别为 IDD_TAB1_DIALOG,IDD_TAB2_DIALOG它们的属性style为Child,Border为None,其他的再根据自己调整。然后分别为其添加对应的基于CDialog类 CLoginTab1,CLoginTab2
3. 在主对话框添加子对话框头文件,然后再添加三个成员变量,为子对话框添加实例。在OnInitDialog()函数初始化Tab Control控件显示,若对话框没有OnInitDialog()函数,则重载这个函数,具体如下:
//主对话框头文件
|
|
class LoginUser : public CDialog { ... protected: virtual void DoDataExchange(CDataExchange* pDX); // DDX/DDV 支持 virtual BOOL OnInitDialog(); //没有这个,则在这里重载 DECLARE_MESSAGE_MAP() public: CTabCtrl m_tab; CLoginTab1 m_login_tab1; CLoginTab2 m_login_tab2; ... } |
//主对话框实现文件
1 2 3 4 5 6 7 8 9 10 11 12 13 14 15 16 17 18 19 20 21 22 23 24 25 26 27 |
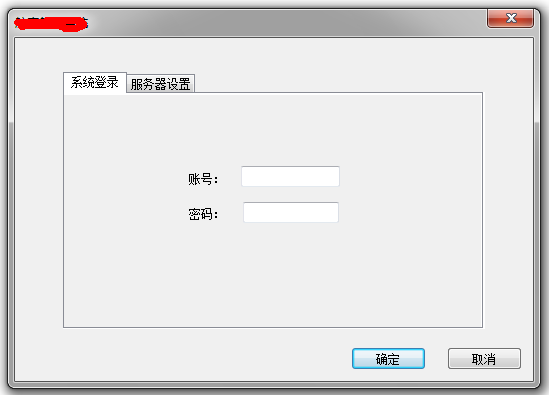
BOOL LoginUser::OnInitDialog() { CDialog::OnInitDialog(); m_tab.InsertItem(0,_T("系统登录")); m_tab.InsertItem(1,_T("服务器设置")); m_login_tab1.Create(IDD_TAB1_DIALOG,GetDlgItem(IDC_LOGIN_TAB)); m_login_tab2.Create(IDD_TAB2_DIALOG,GetDlgItem(IDC_LOGIN_TAB)); //获得IDC_TABTEST客户区大小 CRect rs; m_tab.GetClientRect(&rs); //调整子对话框在父窗口中的位置,根据实际修改 rs.top+=25; rs.bottom-=60; rs.left+=1; rs.right-=10; //设置子对话框尺寸并移动到指定位置 m_login_tab1.MoveWindow(&rs); m_login_tab2.MoveWindow(&rs); //分别设置隐藏和显示 m_login_tab1.ShowWindow(true); m_login_tab2.ShowWindow(false); //设置默认的选项卡 m_tab.SetCurSel(0); return TRUE; } |
4. 响应选项卡切换事件消息,右键Tab Control控件,添加事件处理程序,选择TCN_SELCHANGE事件,在弹出的编辑区域,填入以下代码:
1 2 3 4 5 6 7 8 9 10 11 12 13 14 15 16 17 18 |
void LoginUser::OnTcnSelchangeLoginTab(NMHDR *pNMHDR, LRESULT *pResult) { // TODO: 在此添加控件通知处理程序代码 int CurSel = m_tab.GetCurSel(); switch(CurSel) { case 0: m_login_tab1.ShowWindow(true); m_login_tab2.ShowWindow(false); break; case 1: m_login_tab1.ShowWindow(false); m_login_tab2.ShowWindow(true); break; default: ; } *pResult = 0; } |
5. 编译运行。
接下来,来看看非模态对话框的实现,因为Tab Control控件要在对话框的OnInitDialog()函数初始化,而MSDN上说:
After the dialog box and all of its controls are created but just before the dialog box (of either type) appears on the screen, the dialog object's OnInitDialog member function is called. For a modal dialog box, this occurs during the DoModal call. For a modeless dialog box, OnInitDialog is called when Create is called. You typically override OnInitDialog to initialize the dialog box's controls, such as setting the initial text of an edit box. You must call the OnInitDialog member function of the base class, CDialog , from your OnInitDialog override.
非模态对话框是在Create的时候一起调用初始化函数的,OnInitDialog()我们仍可以重载这个函数,来实现以上功能。对于单文档/多文档可以看前面的MSDN说明,这里不再详细写。本文若有错误,请指出。
参考链接
在VC++中使用Tab Control控件
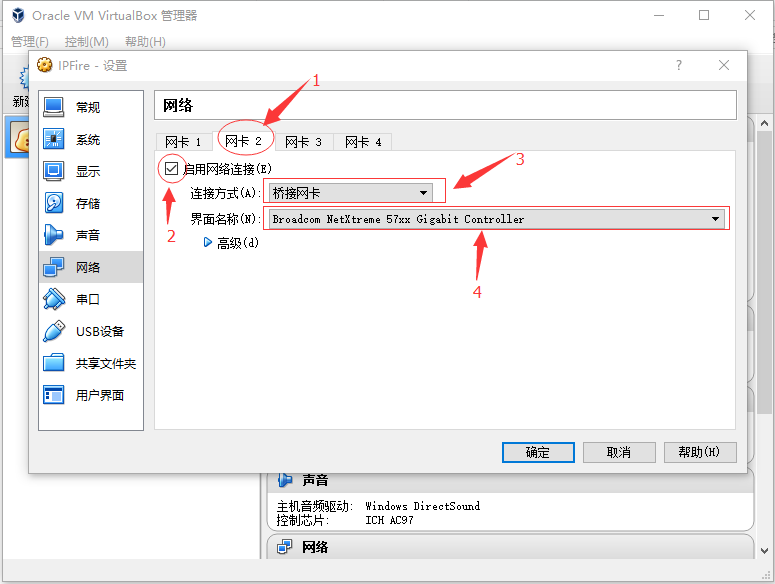
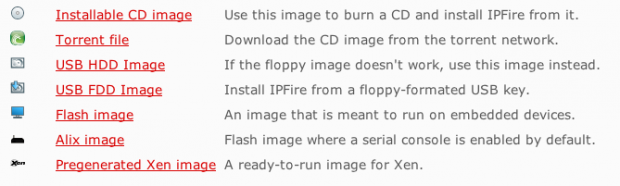 一.下面是用
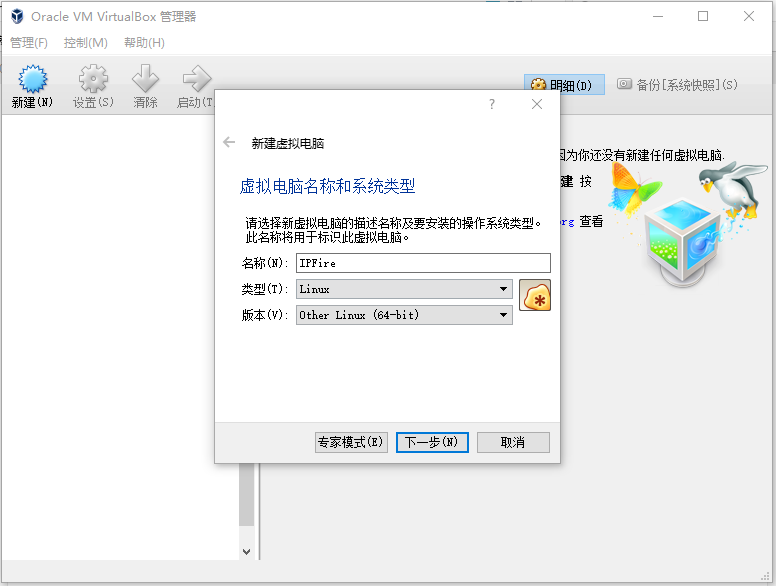 二.选择下载好的镜像文件
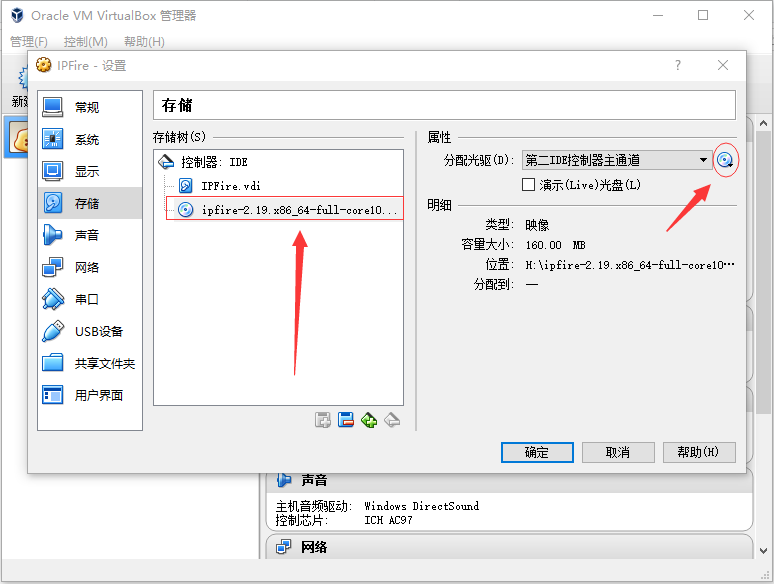
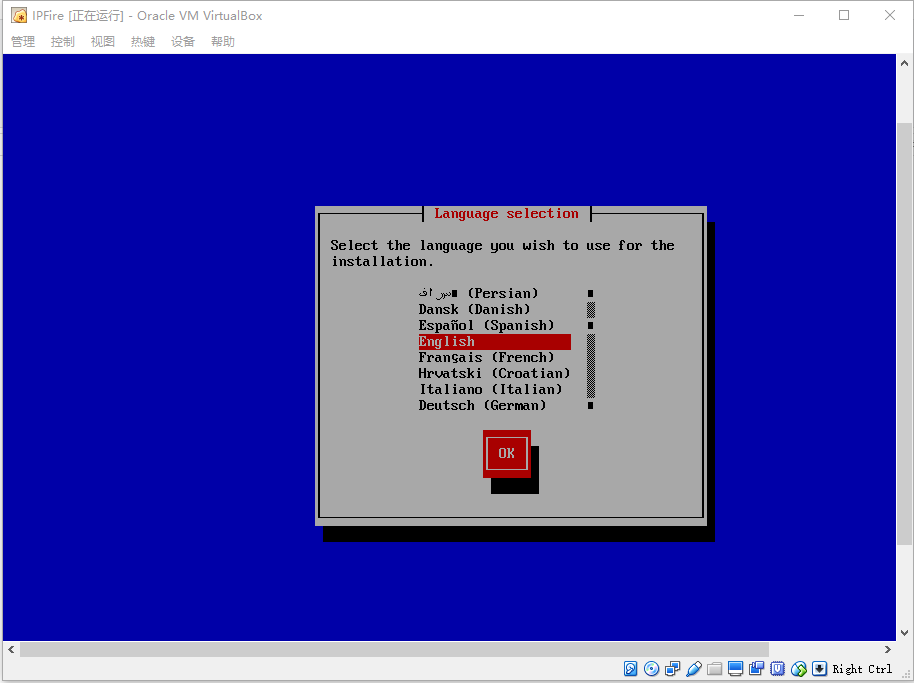
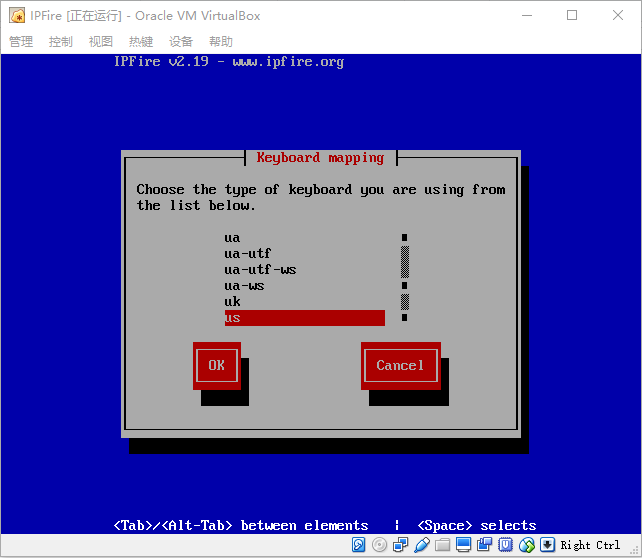
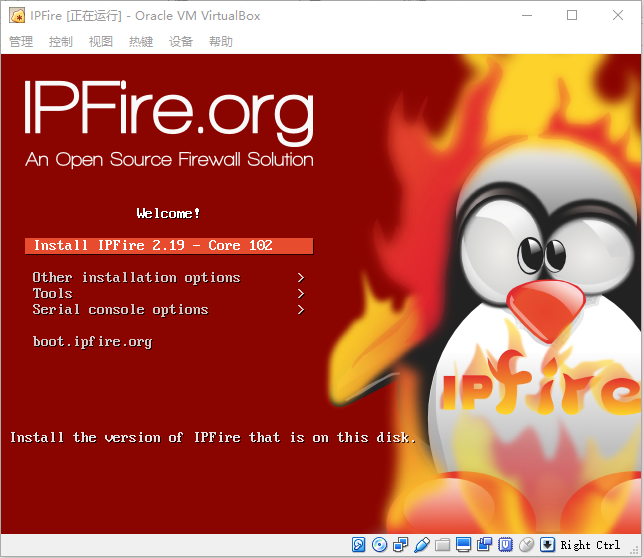 四.选择安装语言,没有中文 = =