Flutter 1.22现已发布
最新版本中,随之发布了很多新的特性以及修复了一些BUG,现在我们说说其中的新的多国语插件。个人感觉新多国语操作,多了一些模板性的东西,但是也方便了很多东西。
话不多说,现在我们进入正题,如何使用新插件呢?
配置项目的yaml文件
|
1 2 3 4 5 6 7 8 9 10 11 12 13 14 15 16 |
dependencies: flutter: sdk: flutter flutter_localizations: #配置多国语支持 sdk: flutter intl: ^0.16.1 #多国语插件,要求高于0.16.1版本 flutter: # The following line ensures that the Material Icons font is # included with your application, so that you can use the icons in # the material Icons class. uses-material-design: true generate: true #新增配置,自动多国语代码生成 |
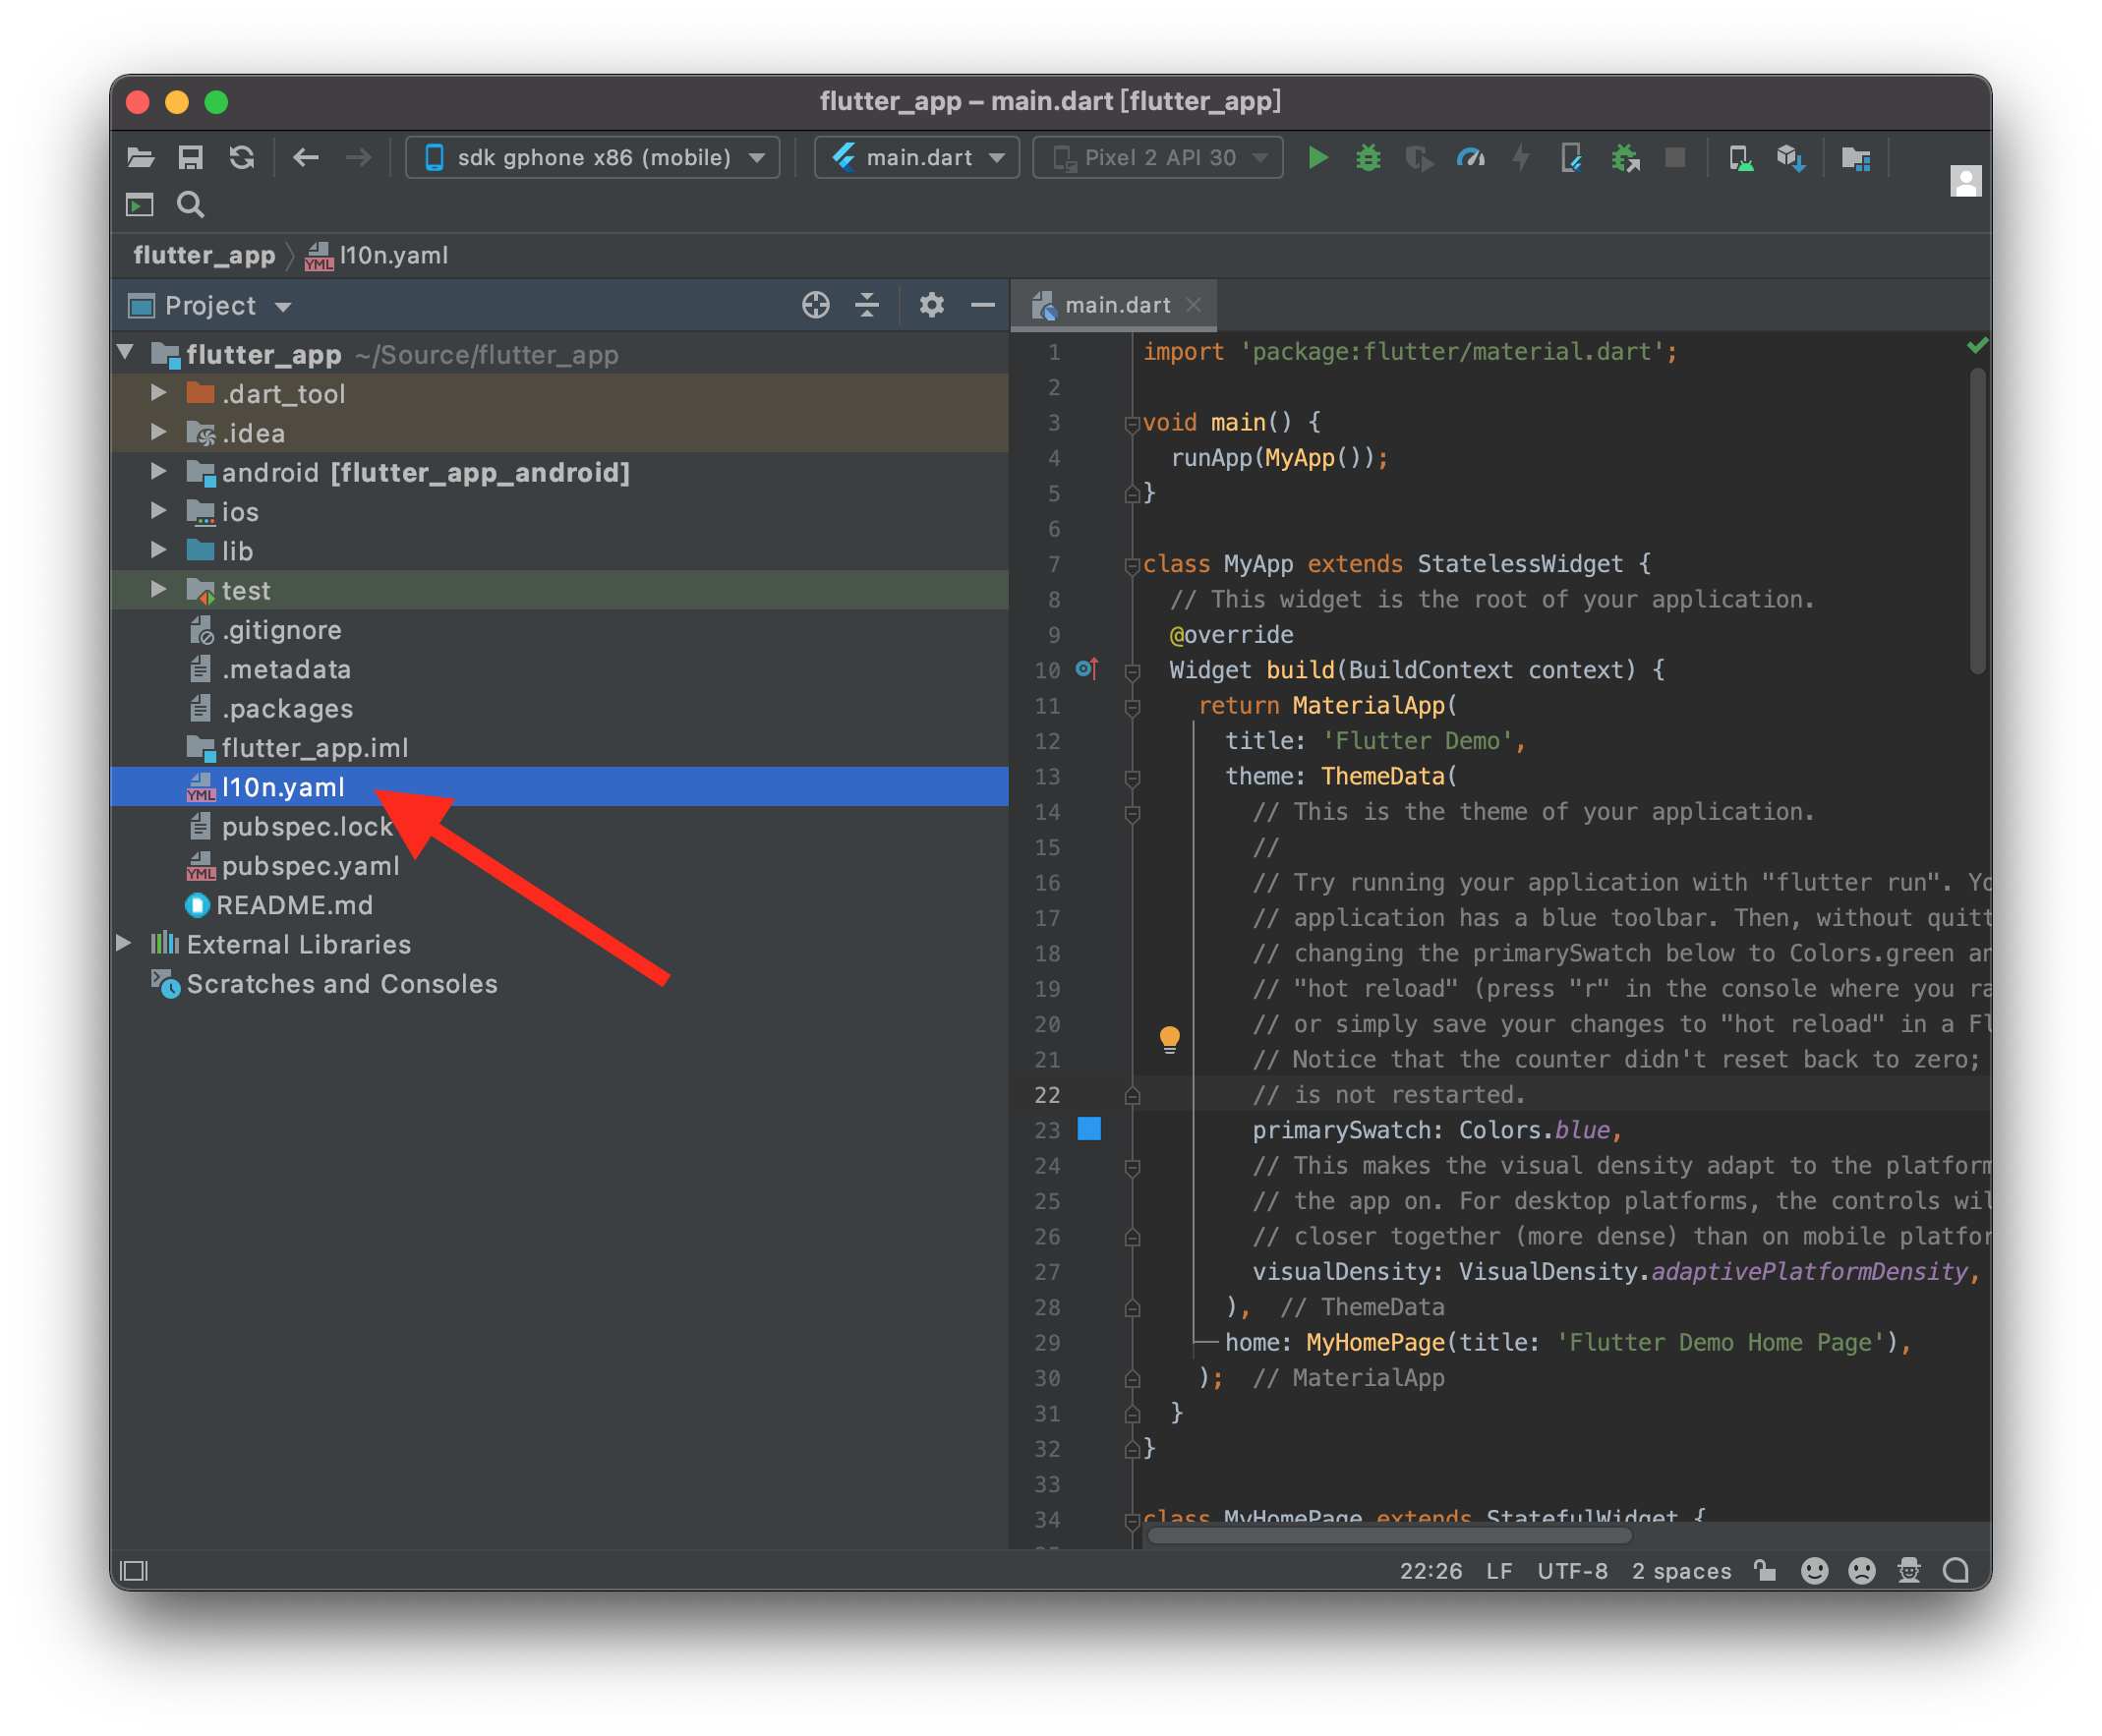
项目根目录下新增配置
l10n.yaml
添加位置如下图:
里面的内容如下:
|
1 2 3 |
arb-dir: lib/l10n #指定arb多国语文件目录 template-arb-file: app_en.arb #指定arb多国语言的模版文件,一般用英文作为默认模版,其他语言进行扩展 output-localization-file: app_localizations.dart #指定多国语配置生成的代码文件,代码中自动生成类文件AppLocalizations.dart |
l10n.yaml 文件可配置的属性有:
| 属性 | 描述 |
|---|---|
| arb-dir | The directory where the template and translated arb files are located. (defaults to "lib/l10n") |
| output-dir | The directory where the generated localization classes will be written. This option is only relevant if you want to generate the localizations code somewhere else in the Flutter project. You will also need to set the synthetic-package flag to false.<br />The app must import the file specified in the 'output-localization-file' option from this directory. If unspecified, this defaults to the same directory as the input directory specified in 'arb-dir'. |
| template-arb-file | The template arb file that will be used as the basis for generating the Dart localization and messages files. (defaults to "app_en.arb") |
| output-localization-file | The filename for the output localization and localizations delegate classes. (defaults to "app_localizations.dart") |
| untranslated-messages-file | The location of a file that describes the localization messages have not been translated yet. Using this option will create a JSON file at the target location, in the following format: "locale": ["message_1", "message_2" ... "message_n"] If this option is not specified, a summary of the messages that have not been translated will be printed on the command line. |
| output-class | The Dart class name to use for the output localization and localizations delegate classes. (defaults to "AppLocalizations") |
| preferred-supported-locales | The list of preferred supported locales for the application. By default, the tool will generate the supported locales list in alphabetical order. Use this flag if you would like to default to a different locale. For example, pass in [ en_US ] if you would like your app to default to American English if a device supports it. |
| synthetic-package | Determines whether or not the generated output files will be generated as a synthetic package or at a specified directory in the Flutter project. This flag is set to true by default.<br />When synthetic-package is set to false, it will generate the localizations files in the directory specified by arb-dir by default.<br />If output-dir is specified, files will be generated there. |
| header | The header to prepend to the generated Dart localizations files. This option takes in a string. For example, pass in "/// All localized files." if you would like this string prepended to the generated Dart file. Alternatively, see the header-file option to pass in a text file for longer headers. |
| header-file | The header to prepend to the generated Dart localizations files. The value of this option is the name of the file that contains the header text which will be inserted at the top of each generated Dart file. Alternatively, see the header option to pass in a string for a simpler header.This file should be placed in the directory specified in 'arb-dir'. |
| [no-]use-deferred-loading | Whether to generate the Dart localization file with locales imported as deferred, allowing for lazy loading of each locale in Flutter web. This can reduce a web app’s initial startup time by decreasing the size of the JavaScript bundle. When this flag is set to true, the messages for a particular locale are only downloaded and loaded by the Flutter app as they are needed. For projects with a lot of different locales and many localization strings, it can be a performance improvement to have deferred loading. For projects with a small number of locales, the difference is negligible, and might slow down the start up compared to bundling the localizations with the rest of the application. Note that this flag does not affect other platforms such as mobile or desktop. |
项目中使用多国语化
新建arb文件,项目下lib文件目录下新建l10n文件夹,然后新建app_en.arb,app_zh.arb这两个多国语文件
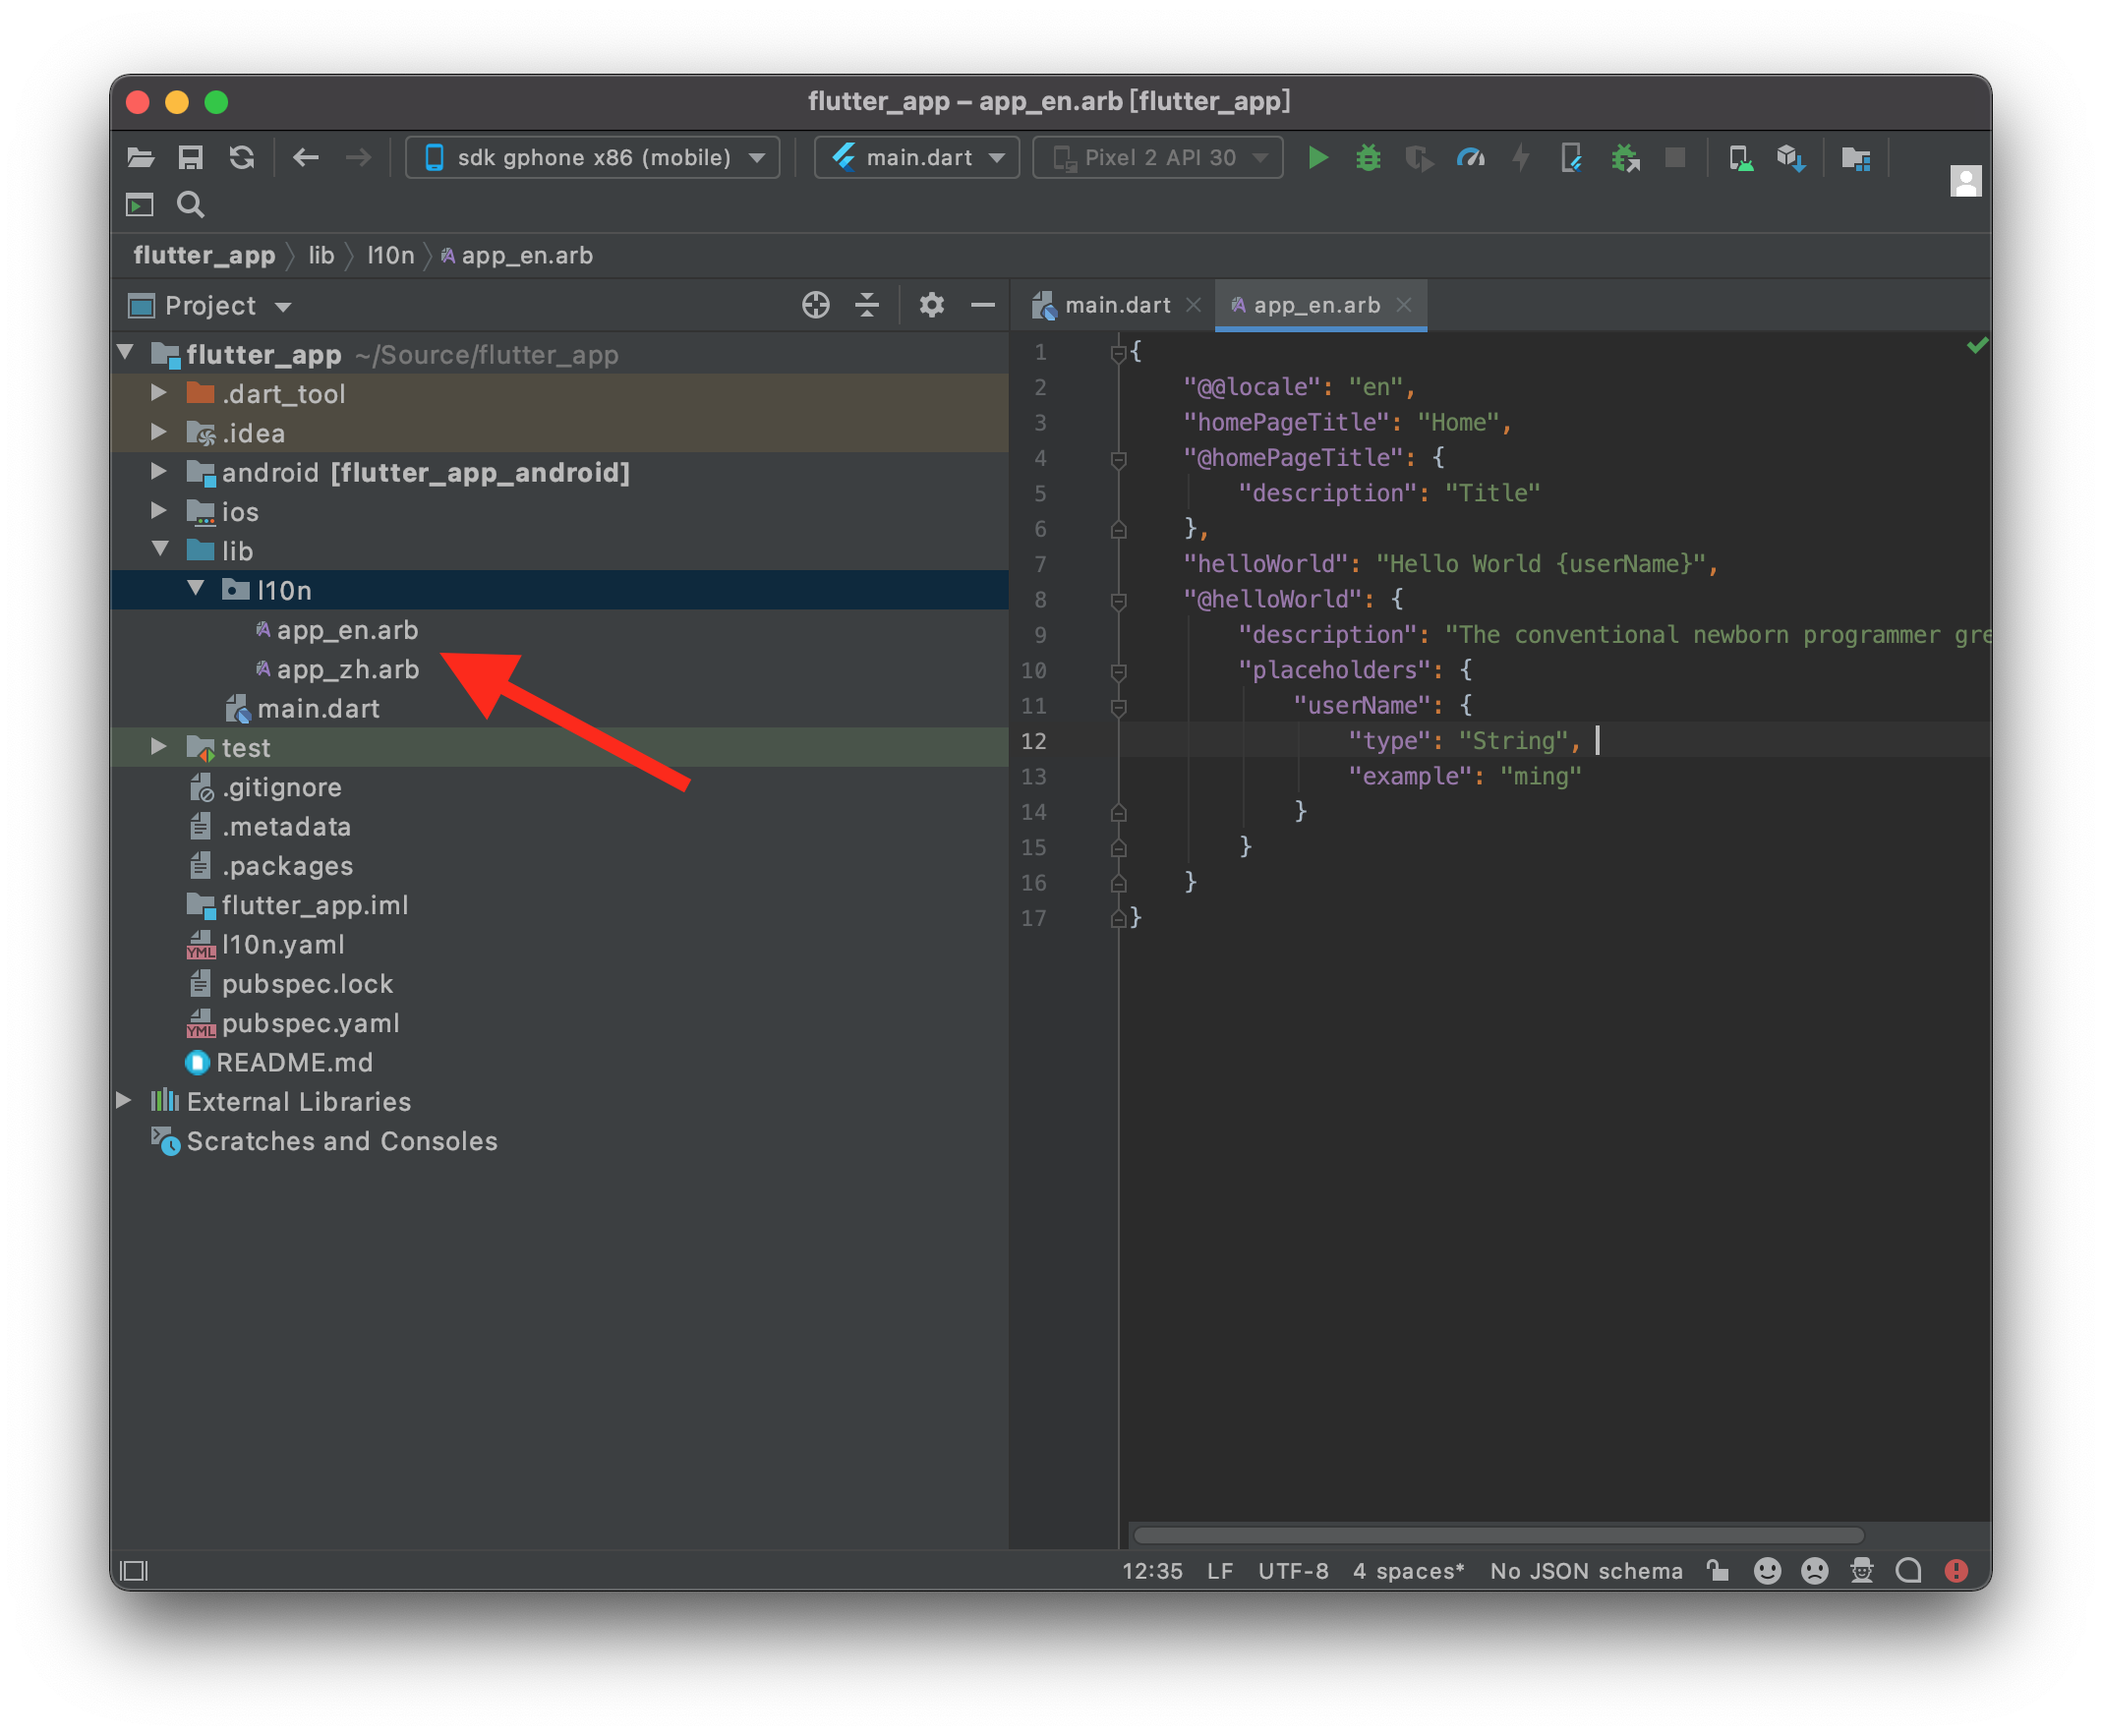
app_en.arb文件中配置如下:
|
1 2 3 4 5 6 7 8 9 10 11 12 13 14 15 16 17 18 19 |
{ "@@locale": "en", //标识语言为英文 "homePageTitle": "Home", //标识名 "@homePageTitle": { //标识对应的一些属性描述 "description": "Title" }, "helloWorld": "Hello World {userName}", //标识名及参数数据 "@helloWorld": { //标识对应的一些属性描述 "description": "The conventional newborn programmer greeting", "placeholders": { //占位符描述 "userName": { "type": "String", //占位符类型 "example": "ming" } } } } |
app_zh.arb文件中配置如下:
|
1 2 3 4 5 6 7 8 9 10 11 12 13 14 15 16 17 18 19 |
{ "@@locale": "zh", //标识语言为中文 "homePageTitle": "首页", //标识名 "@homePageTitle": { //标识对应的一些属性描述 "description": "主页标题" }, "helloWorld": "世界你好啊!{userName}", //标识名及参数数据 "@helloWorld": { //标识对应的一些属性描述 "description": "The conventional newborn programmer greeting", "placeholders": { //占位符描述 "userName": { "type": "String", //占位符类型 "example": "小明" } } } } |
然后重新Rebuild项目,项目会自动生成app_localizations.dart文件,使用方法 AppLocalizations.of(context).标识符 获得该标识对应的字符串。
-
main.dart 文件
123456789101112131415import 'package:flutter_gen/gen_l10n/app_localizations.dart'; // 添加多语言引用class MyApp extends StatelessWidget {@overrideWidget build(BuildContext context) => MaterialApp(onGenerateTitle: (context) =>AppLocalizations.of(context).helloWorld("Hello 1"), //引用多国语标识theme: ThemeData(primarySwatch: Colors.blue,visualDensity: VisualDensity.adaptivePlatformDensity),localizationsDelegates: AppLocalizations.localizationsDelegates,supportedLocales: AppLocalizations.supportedLocales,home: HomePage());}
-
home_page.dart 文件
1234567891011121314151617181920212223242526272829import 'package:flutter_gen/gen_l10n/app_localizations.dart'; // 添加多语言引用class HomePage extends StatefulWidget {HomePage({Key key}) : super(key: key);@override_HomePageState createState() => _HomePageState();}class _HomePageState extends State<HomePage> {@overrideWidget build(BuildContext context) => Scaffold(appBar: AppBar(centerTitle: true,title: Text(AppLocalizations.of(context).homePageTitle)), //引用多国语标识body: Container(alignment: Alignment.center,child: Column(mainAxisAlignment: MainAxisAlignment.start,crossAxisAlignment: CrossAxisAlignment.center,children: [Text(AppLocalizations.of(context).helloWorld("hello 2"))])),bottomNavigationBar: BottomNavigationBar(items: [BottomNavigationBarItem(icon: Icon(Icons.home), label: "首页"),BottomNavigationBarItem(icon: Icon(Icons.person), label: "我的"),BottomNavigationBarItem(icon: Icon(Icons.person), label: "我的"),]));}
其他相关多国语化参数描述,如下:
-
字符串
1234567891011{"hello" : "Hello{userName}","@hello" : {"description":"Amessagewithasingleparameter","placeholders": {"userName": {"type":"String","example": "Bob"}}}调用方式:AppLocalizations.of(context).hello("Jacket Chen")
-
多个参数
12345678910{"greeting":"{hello} {world}","@greeting": {"description": "Amessagewithatwoparameters","placeholders": {"hello": {}, //{}中占位符属性描述"world": {} //同上}}}调用方式:AppLocalizations.of(context).greeting('Hello', 'World')
- 数字以及货币
NumberFormat.compactLong("en_US").format(1200000) 该调用结果为:1.2million
你可以使用类型为int或者double的占位符来表达同样的结果:
123456789101112{"numberOfDataPoints": "Number of data points: {value}","@numberOfDataPoints": {"description": "Amessagewithaformattedintparameter","placeholders": {"value": {"type":"int","format": "compactLong"}}}}调用方式:AppLocalizations.of(context).numberOfDataPoints(1200000)
format对应的取值,如下:
format的取值 numberOfDataPoints(1200000) 对应的输出结果 compact 1.2M compactCurrency* $1.2M compactSimpleCurrency* $1.2M compactLong 1.2 millions currency* USD1,200,000.00 decimalPattern 1,200,000 decimalPercentPattern* 120,000,000% percentPattern 120,000,000% scientificPattern 1E6 simpleCurrency* $1,200,000.00 :带星号的格式对应的取值有可选参数类型,如:optionalParameters*,他们的构造函数有可选参数。
配置方式如下:
123456789101112131415{"numberOfDataPoints": "Number of data points: {value}","@numberOfDataPoints": {"description": "Amessagewithaformattedintparameter","placeholders" : {"value": {"type": "int","format": "compactCurrency","optionalParameters": {"decimalDigits" : 2}}}}}当配置以上内容以后,numberOfDataPoints()的输出结果将会是:USD1.20M
- 日期
123456789101112{"helloWorldOn": "Hello World on {date}","@helloWorldOn": {"description": "Amessagewithadateparameter","placeholders": {"date": {"type": "DateTime","format": "yMd" //日期输出格式}}}}在应用中,如果语言是英语(美国),将输出表达式 7/10/1996 ; 如果语言是俄语,将输出表达式 10.07.1996 。
调用方式:AppLocalizations.of(context).helloWorldOn(DateTime.utc(1996,7,10))- 复数
一般情况下,数字在不同数量下有不同的展示效果,在这里,要求数据类型必须是整型,而且要求数据必须大于等于0。在新的多国语化插件配置中,有以下多种可选配置。
要表达的结果 表达式 zero =0{no wombats} one =1{one wombat} two =2{two wombats} few few{the {count} wombats} 3-10, fractions many{{count} wombats} other other{{count} wombats} :表达式开始必须声明变量以及使用plural*标识该表达式为复数表达式,如下案例:
123456789"nWombats": "{count,plural, =0{no wombats} other{{count} wombats}}","@nWombats": {"description" : "Apluralmessage","placeholders" : {"count": {"type" : "int",}}}*:如果表达式中还会有其他表达式的值,则可以如下编写:
123456789101112"nThings": "{count,plural, =0{no {thing}s} other{{count} {thing}s}}","@nThings": {"description" : "Apluralmessagewithanadditionalparameter","placeholders" : {"count" : {"type" :"int"},"thing" : {"example" :"wombat"}}}nThings(0, “wombat”) 和 nThings(5, “wombat”) 将返回与之前一样的字符串。
可能遇到的问题
-
-
使用
Flutter工程向导创建的默认工程如下:1234567891011121314151617181920212223242526class MyApp extends StatelessWidget {// This widget is the root of your application.@overrideWidget build(BuildContext context) {return MaterialApp(title: 'Flutter Demo',theme: ThemeData(// This is the theme of your application.//// Try running your application with "flutter run". You'll see the// application has a blue toolbar. Then, without quitting the app, try// changing the primarySwatch below to Colors.green and then invoke// "hot reload" (press "r" in the console where you ran "flutter run",// or simply save your changes to "hot reload" in a Flutter IDE).// Notice that the counter didn't reset back to zero; the application// is not restarted.primarySwatch: Colors.blue,// This makes the visual density adapt to the platform that you run// the app on. For desktop platforms, the controls will be smaller and// closer together (more dense) than on mobile platforms.visualDensity: VisualDensity.adaptivePlatformDensity,),home: MyHomePage(title: 'Flutter Demo Home Page'),);}}如果直接替换其中的
title: 'Flutter Demo'为title:AppLocalizations.of(context).title,会在运行时候抛出异常,如下图:
解决方法是,使用
onGenerateTitle: (context) =>AppLocalizations.of(context).title,如下:1234567891011121314151617181920212223242526class MyApp extends StatelessWidget {// This widget is the root of your application.@overrideWidget build(BuildContext context) {return MaterialApp(onGenerateTitle: (context) =>AppLocalizations.of(context).title,theme: ThemeData(// This is the theme of your application.//// Try running your application with "flutter run". You'll see the// application has a blue toolbar. Then, without quitting the app, try// changing the primarySwatch below to Colors.green and then invoke// "hot reload" (press "r" in the console where you ran "flutter run",// or simply save your changes to "hot reload" in a Flutter IDE).// Notice that the counter didn't reset back to zero; the application// is not restarted.primarySwatch: Colors.blue,// This makes the visual density adapt to the platform that you run// the app on. For desktop platforms, the controls will be smaller and// closer together (more dense) than on mobile platforms.visualDensity: VisualDensity.adaptivePlatformDensity,),home: MyHomePage(title: 'Flutter Demo Home Page'),);}} -
单元测试用例可能会失败
12345678910111213141516171819202122import 'package:flutter/material.dart';import 'package:flutter_test/flutter_test.dart';import 'package:untitled/main.dart';void main() {testWidgets('Counter increments smoke test', (WidgetTester tester) async {// Build our app and trigger a frame.await tester.pumpWidget(const MyApp());// Verify that our counter starts at 0.expect(find.text('0'), findsOneWidget);expect(find.text('1'), findsNothing);// Tap the '+' icon and trigger a frame.await tester.tap(find.byIcon(Icons.add));await tester.pump();// Verify that our counter has incremented.expect(find.text('0'), findsNothing);expect(find.text('1'), findsOneWidget);});}新建项目默认生成上述的单元测试代码。但是当引入国际化之后,上述测试用例可能会失败,产生如下报错:
12345══╡ EXCEPTION CAUGHT BY FLUTTER TEST FRAMEWORK ╞════════════════════════════════════════════════════The following TestFailure was thrown running a test:Expected: exactly one matching node in the widget treeActual: _TextFinder:<zero widgets with text "0" (ignoring offstage widgets)>Which: means none were found but one was expected
-
问题产生的原因是:国际化的引入,导致界面展示的延迟(框架需要先后台初始化国际化相关的组件),该延迟导致测试用例执行的时候,界面还没有初始化完成。
解决方案就是等待国际化相关组件初始化完成再进行后续的测试代码即可。
在
|
1 |
await tester.pumpWidget(const MyApp()); |
的后面增加
|
1 |
await tester.pump(); |
修改后的完整代码如下:
|
1 2 3 4 5 6 7 8 9 10 11 12 13 14 15 16 17 18 19 20 21 22 23 24 25 |
import 'package:flutter/material.dart'; import 'package:flutter_test/flutter_test.dart'; import 'package:timeflow/main.dart'; void main() { testWidgets('Counter increments smoke test', (WidgetTester tester) async { // Build our app and trigger a frame. await tester.pumpWidget(const MyApp()); // 新增代码 await tester.pump(); // Verify that our counter starts at 0. expect(find.text('0'), findsOneWidget); expect(find.text('1'), findsNothing); // Tap the '+' icon and trigger a frame. await tester.tap(find.byIcon(Icons.add)); await tester.pump(); // Verify that our counter has incremented. expect(find.text('0'), findsNothing); expect(find.text('1'), findsOneWidget); }); } |
更详细的解释,可以查看官方的讨论 Testing localized widgets can fail when assets are too big due to race condition。
如果修改了语言文件,但是保存的时候报错:
|
1 2 3 4 |
~/flutter/bin/flutter --no-color pub global run intl_utils:generate Could not find a file named "pubspec.yaml" in "/home/xxxx/.pub-cache/hosted/pub.dev/intl_utils-2.6.1". pub finished with exit code 66 Process finished with exit code 66 |
则删除用户根目录下的 ~/ .pub-cache/global_packages/intl_utils 即可。