在切换横竖屏/全屏模式时用到 SystemChrome,它作为一个全局属性,很像 Android 的 Application,功能很强大。注意,这个SystemChrome 里面的 Chrome 实质上指的是 ChromeOS 不是 Chrome 浏览器,这些 API 最早在 ChromeOS 上实现,因此才这样命名。
setPreferredOrientations
|
1 |
在我们日常应用中可能会需要设置横竖屏,或锁定单方向屏幕等不同要求,通过 **setPreferredOrientations** 配合实现;简单可以按 **portraitUp 上 / portraitDown 下 / landscapeLeft 右 / landscapeRight 左** 来区分; **Tips:landscapeLeft 是以 portraitUp 顺时针旋转 90 度;landscapeRight 是以逆时针旋转 90 度,故是视觉相反。** |
1. 单方向
|
1 |
若需要固定应用为单一方向,仅需设置所需要的方向属性即可; |
|
1 2 3 4 5 6 7 8 |
// 竖直上 SystemChrome.setPreferredOrientations([DeviceOrientation.portraitUp]); // 竖直下 SystemChrome.setPreferredOrientations([DeviceOrientation.portraitDown]); // 水平左 SystemChrome.setPreferredOrientations([DeviceOrientation.landscapeLeft]); // 水平右 SystemChrome.setPreferredOrientations([DeviceOrientation.landscapeRight]); |
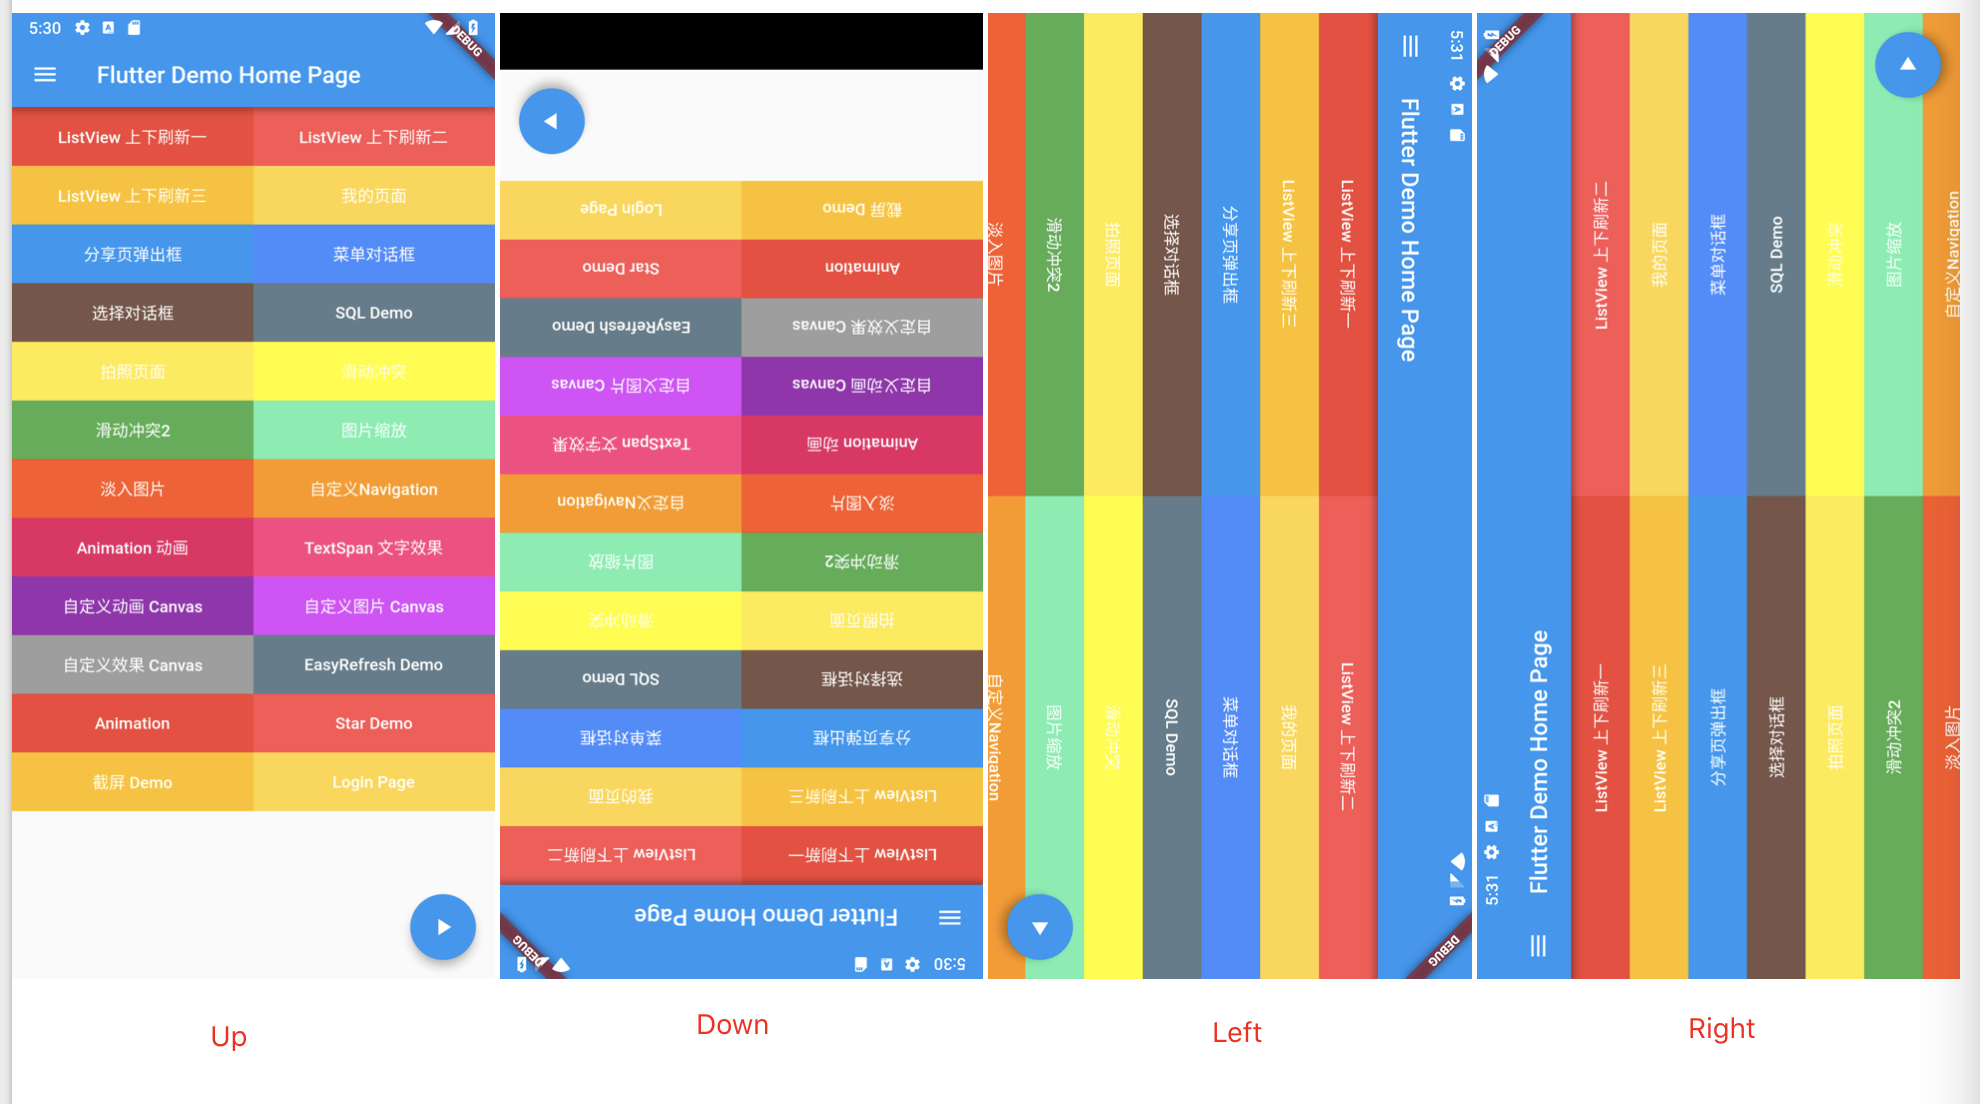
2. 多方向
|
1 |
若需要应用随重力感应变化方向,需设置多个方向属性; |
|
1 2 3 4 5 6 |
// 竖直方向 SystemChrome.setPreferredOrientations([DeviceOrientation.portraitUp, DeviceOrientation.portraitDown]); // 水平方向 SystemChrome.setPreferredOrientations([DeviceOrientation.landscapeLeft, DeviceOrientation.landscapeLeft]); // 多方向 SystemChrome.setPreferredOrientations([DeviceOrientation.landscapeLeft, DeviceOrientation.landscapeLeft, DeviceOrientation.portraitUp]); |
Tips:
- portraitDown 属性请注意,多方向时一般不会有效果,系统默认不会颠倒;
- 多方向设置时初始方向分两种情况,第一种:当前重力感应方向不在设置多方向列表中,初始方向为列表第一个设置方法;第二种:当前重力感应方向在设置多方向列表中,无论顺序第几位,默认均展示当前重力感应方向(非 portraitDown)。
setEnabledSystemUIOverlays
|
1 2 3 |
**setEnabledSystemUIOverlays** 是指定在应用程序运行时可见的系统叠加,主要对状态栏的操作,读起来比较拗口,但是看测试用例就很明了;参数分 **top 顶部 / bottom 底部** 两种; 这个 API 从 v2.3.0-17.0.pre 开始被标注为过期,被 setEnabledSystemUIMode 替代 |
1. SystemUiOverlay.top
|
1 |
默认隐藏底部虚拟状态栏(需手机支持虚拟状态栏设备),即三大金刚键;获取焦点后展示状态栏,展示大小为去掉状态栏时整体大小; |
|
1 |
SystemChrome.setEnabledSystemUIOverlays([SystemUiOverlay.top]); |

2. SystemUiOverlay.bottom
|
1 |
默认隐藏顶部虚拟状态栏,获取焦点后展示状态栏,展示大小为去掉状态栏时整体大小; |
|
1 |
SystemChrome.setEnabledSystemUIOverlays([SystemUiOverlay.bottom]); |
3. 两者皆有
|
1 |
即默认情况,顶部底部状态栏均展示; |
|
1 |
SystemChrome.setEnabledSystemUIOverlays([SystemUiOverlay.top, SystemUiOverlay.bottom]); |
setSystemUIOverlayStyle
|
1 |
**setSystemUIOverlayStyle** 用来设置状态栏顶部和底部样式,默认有 **light** 和 **dark** 模式,也可以按照需求自定义样式; |
1. systemNavigationBarColor
|
1 |
该属性仅用于 **Android** 设备且 **SDK >= O** 时,底部状态栏颜色; |
|
1 |
SystemChrome.setSystemUIOverlayStyle(const SystemUiOverlayStyle(systemNavigationBarColor: Colors.pink)); |
2. systemNavigationBarDividerColor
|
1 |
该属性仅用于 **Android** 设备且 **SDK >= P** 时,底部状态栏与主内容分割线颜色,效果不是很明显; |
|
1 |
SystemChrome.setSystemUIOverlayStyle(const SystemUiOverlayStyle(systemNavigationBarDividerColor: Colors.yellow)); |
3. systemNavigationBarIconBrightness
|
1 |
该属性仅用于 **Android** 设备且 **SDK >= O** 时,底部状态栏图标样式,主要是三大按键颜色; |
|
1 |
SystemChrome.setSystemUIOverlayStyle(const SystemUiOverlayStyle(systemNavigationBarColor: Colors.pink)); |

4. statusBarColor
|
1 |
该属性仅用于 **Android** 设备且 **SDK >= M** 时,顶部状态栏颜色; |
|
1 |
SystemChrome.setSystemUIOverlayStyle(SystemUiOverlayStyle(statusBarColor: Colors.red)); |

5. statusBarIconBrightness
|
1 |
该属性仅用于 **Android** 设备且 **SDK >= M** 时,顶部状态栏图标的亮度;但感觉并不明显; |
|
1 |
SystemChrome.setSystemUIOverlayStyle(const SystemUiOverlayStyle(statusBarIconBrightness: Brightness.dark)); |
6. statusBarBrightness
|
1 |
该属性仅用于 **iOS** 设备顶部状态栏亮度; |
|
1 |
SystemChrome.setSystemUIOverlayStyle(const SystemUiOverlayStyle(statusBarBrightness: Brightness.light)); |
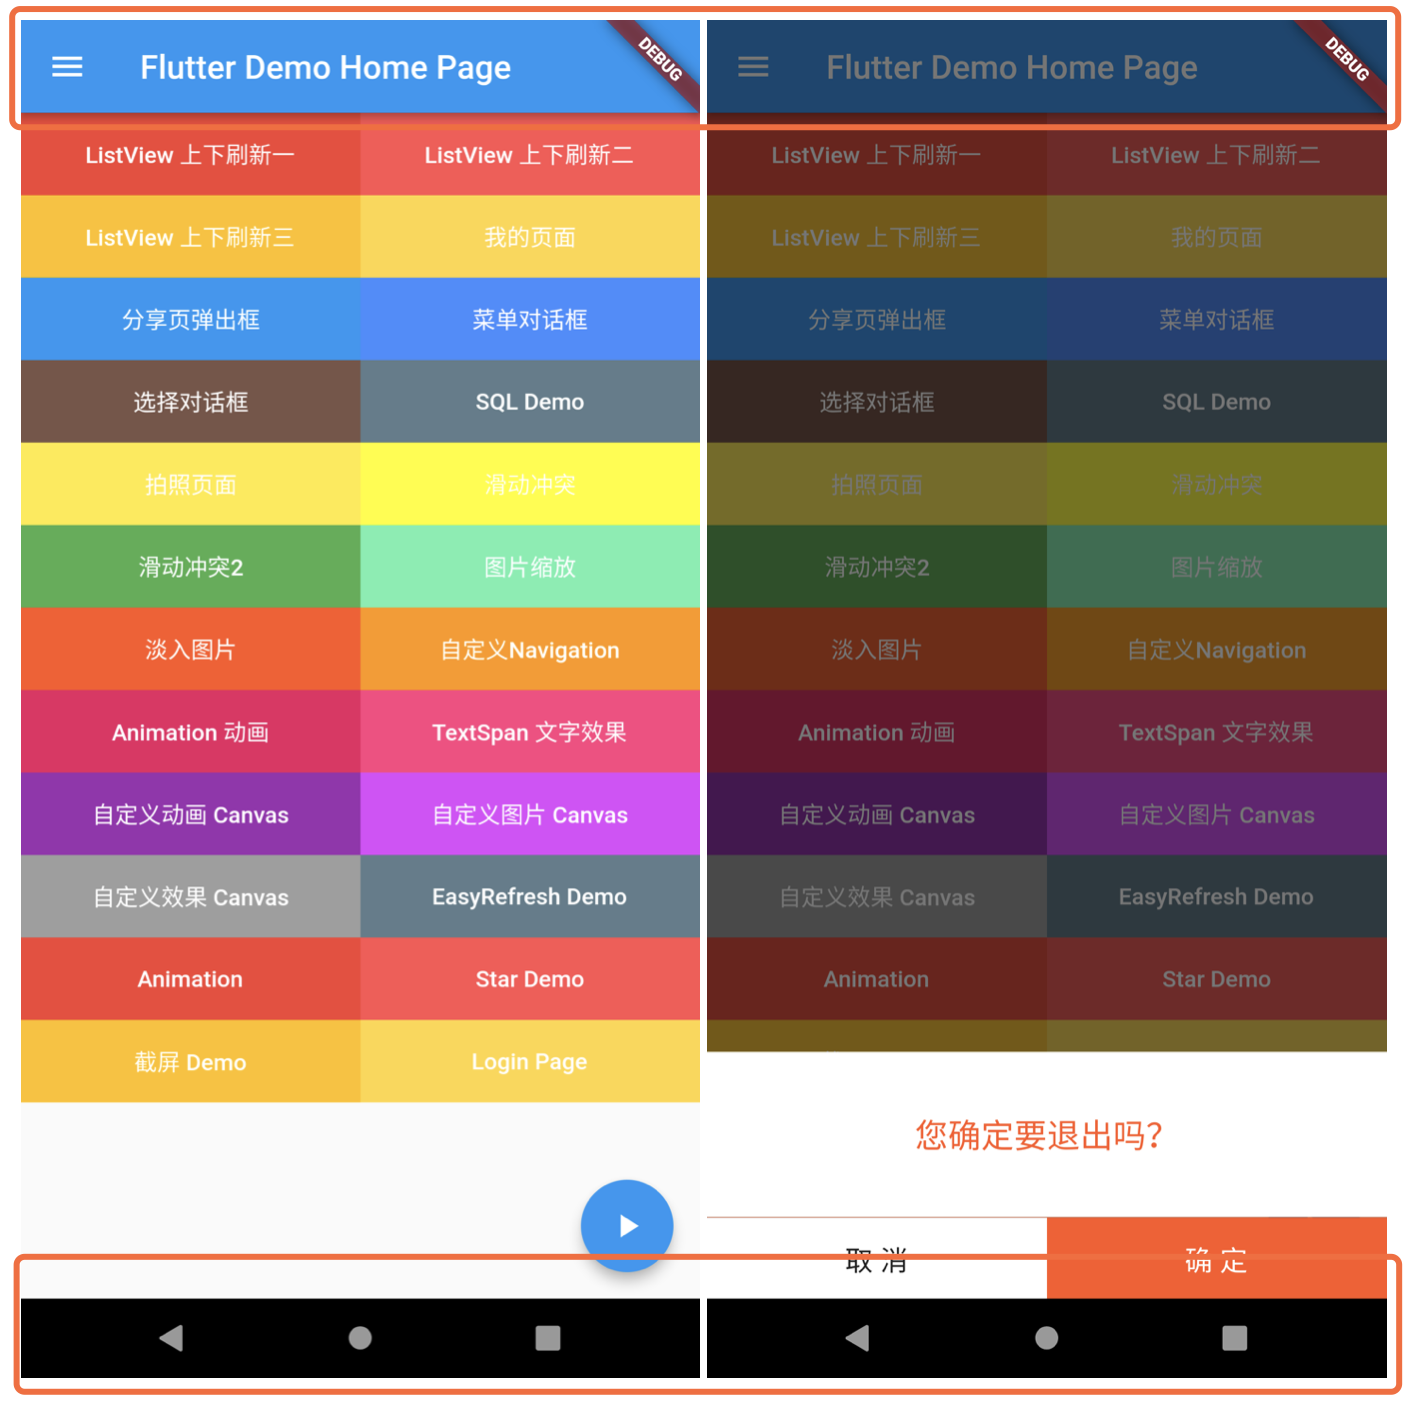
setApplicationSwitcherDescription
|
1 |
个人理解该属性显示效果是在应用程序切换器相关的应用程序的当前状态时,但是反复测试并没有实际效果,希望有理解的大神多多指点; |
|
1 2 3 4 5 6 |
SystemChrome.setApplicationSwitcherDescription( const ApplicationSwitcherDescription( label: "Demo Flutter", primaryColor: 0xFFE53935)) .then((_) { runApp(new MyApp()); }); |
|
1 |
整体来说 **Flutter** 对顶部底部状态栏的设置很方便,只是有些理解不够深入的地方,有见解对朋友希望多多指导! |
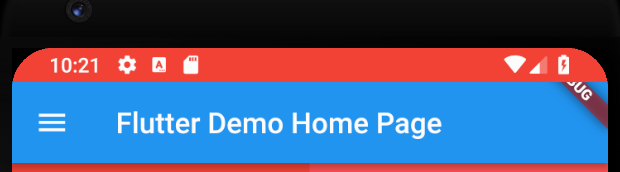
实践示例
上面都是对于 API 的介绍,但是在实际项目开发中,上述的代码究竟应该添加到何处呢?我们用 Flutter 新建项目的例子代码来演示,如下:
|
1 2 3 4 5 6 7 8 9 10 11 12 13 14 15 16 17 18 19 20 21 22 23 24 25 26 27 28 29 30 31 32 33 34 35 36 37 38 39 40 41 42 43 44 45 46 47 48 49 50 51 52 53 54 55 56 57 58 59 60 61 62 63 64 65 66 67 68 69 70 71 72 73 74 75 76 77 78 79 80 81 82 83 84 85 86 87 88 89 90 91 92 93 94 95 96 97 98 99 100 101 102 103 104 105 106 107 108 109 110 111 112 113 114 115 116 117 118 119 120 121 122 123 124 |
import 'package:flutter/material.dart'; import 'package:flutter/services.dart'; void main() { runApp(const MyApp()); } class MyApp extends StatelessWidget { const MyApp({Key? key}) : super(key: key); // This widget is the root of your application. @override Widget build(BuildContext context) { return MaterialApp( title: 'Flutter Demo', theme: ThemeData( // This is the theme of your application. // // Try running your application with "flutter run". You'll see the // application has a blue toolbar. Then, without quitting the app, try // changing the primarySwatch below to Colors.green and then invoke // "hot reload" (press "r" in the console where you ran "flutter run", // or simply save your changes to "hot reload" in a Flutter IDE). // Notice that the counter didn't reset back to zero; the application // is not restarted. primarySwatch: Colors.blue, ), home: const MyHomePage(title: 'Flutter Demo Home Page'), ); } } class MyHomePage extends StatefulWidget { const MyHomePage({Key? key, required this.title}) : super(key: key); // This widget is the home page of your application. It is stateful, meaning // that it has a State object (defined below) that contains fields that affect // how it looks. // This class is the configuration for the state. It holds the values (in this // case the title) provided by the parent (in this case the App widget) and // used by the build method of the State. Fields in a Widget subclass are // always marked "final". final String title; @override State<MyHomePage> createState() => _MyHomePageState(); } class _MyHomePageState extends State<MyHomePage> { int _counter = 0; void _incrementCounter() { setState(() { // This call to setState tells the Flutter framework that something has // changed in this State, which causes it to rerun the build method below // so that the display can reflect the updated values. If we changed // _counter without calling setState(), then the build method would not be // called again, and so nothing would appear to happen. _counter++; }); } @override void initState() { /// 初始化时隐藏 SystemChrome.setEnabledSystemUIMode(SystemUiMode.manual, overlays: []); super.initState(); } @override Widget build(BuildContext context) { // This method is rerun every time setState is called, for instance as done // by the _incrementCounter method above. // // The Flutter framework has been optimized to make rerunning build methods // fast, so that you can just rebuild anything that needs updating rather // than having to individually change instances of widgets. return Scaffold( appBar: AppBar( // Here we take the value from the MyHomePage object that was created by // the App.build method, and use it to set our appbar title. title: Text(widget.title), ), body: Center( // Center is a layout widget. It takes a single child and positions it // in the middle of the parent. child: Column( // Column is also a layout widget. It takes a list of children and // arranges them vertically. By default, it sizes itself to fit its // children horizontally, and tries to be as tall as its parent. // // Invoke "debug painting" (press "p" in the console, choose the // "Toggle Debug Paint" action from the Flutter Inspector in Android // Studio, or the "Toggle Debug Paint" command in Visual Studio Code) // to see the wireframe for each widget. // // Column has various properties to control how it sizes itself and // how it positions its children. Here we use mainAxisAlignment to // center the children vertically; the main axis here is the vertical // axis because Columns are vertical (the cross axis would be // horizontal). mainAxisAlignment: MainAxisAlignment.center, children: <Widget>[ const Text( 'You have pushed the button this many times:', ), Text( '$_counter', style: Theme.of(context).textTheme.headline4, ), ], ), ), floatingActionButton: FloatingActionButton( onPressed: _incrementCounter, tooltip: 'Increment', child: const Icon(Icons.add), ), // This trailing comma makes auto-formatting nicer for build methods. ); } } |
全屏模式简介
Flutter 定义了五种全屏模式,其实就是 Android/iOS 系统的全屏模式的映射,定义如下:
|
1 2 3 4 5 6 7 8 9 10 11 12 13 14 15 16 17 18 19 20 21 22 23 24 25 26 27 28 29 30 31 32 33 34 35 36 37 38 39 40 41 42 43 44 45 46 47 48 49 50 51 52 53 54 55 56 57 58 59 60 61 62 63 64 65 66 67 68 69 70 71 72 73 74 75 76 77 78 79 80 81 82 83 84 85 86 87 88 89 90 91 92 93 94 95 96 |
/// Describes different display configurations for both Android and iOS. /// /// These modes mimic Android-specific display setups. /// /// Used by [SystemChrome.setEnabledSystemUIMode]. enum SystemUiMode { /// Fullscreen display with status and navigation bars presentable by tapping /// anywhere on the display. /// /// Available starting at SDK 16 or Android J. Earlier versions of Android /// will not be affected by this setting. /// /// For applications running on iOS, the status bar and home indicator will be /// hidden for a similar fullscreen experience. /// /// Tapping on the screen displays overlays, this gesture is not received by /// the application. /// /// See also: /// /// * [SystemUiChangeCallback], used to listen and respond to the change in /// system overlays. leanBack, /// Fullscreen display with status and navigation bars presentable through a /// swipe gesture at the edges of the display. /// /// Available starting at SDK 19 or Android K. Earlier versions of Android /// will not be affected by this setting. /// /// For applications running on iOS, the status bar and home indicator will be /// hidden for a similar fullscreen experience. /// /// A swipe gesture from the edge of the screen displays overlays. In contrast /// to [SystemUiMode.immersiveSticky], this gesture is not received by the /// application. /// /// See also: /// /// * [SystemUiChangeCallback], used to listen and respond to the change in /// system overlays. immersive, /// Fullscreen display with status and navigation bars presentable through a /// swipe gesture at the edges of the display. /// /// Available starting at SDK 19 or Android K. Earlier versions of Android /// will not be affected by this setting. /// /// For applications running on iOS, the status bar and home indicator will be /// hidden for a similar fullscreen experience. /// /// A swipe gesture from the edge of the screen displays overlays. In contrast /// to [SystemUiMode.immersive], this gesture is received by the application. /// /// See also: /// /// * [SystemUiChangeCallback], used to listen and respond to the change in /// system overlays. immersiveSticky, /// Fullscreen display with status and navigation elements rendered over the /// application. /// /// Available starting at SDK 29 or Android 10. Earlier versions of Android /// will not be affected by this setting. /// /// For applications running on iOS, the status bar and home indicator will be /// visible. /// /// The system overlays will not disappear or reappear in this mode as they /// are permanently displayed on top of the application. /// /// See also: /// /// * [SystemUiOverlayStyle], can be used to configure transparent status and /// navigation bars with or without a contrast scrim. edgeToEdge, /// Declares manually configured [SystemUiOverlay]s. /// /// When using this mode with [SystemChrome.setEnabledSystemUIMode], the /// preferred overlays must be set by the developer. /// /// When [SystemUiOverlay.top] is enabled, the status bar will remain visible /// on all platforms. Omitting this overlay will hide the status bar on iOS & /// Android. /// /// When [SystemUiOverlay.bottom] is enabled, the navigation bar and home /// indicator of Android and iOS applications will remain visible. Omitting this /// overlay will hide them. /// /// Omitting both overlays will result in the same configuration as /// [SystemUiMode.leanBack]. manual, } |
下面我们简单介绍一下这几种模式的区别:
1. leanBack : 向后倾斜模式适用于用户不会与屏幕进行大量互动的全屏体验,例如在观看视频时。
当用户希望调出系统栏时,只需点按屏幕上的任意位置即可。2. immersive : 沉浸模式适用于用户将与屏幕进行大量互动的应用。 示例包括游戏、查看图库中的图片或者阅读分页内容,如图书或演示文稿中的幻灯片。
当用户需要调出系统栏时,他们可从隐藏系统栏的任一边滑动。要求使用这种这种意图更强的手势是为了确保用户与您应用的互动不会因意外轻触和滑动而中断。3. immersiveSticky : 在普通的沉浸模式中,只要用户从边缘滑动,系统就会负责显示系统栏,您的应用甚至不会知道发生了该手势。因此,如果用户实际上可能是出于主要的应用体验而需要从屏幕边缘滑动,例如在玩需要大量滑动的游戏或使用绘图应用时,您应改为启用“粘性”沉浸模式。
在粘性沉浸模式下,如果用户从隐藏了系统栏的边缘滑动,系统栏会显示出来,但它们是半透明的,并且轻触手势会传递给应用,因此应用也会响应该手势。
例如,在使用这种方法的绘图应用中,如果用户想绘制从屏幕最边缘开始的线条,则从这个边缘滑动会显示系统栏,同时还会开始绘制从最边缘开始的线条。无互动几秒钟后,或者用户在系统栏之外的任何位置轻触或做手势时,系统栏会自动消失。4. edgeToEdge : 实现从边到边的全面屏体验后,系统栏会覆盖在应用内容前方。应用也得以通过更大幅面的内容为用户带来更具有冲击力的体验。
5. manual : 手动配置,可以独立配置状态栏,导航栏的显示与隐藏。如果选择状态栏,导航栏都隐藏,那么行为与向后倾斜模式相同。

适配安卓刘海、水滴屏显示全屏
上面的配置在刘海、水滴屏幕上会在顶部出现一道黑色的背景,比如 Honor 30 。解决方法就是 将 shortEdges 放到 style 标签内。如下:
找到 android/app/src/main/res/目录,新建 values-v27 目录(这个API从Android API 27 才开始支持),并在目录下创建 styles.xml ,内容从原来的 values/styles.xml 中拷贝出来,将 shortEdges 放到 style 标签内,如下:
|
1 2 3 4 5 6 7 8 9 10 11 12 13 14 15 16 17 18 19 20 21 22 23 24 |
<?xml version="1.0" encoding="utf-8"?> <resources> <!-- Theme applied to the Android Window while the process is starting --> <style name="LaunchTheme" parent="@android:style/Theme.Black.NoTitleBar"> <!-- Show a splash screen on the activity. Automatically removed when Flutter draws its first frame --> <item name="android:windowBackground">@drawable/launch_background</item> <!-- 刘海,水滴屏幕全屏适配 --> <item name="android:windowLayoutInDisplayCutoutMode">shortEdges</item> </style> <!-- Theme applied to the Android Window as soon as the process has started. This theme determines the color of the Android Window while your Flutter UI initializes, as well as behind your Flutter UI while its running. This Theme is only used starting with V2 of Flutter's Android embedding. --> <style name="NormalTheme" parent="@android:style/Theme.Black.NoTitleBar"> <item name="android:windowBackground">@android:color/white</item> <!-- 刘海,水滴屏幕全屏适配 --> <item name="android:windowLayoutInDisplayCutoutMode">shortEdges</item> </style> </resources> |
- LaunchTheme 指的是启动页的主题,也就是我们常说的 Splash 页面。如果需要启动页全屏就放在里面。
- NormalTheme 代表正常页面的主题。
同样需要修改暗黑主题相关的风格文件,如下:
创建 android/app/src/main/res/values-night-v27 目录,新建 styles.xml ,将 shortEdges 放到 style 标签内 (这个API从Android API 27 才开始支持),如下:
|
1 2 3 4 5 6 7 8 9 10 11 12 13 14 15 16 17 18 19 20 21 22 23 24 |
<?xml version="1.0" encoding="utf-8"?> <resources> <!-- Theme applied to the Android Window while the process is starting --> <style name="LaunchTheme" parent="@android:style/Theme.Black.NoTitleBar"> <!-- Show a splash screen on the activity. Automatically removed when Flutter draws its first frame --> <item name="android:windowBackground">@drawable/launch_background</item> <!-- 刘海,水滴屏幕全屏适配 --> <item name="android:windowLayoutInDisplayCutoutMode">shortEdges</item> </style> <!-- Theme applied to the Android Window as soon as the process has started. This theme determines the color of the Android Window while your Flutter UI initializes, as well as behind your Flutter UI while its running. This Theme is only used starting with V2 of Flutter's Android embedding. --> <style name="NormalTheme" parent="@android:style/Theme.Black.NoTitleBar"> <item name="android:windowBackground">@android:color/white</item> <!-- 刘海,水滴屏幕全屏适配 --> <item name="android:windowLayoutInDisplayCutoutMode">shortEdges</item> </style> </resources> |