1.Properties类与Properties配置文件
Properties类继承自Hashtable类并且实现了Map接口,也是使用一种键值对的形式来保存属性集。不过Properties有特殊的地方,就是它的键和值都是字符串类型。
2.Properties中的主要方法
(1)load(InputStream inStream)
这个方法可以从.properties属性文件对应的文件输入流中,加载属性列表到Properties类对象。如下面的代码:
|
1 2 3 4 |
Properties pro = new Properties(); FileInputStream in = new FileInputStream("a.properties"); pro.load(in); in.close(); |
(2)store(OutputStream out, String comments)
这个方法将Properties类对象的属性列表保存到输出流中。如下面的代码:
|
1 2 3 |
FileOutputStream oFile = new FileOutputStream(file, "a.properties"); pro.store(oFile, "Comment"); oFile.close(); |
如果comments不为空,保存后的属性文件第一行会是#comments,表示注释信息;如果为空则没有注释信息。
注释信息后面是属性文件的当前保存时间信息。
(3)getProperty/setProperty
这两个方法是分别是获取和设置属性信息。
3.代码实例
属性文件a.properties如下:
|
1 2 3 |
name=root pass=liu key=value |
读取a.properties属性列表,与生成属性文件b.properties。代码如下:
|
1 2 3 4 5 6 7 8 9 10 11 12 13 14 15 16 17 18 19 20 21 22 23 24 25 26 27 28 29 30 31 32 |
import java.io.BufferedInputStream; import java.io.FileInputStream; import java.io.FileOutputStream; import java.io.InputStream; import java.util.Iterator; import java.util.Properties; public class PropertyTest { public static void main(String[] args) { Properties prop = new Properties(); try{ //读取属性文件a.properties InputStream in = new BufferedInputStream (new FileInputStream("a.properties")); prop.load(in); ///加载属性列表 Iterator<String> it=prop.stringPropertyNames().iterator(); while(it.hasNext()){ String key=it.next(); System.out.println(key+":"+prop.getProperty(key)); } in.close(); ///保存属性到b.properties文件 FileOutputStream oFile = new FileOutputStream("b.properties", true);//true表示追加打开 prop.setProperty("phone", "10086"); prop.store(oFile, "The New properties file"); oFile.close(); } catch(Exception e){ System.out.println(e); } } } |
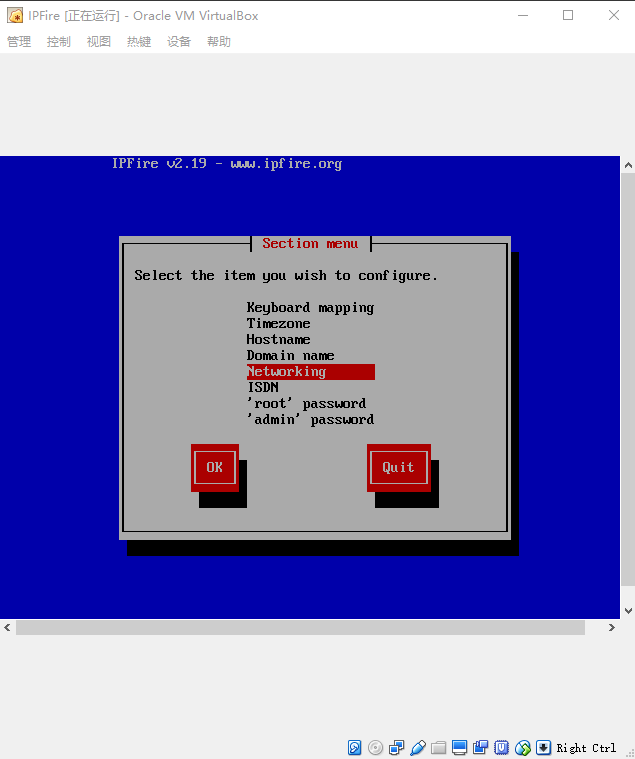
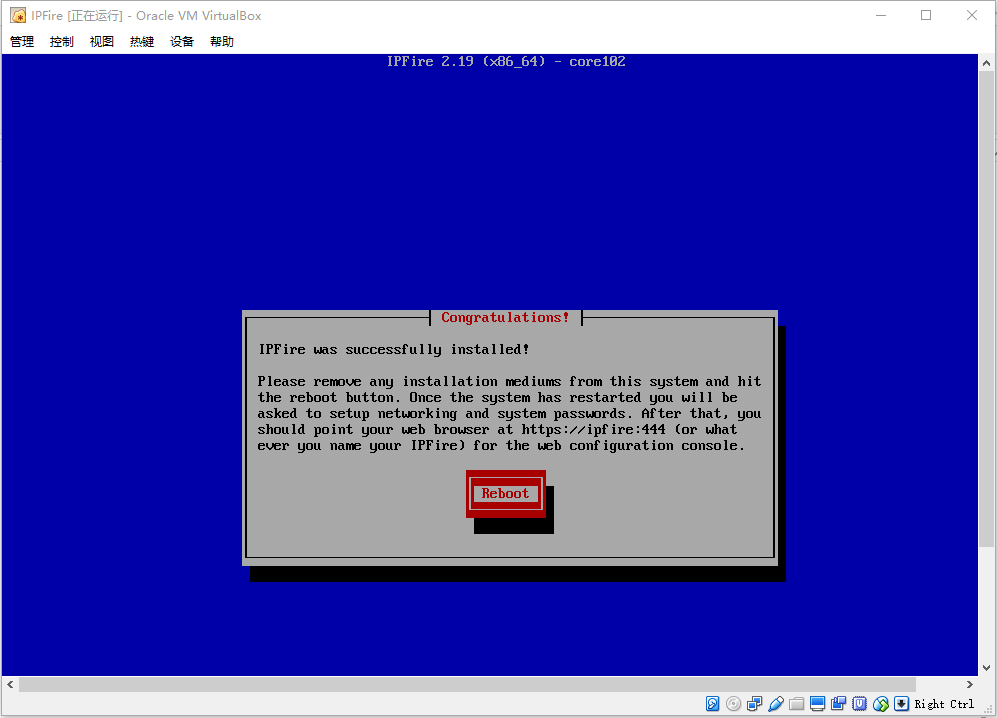
 一.下面是用
 二.选择下载好的镜像文件
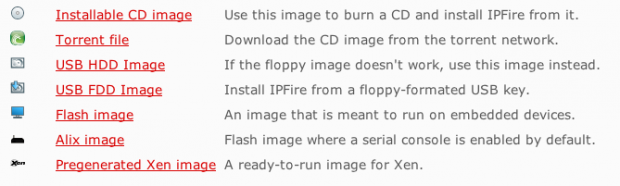
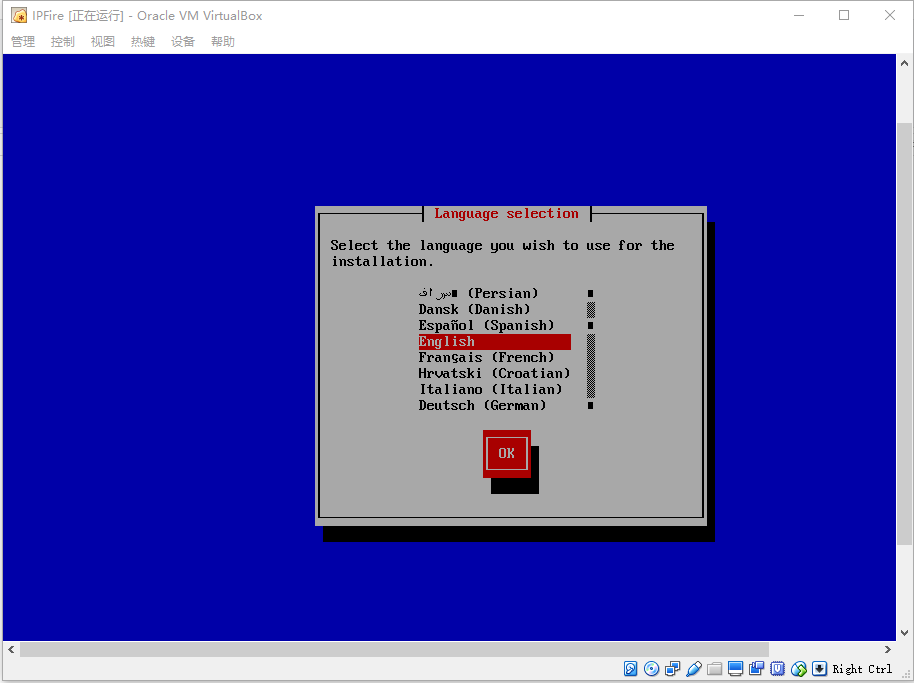
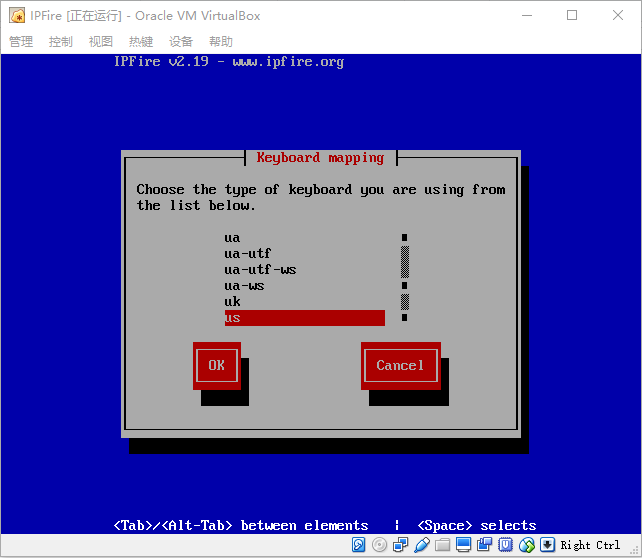
 四.选择安装语言,没有中文 = =