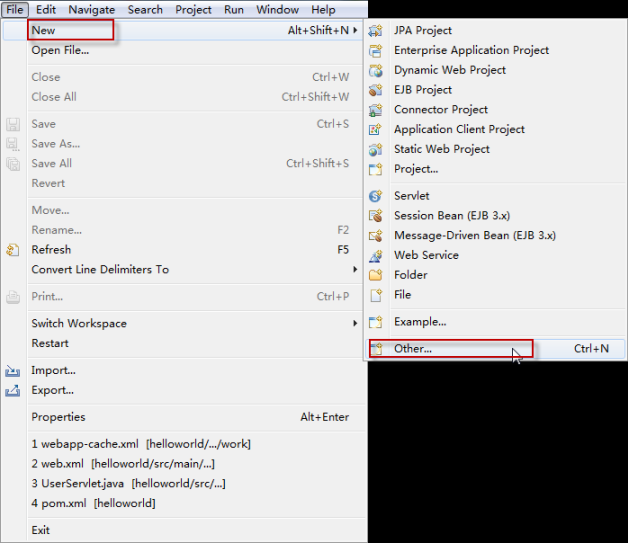
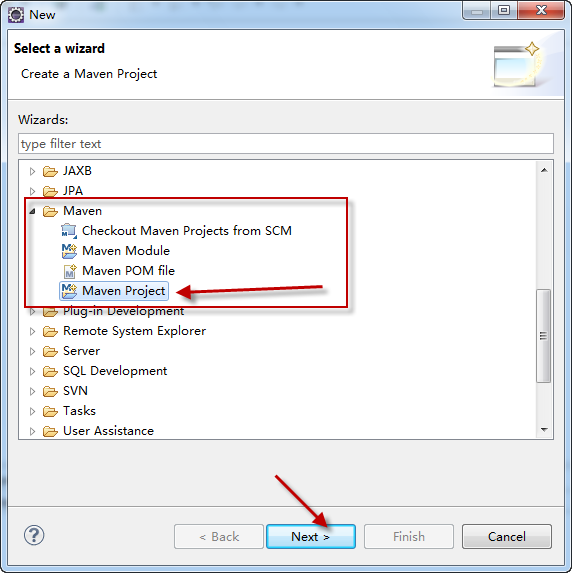
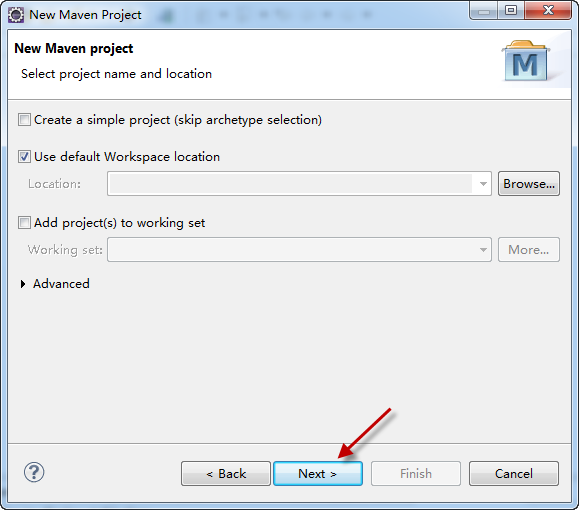
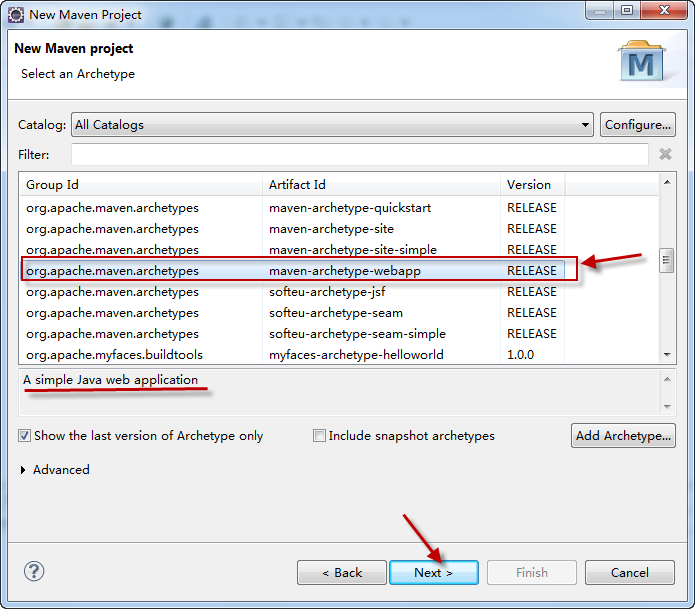
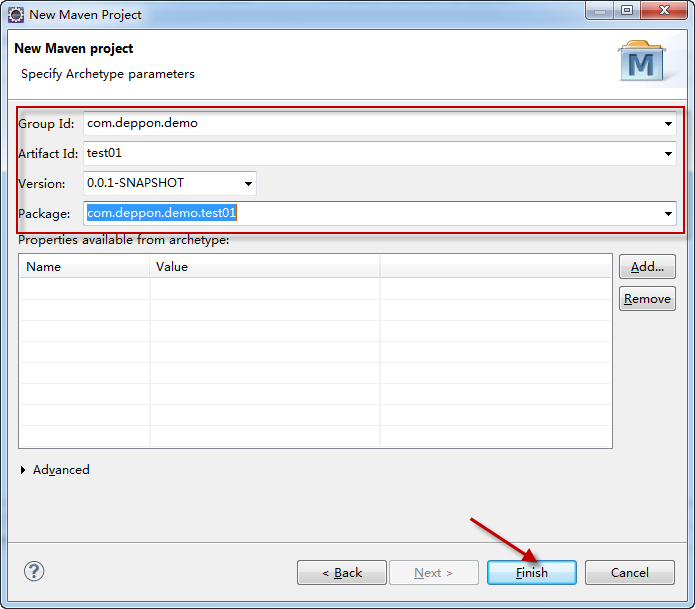
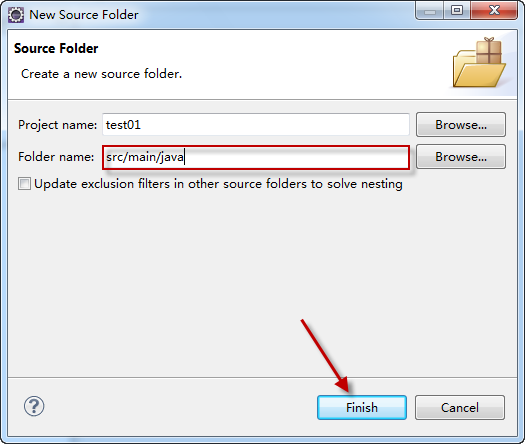
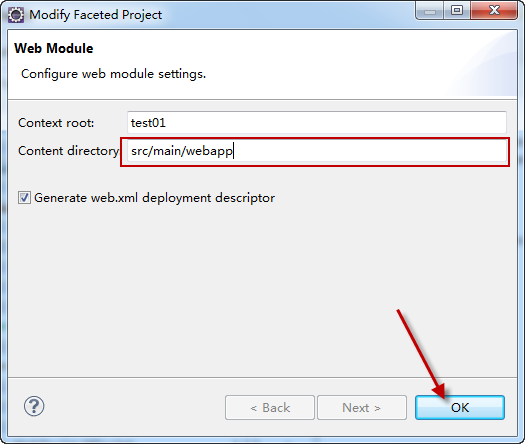
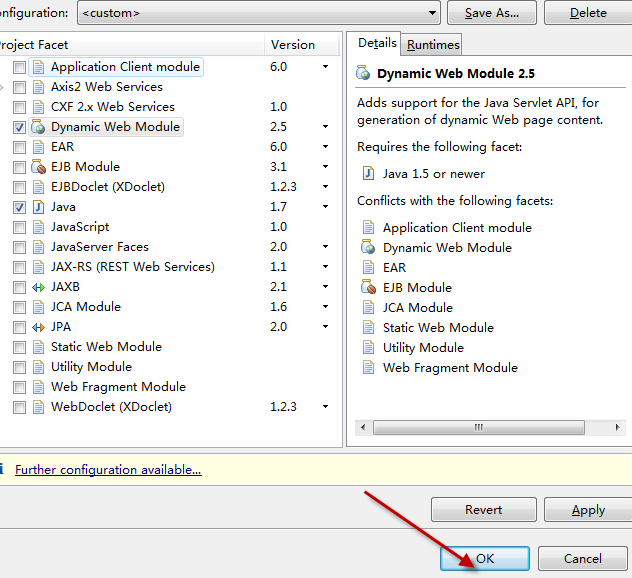
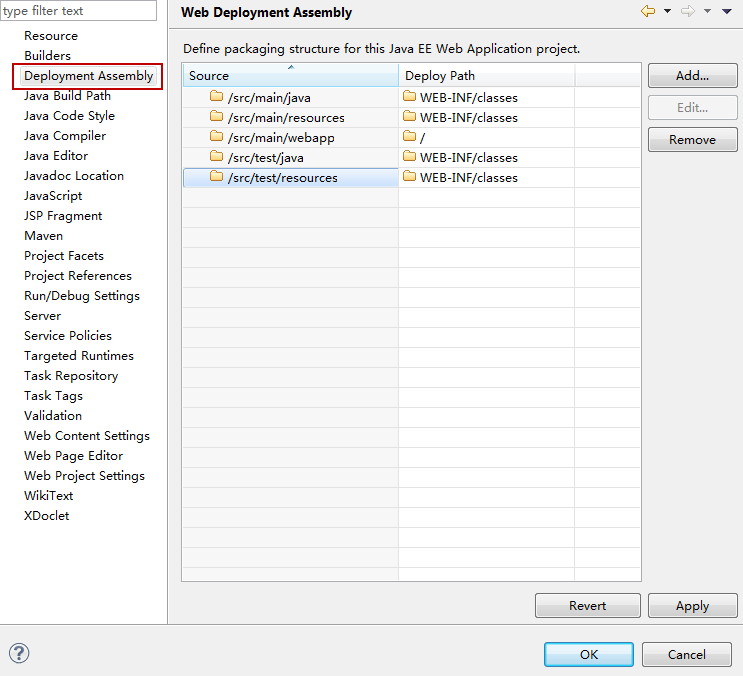
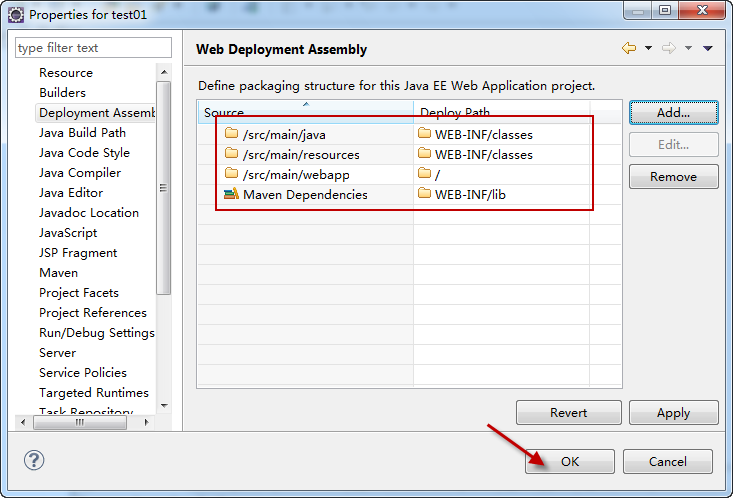
1. 新建一个基本的Web项目
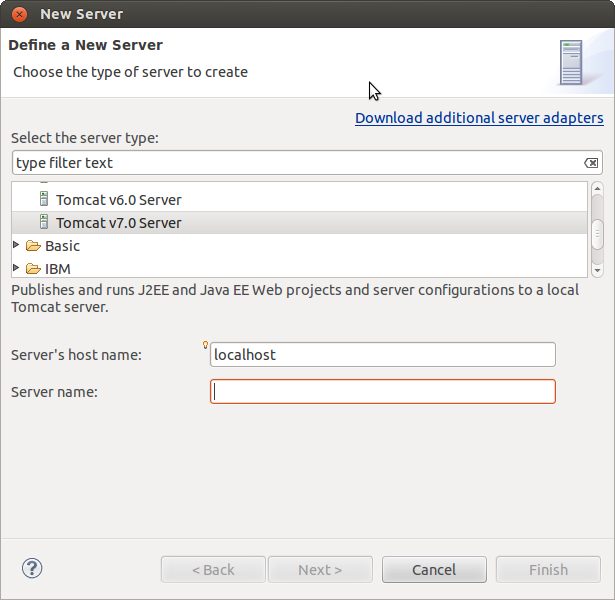
这和前面讲的是一样的,可以参考前面的博客
2. 添加Struts2依赖
这里主需要在pom.xml中添加一个struts-core的依赖即可:
|
1 2 3 4 5 6 7 8 9 10 11 12 13 14 15 16 17 18 19 20 21 22 23 24 25 26 27 28 29 30 31 32 33 34 35 36 37 |
<project xmlns="http://maven.apache.org/POM/4.0.0" xmlns:xsi="http://www.w3.org/2001/XMLSchema-instance" xsi:schemaLocation="http://maven.apache.org/POM/4.0.0 http://maven.apache.org/maven-v4_0_0.xsd"> <modelVersion>4.0.0</modelVersion> <groupId>com.deppon.demo</groupId> <artifactId>test02</artifactId> <packaging>war</packaging> <version>0.0.1-SNAPSHOT</version> <name>test02 Maven Webapp</name> <url>http://maven.apache.org</url> <!-- 属性配置 --> <properties> <project.build.sourceEncoding>UTF-8</project.build.sourceEncoding> </properties> <dependencies> <!-- 添加JUnit --> <dependency> <groupId>junit</groupId> <artifactId>junit</artifactId> <version>3.8.1</version> <scope>test</scope> </dependency> <!-- Struts2 依赖 --> <dependency> <groupId>org.apache.struts</groupId> <artifactId>struts2-core</artifactId> <version>2.3.1</version> </dependency> </dependencies> <build> <finalName>test02</finalName> </build> </project> |
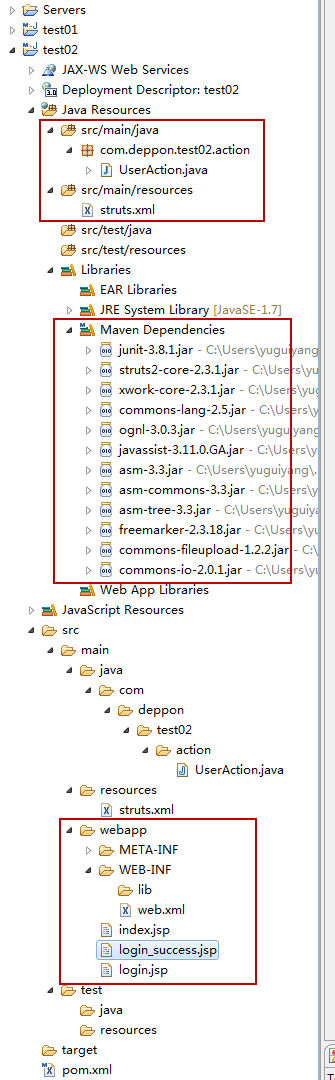
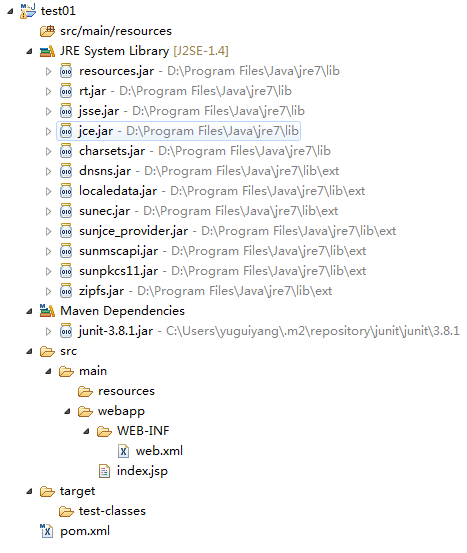
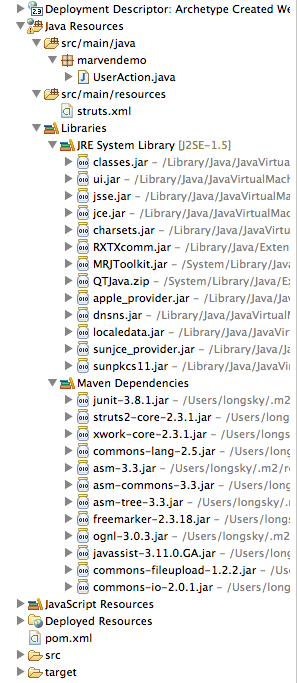
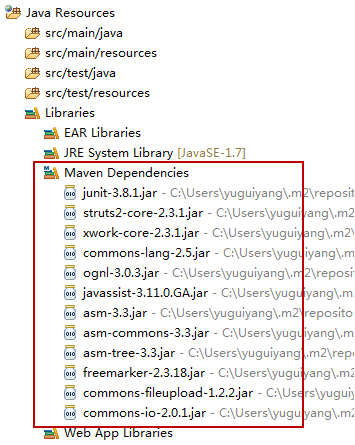
之后,Maven会自动从网上下载struts2需要的其他依赖包,可以看一下这里:
3. 新建一个Action
|
1 2 3 4 5 6 7 8 9 10 11 12 13 14 15 16 17 18 19 20 21 22 23 24 25 26 27 28 29 30 31 32 33 34 35 36 37 38 39 40 41 42 43 44 45 |
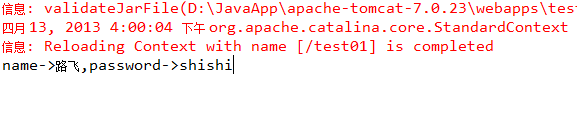
package com.deppon.test02.action; import com.opensymphony.xwork2.ActionSupport; public class UserAction extends ActionSupport { private static final long serialVersionUID = -1417237614181805435L; private String name; private String password; public String getName() { return name; } public void setName(String name) { this.name = name; } public String getPassword() { return password; } public void setPassword(String password) { this.password = password; } /** * 跳转到登录界面 * @return */ public String login_input() { return SUCCESS; } /** * 登录 * @return */ public String login() { System.out.println("name->" + name); System.out.println("password->" + password); return SUCCESS; } } |
struts.xml
|
1 2 3 4 5 6 7 8 9 10 11 12 13 14 15 16 17 18 19 20 21 22 23 24 25 |
<?xml version="1.0" encoding="UTF-8" ?> <!DOCTYPE struts PUBLIC "-//Apache Software Foundation//DTD Struts Configuration 2.0//EN" "http://struts.apache.org/dtds/struts-2.0.dtd"> <struts> <constant name="struts.i18n.encoding" value="utf-8"></constant> <constant name="struts.multipart.maxSize" value="20971520"/> <constant name="struts.devMode" value="true" /> <package name="p_user" namespace="/" extends="struts-default"> <action name="login_input" class="com.deppon.test02.action.UserAction" method="login_input"> <result name="success"> /login.jsp </result> </action> <action name="login" class="com.deppon.test02.action.UserAction" method="login"> <result name="success"> /login_success.jsp </result> </action> </package> </struts> |
web.xml
|
1 2 3 4 5 6 7 8 9 10 11 12 13 14 15 16 17 |
<!DOCTYPE web-app PUBLIC "-//Sun Microsystems, Inc.//DTD Web Application 2.3//EN" "http://java.sun.com/dtd/web-app_2_3.dtd" > <web-app> <filter> <filter-name>struts2</filter-name> <filter-class>org.apache.struts2.dispatcher.ng.filter.StrutsPrepareAndExecuteFilter</filter-class> </filter> <filter-mapping> <filter-name>struts2</filter-name> <url-pattern>/*</url-pattern> </filter-mapping> </web-app> |
index.jsp
|
1 2 3 4 5 6 7 8 9 10 11 12 13 |
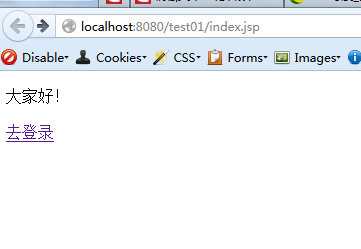
<%@ page language="java" contentType="text/html; charset=UTF-8" pageEncoding="UTF-8"%> <!DOCTYPE html PUBLIC "-//W3C//DTD HTML 4.01 Transitional//EN" "http://www.w3.org/TR/html4/loose.dtd"> <html> <head> <meta http-equiv="Content-Type" content="text/html; charset=UTF-8"> <title>主页</title> </head> <body> <a href="login_input">去登陆</a> </body> </html> |
login.jsp
|
1 2 3 4 5 6 7 8 9 10 11 12 13 14 15 16 17 18 |
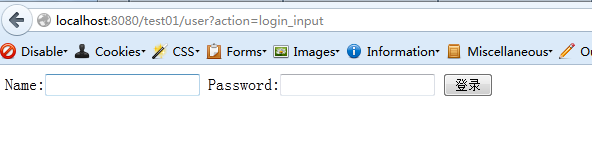
<%@ page language="java" contentType="text/html; charset=UTF-8" pageEncoding="UTF-8"%> <!DOCTYPE html PUBLIC "-//W3C//DTD HTML 4.01 Transitional//EN" "http://www.w3.org/TR/html4/loose.dtd"> <html> <head> <meta http-equiv="Content-Type" content="text/html; charset=UTF-8"> <title>登录界面</title> </head> <body> <form action="login" method="post"> name:<input type="text" name="name" /> password:<input type="password" name="password" /> <input type="submit" value="登录" /> </form> </body> </html> |
login_success.jsp
|
1 2 3 4 5 6 7 8 9 10 11 12 13 14 15 16 17 18 19 |
<%@ page language="java" contentType="text/html; charset=UTF-8" pageEncoding="UTF-8"%> <%@ taglib prefix="s" uri="/struts-tags" %> <!DOCTYPE html PUBLIC "-//W3C//DTD HTML 4.01 Transitional//EN" "http://www.w3.org/TR/html4/loose.dtd"> <html> <head> <meta http-equiv="Content-Type" content="text/html; charset=UTF-8"> <title>登录成功</title> </head> <body> <s:form action="login" namespace="/" method="post"> <s:textfield name="name" label="name"></s:textfield> <s:password name="password" label="password"></s:password> <s:submit value="Login"></s:submit> </s:form> </body> </html> |
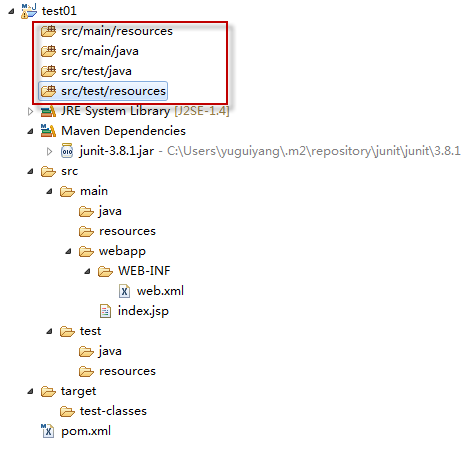
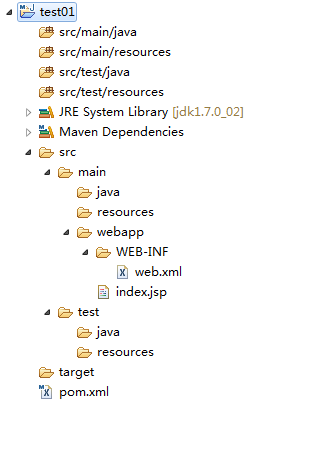
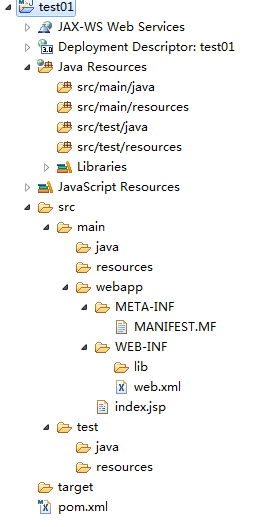
项目结构如下图所示: